
Geometry Brushes, also known as Binary Space Partitioning (BSP) brushes, is Unreal Engine's tool for level construction. Conceptually, it is best to think of a Geometry Brush as filling in and carving out volumes of space in your level. You can use the brushes to create basic shapes for your level design process, either as permanent fixtures or as something temporary to test while your artists create the final meshes.
Previously, Geometry Brushes were used as the primary building block in level design. However, that role has been passed on to Static Meshes and in-engine modeling tools, which are far more efficient. However, Geometry Brushes can still be helpful in the early stages of a product for rapid prototyping of levels and objects. This document goes over the use of Geometry Brushes and how to use them for your level.
Uses for Geometry Brushes
While Static Meshes are now primarily used to populate levels with geometry, Geometry Brushes still have their place, such as blocking out a level and creating filler geometry.
Blocking Out Levels
A standard workflow for developing a level might go something like:
- Block out and path level
- Playtest flow and gameplay
- Modify layout and repeat testing
- Initial meshing pass
- Initial lighting pass
- Playtest for collision and performance issues
- Polish pass
 |
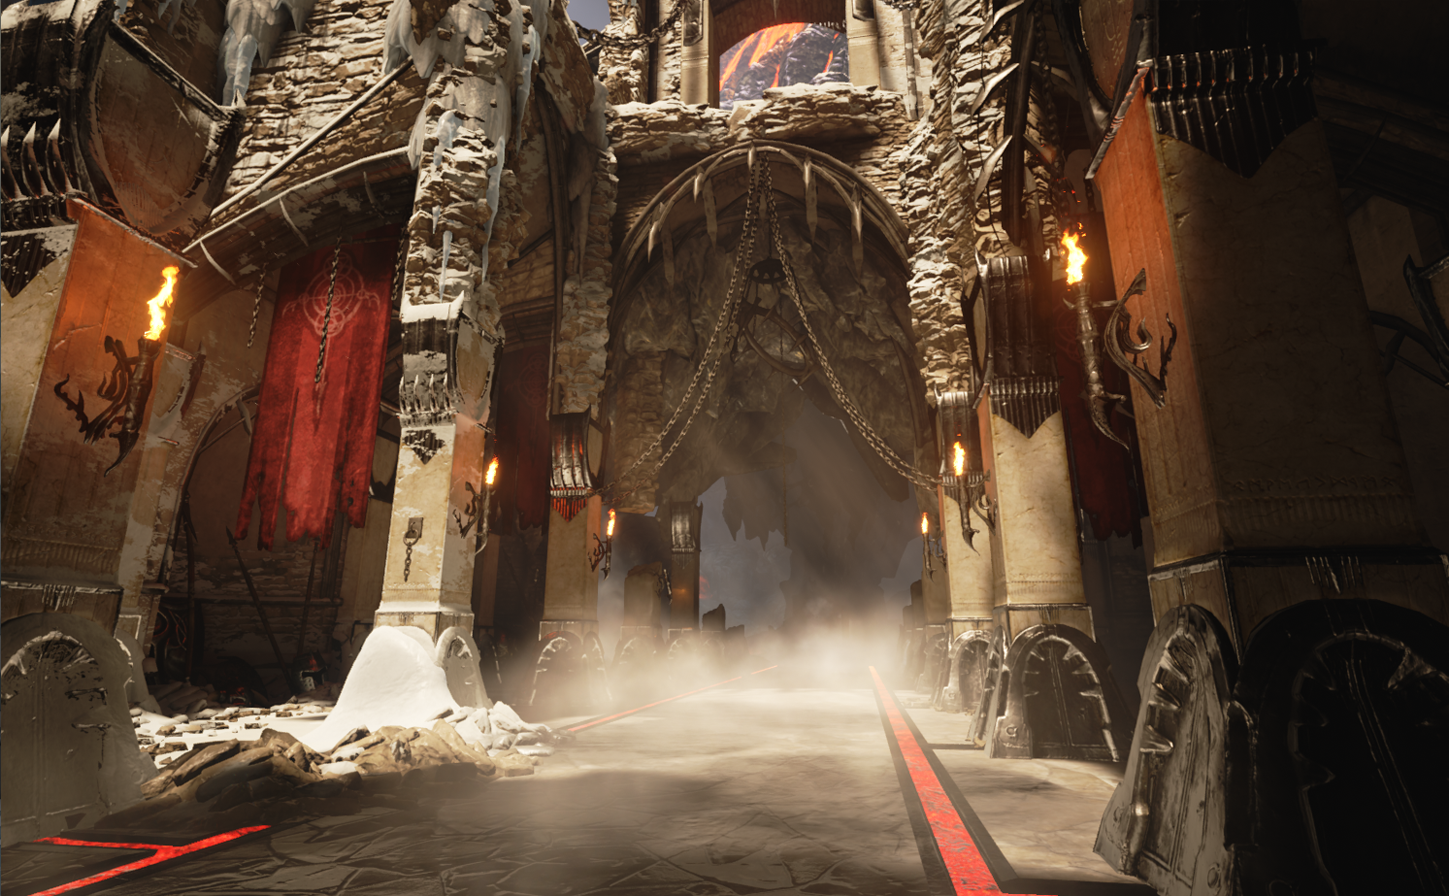 |
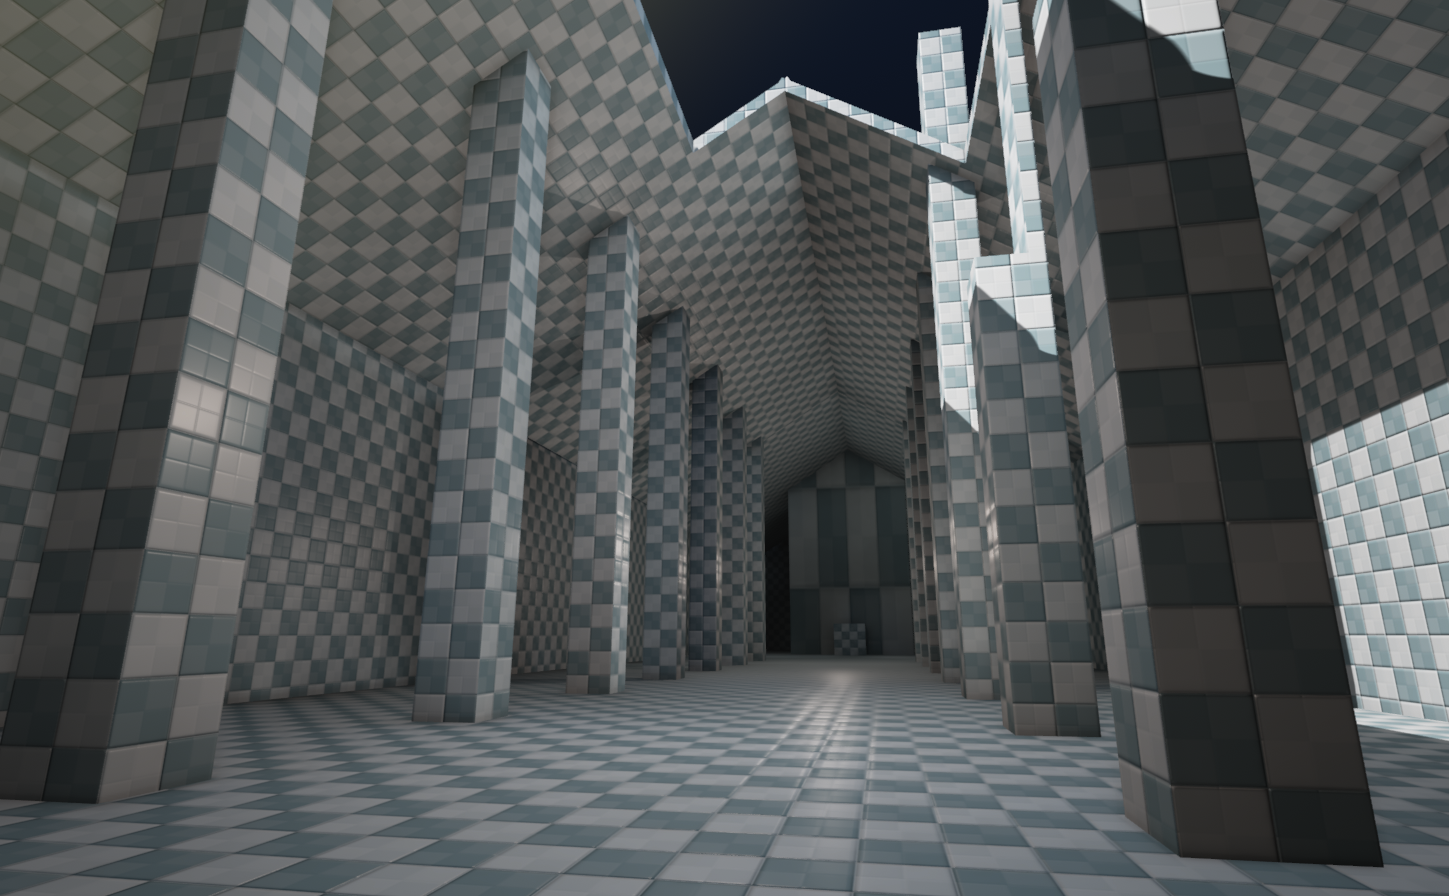
| Brush Blocking / Rough-In | Final level |
The first step is to block out the level to figure out the layout and flow before putting any time into populating the level with Static Meshes and other finished art assets. You can do this by using Geometry Brushes to create a shell for the level, then, through testing and iterating, the team agrees on the final layout. Geometry Brushes are perfect for this aspect of the level design process because it does not require any time or involvement from the art team. The level designer can use the tools built into the Unreal Editor to create and modify the Geometry Brushes until they are happy with the layout and the way the level plays.
As testing finalizes and meshing begins, the level designer gradually replaces Geometry Brushes with Static Meshes. This replacement process allows for faster initial iterations and provides an excellent reference for the art team.
Simple Filler Geometry
Often, when a level designer is creating their level, they will come upon a situation where they need a relatively simple piece of geometry to fill in a gap or space. If no existing Static Mesh fills the area, instead of tasking the art team to create a custom mesh, the designer can use Geometry Brushes to fill the space. Even though Static Meshes are better performance-wise, you can occasionally use Geometry Brushes without any serious impact as long as the geometry is simple.
Creating Brushes
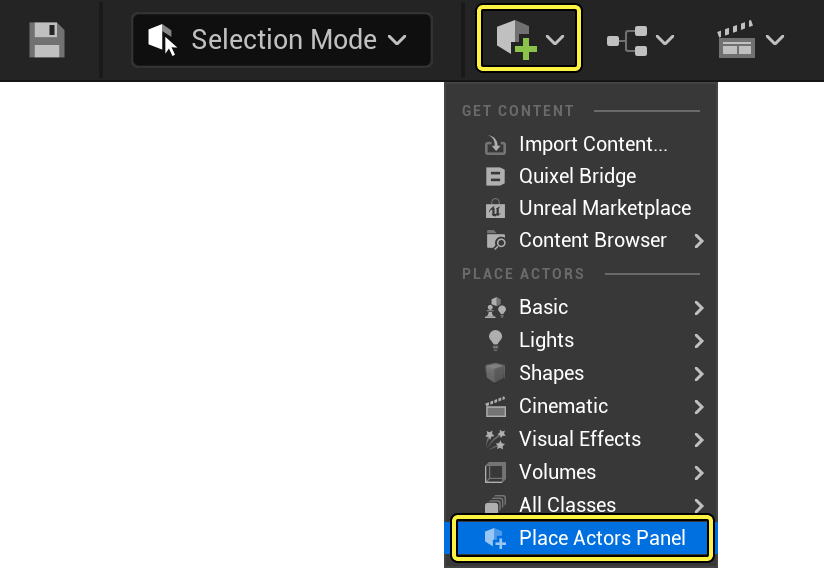
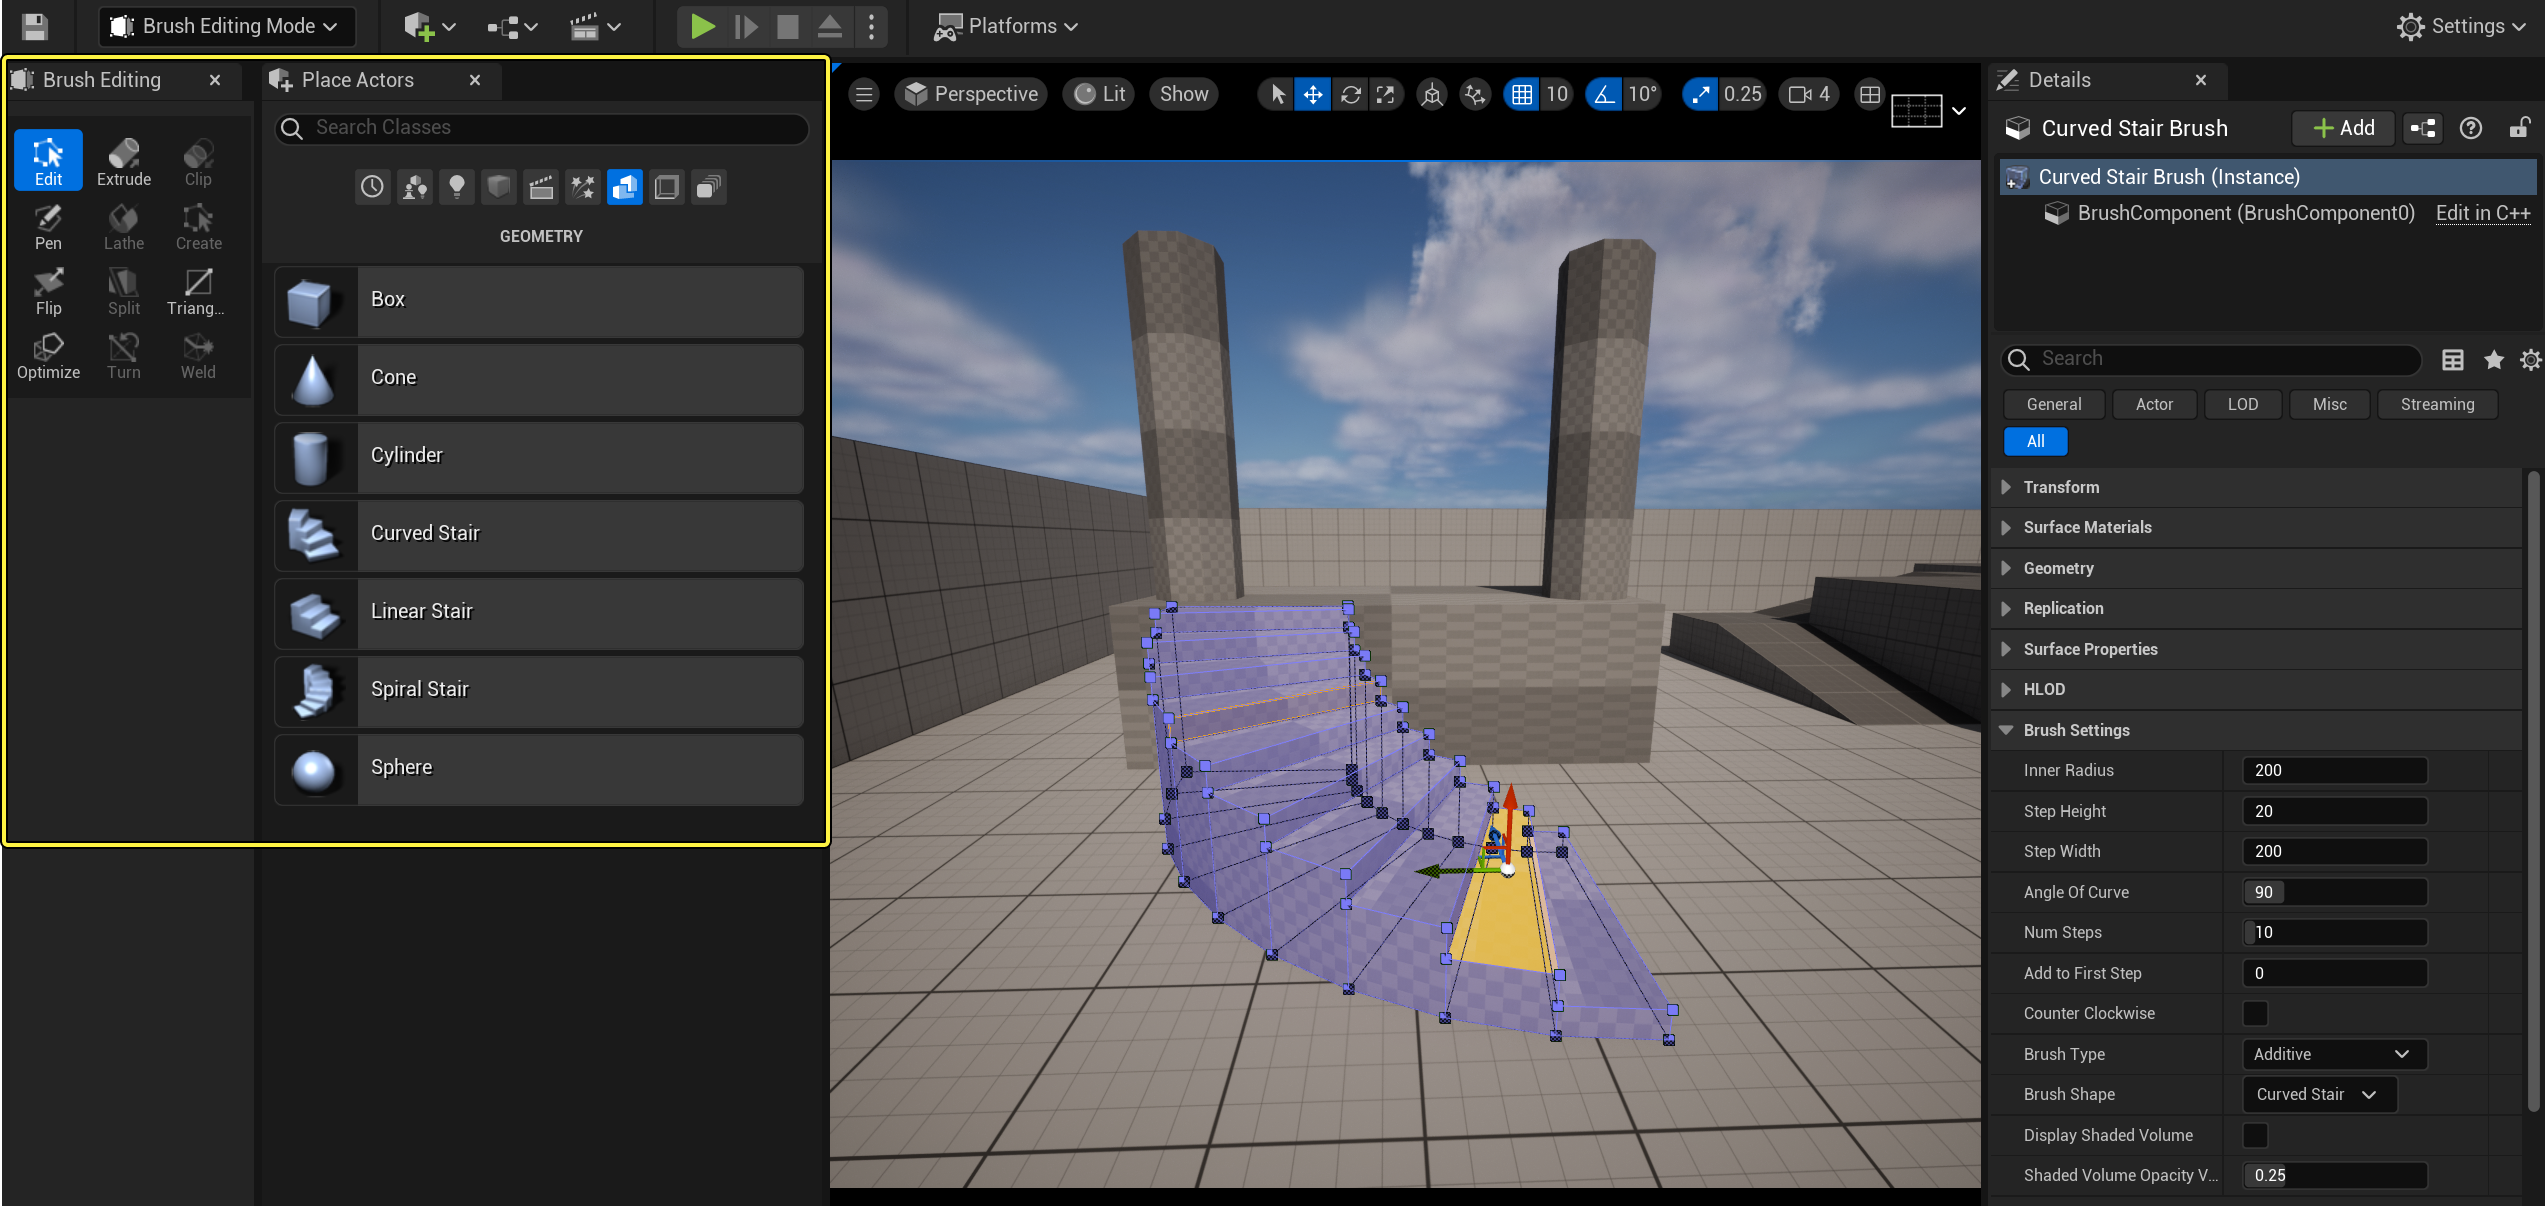
Create a brush using the Geometry tab in the Place Actors panel:
-
Choose Place Actors Panel from the add dropdown.
-
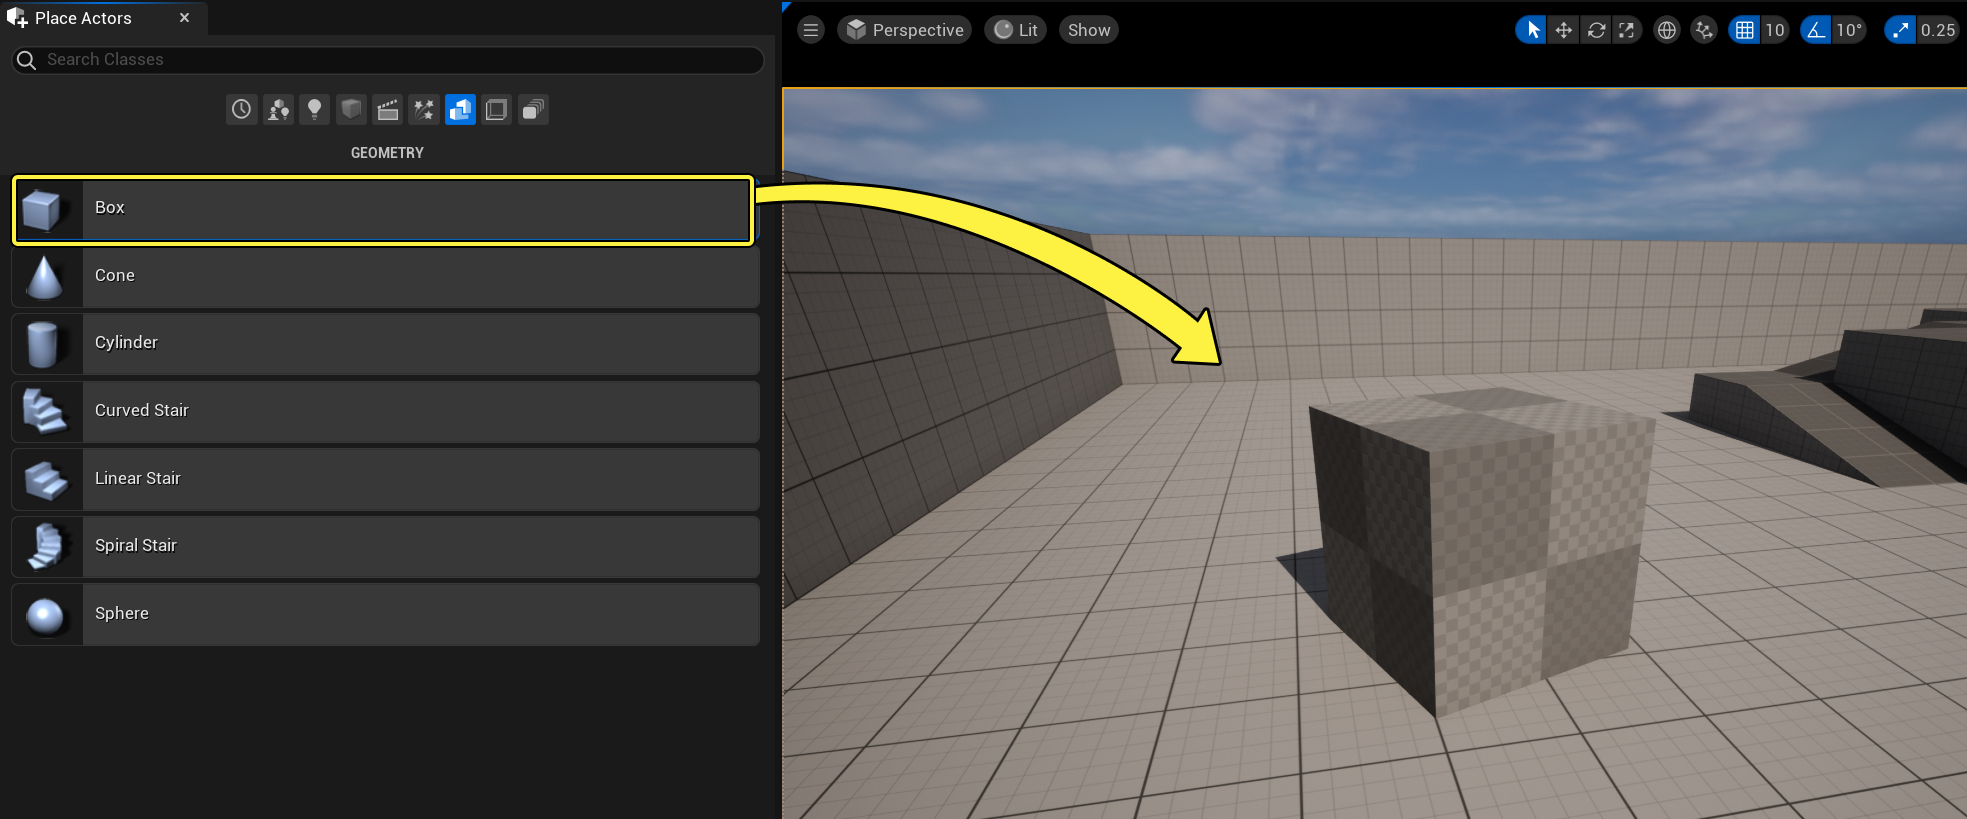
Select the Geometry icon.

-
Drag one of the primitive types from the list into a Viewport.
-
Choose the Brush Type (additive or subtractive) in the Details panel.
-
Modify your Brush using the Brush Settings in the Details panel, the transform widget, or activate the Brush Editing Mode. See Modifying Brushes for more details.
Brush Primitives
| Primitive | Description | |
|---|---|---|
 |
Creates a Geometry Brush Actor in a Box shape that can then be customized within the Details panel. Options include:
|
|
 |
Creates a Geometry Brush Actor in a Cone shape that can then be customized within the Details panel. Options include:
|
|
 |
Creates a Geometry Brush Actor in a Cylinder shape that can then be customized within the Details panel. Options include:
|
|
 |
Creates a Geometry Brush Actor in a Curved Staircase shape, meaning a staircase that bends around at an angle but cannot wrap over itself - for that, you would need a Spiral Staircase. The Curved Staircase extends all the way to the ground. The shape can be customized within the Details panel. Options include:
|
|
 |
Creates a Geometry Brush Actor in a Linear Staircase shape, meaning a straight staircase that does not bend. The staircase extends all the way to the ground. The shape can then be customized within the Details panel. Options include:
|
|
 |
Creates a Geometry Brush Actor in a Spiral Staircase shape, meaning a staircase can repeatedly wrap over itself. This staircase does not extend all the way to the ground. The shape can be customized within the Details panel. Options include:
|
|
 |
Creates a Geometry Brush Actor in a Sphere shape that can then be customized within the Details panel. Options include:
|
Modifying Brushes
You can modify Brushes using several methods, each suited to particular situations and how you wish to edit the Brush.
Brush Editing Mode
The best way to change a Brush's actual shape is to use the Brush Editing Mode. This editor mode allows the direct manipulation of the Brush's vertices, edges, and faces. It is very similar to working in a very simplified 3D modeling application.
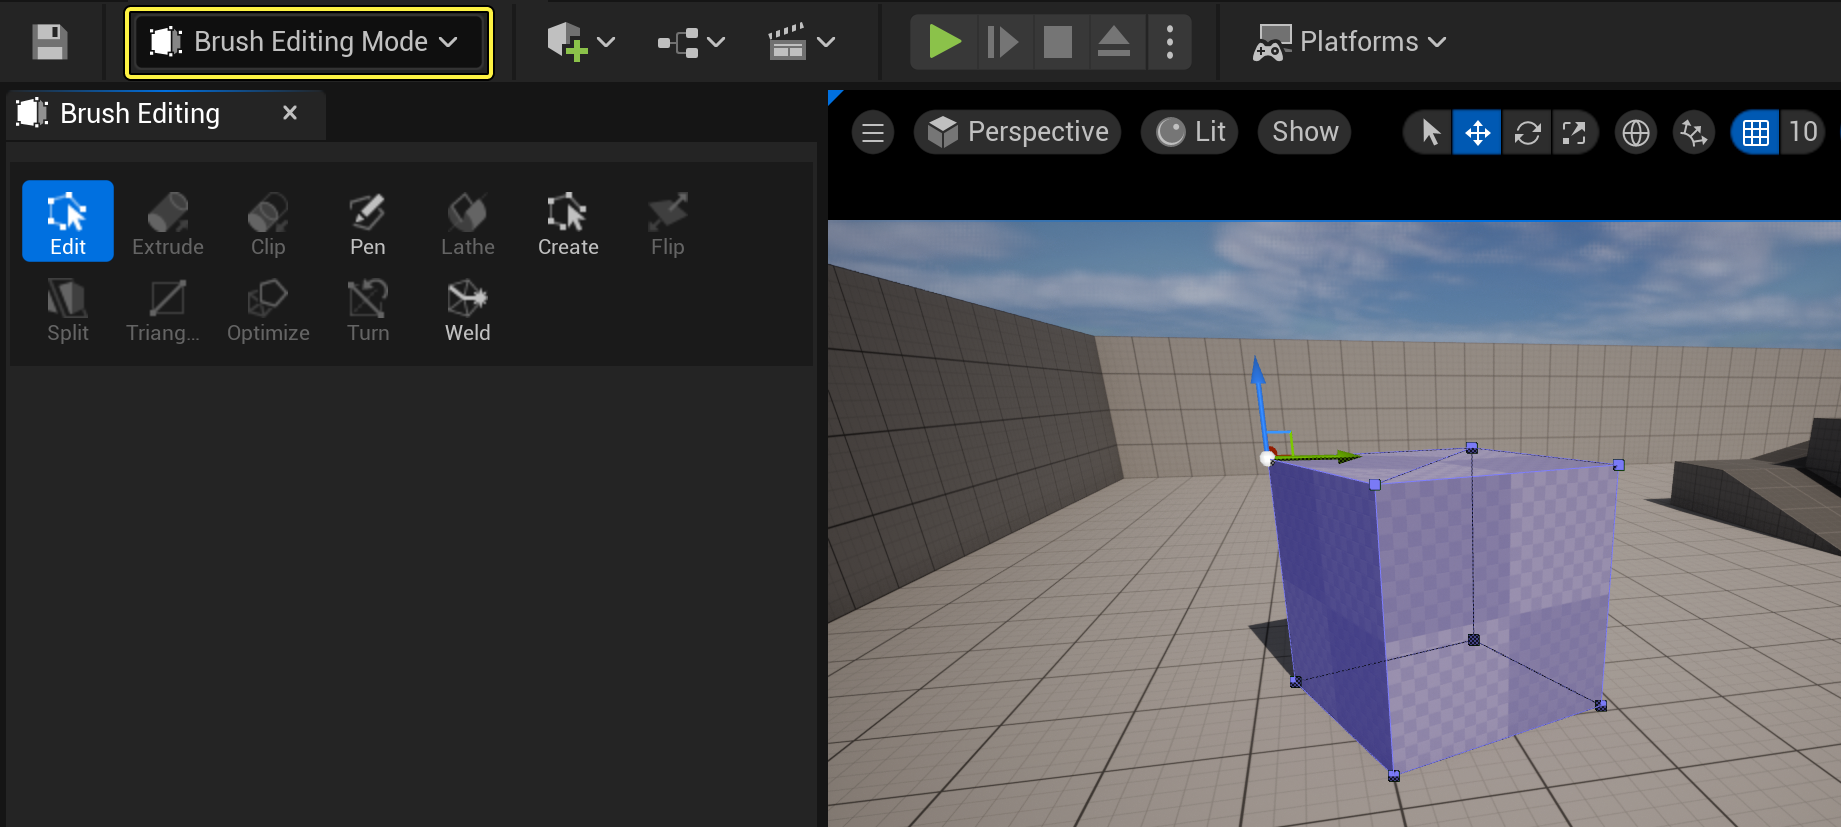
You can have the Brush Editing and Place Actors panels open simultaneously for workflow efficiency.
For more information about Brush Editing Mode and how to use it to modify Brushes, see the Level Editor Modes page.
Transform Widgets
It is possible to modify your Brush using the various editor transform widgets. These allow you to translate, rotate, and scale interactively and are accessible via the widget buttons in the viewport toolbar:
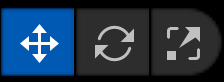
For more information on the Transform widgets and how to use them, please see Transforming Actors.
Brush Properties
You can edit existing Brushes by selecting the Brush and using the Details panel. If you have the entire Brush selected, you will see the Brush Settings category:
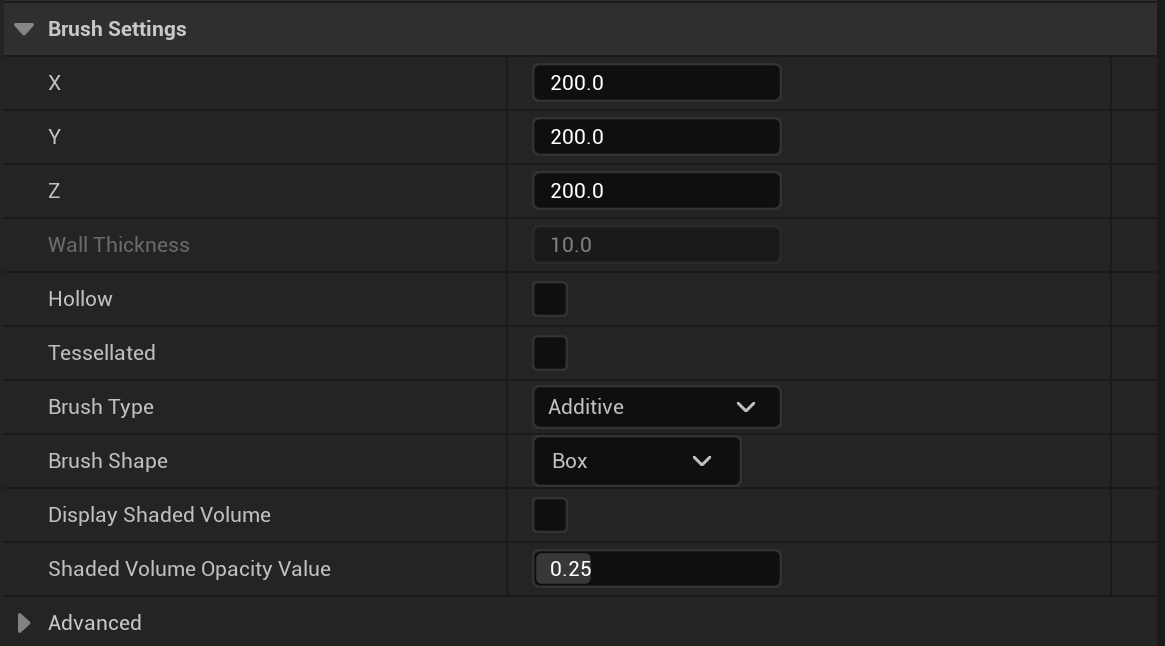
Brush Types
The Brush Type dropdown includes the following:
| Brush Type Dropdown | |
|---|---|
| Additive | Set the Brush to Additive. |
| Subtractive | Set the Brush to Subtractive. |
Each Brush Type is particularly suited to specific situations.
Additive
Additive Brushes are solid, filled-in spaces. The Additive Brush is the type you use for any Brush geometry you wish to add to the level. A good way to visualize an additive Brush is to imagine the four walls, the floor, and the ceiling of a room. Each would be a separate box-like Additive Brush in your map, with corners matching up to form an enclosed space.
Subtractive
A Subtractive Brush is a hollow, carved-out space. This is the type of Brush you would use to remove solid space to create doors, windows, and so on, from previously created additive Brushes. Subtractive space is the only area that players can freely move around in.
Advanced Properties
Clicking the  button at the bottom of the Brush Settings exposes the advanced Brush properties:

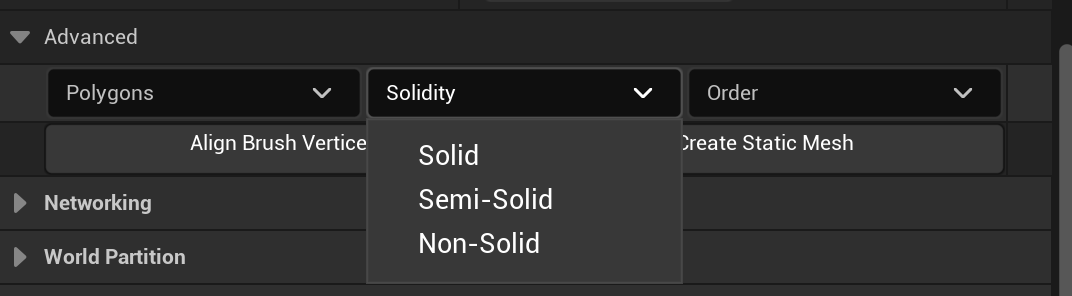
Polygons
The Polygons dropdown offers the following options:

| Polygons Dropdown | |
|---|---|
| Merge | Merge together any planar faces on a Brush. |
| Separate | Reverse the effects of a merge. |
Solidity
The Solidity dropdown includes the following:
Be sure to read the Brush Solidity section for more details.
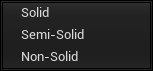
| Solidity Dropdown | |
|---|---|
| Solid | Set the Brush solidity to be solid. |
| Semi Solid | Set the Brush solidity to be semi-solid. |
| Non Solid | Set the Brush solidity to non-solid. |
Order
The Order dropdown includes the following:
Be sure to read the Brush Order section for more details:
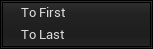
| Order Dropdown | |
|---|---|
| To First | Make the selected Brush the first to be calculated. |
| To Last | Make the selected Brush the last to be calculated. |
Align and Static Mesh Buttons
If you expand the properties under the Brush Settings Category, the following buttons appear:
| Brush Type Dropdown | |
|---|---|
| Align Brush Vertices | Snap the Brush's vertices to the grid. |
| Create Static Mesh | Convert the current Brush to a Static Mesh Actor, saved at the location specified. |
Drag Grid
The drag grid used to snap objects in the world is very important when working with Brushes. If you don't set the edges or corners of Brushes on the grid, errors can occur, causing rendering artifacts or other problems. You should always make sure the drag grid is enabled when working with Brushes and make sure that you keep the vertices of your Brushes on this grid at all times.
Brush Order
The order in which Brushes are placed is critical, as the addition and subtraction operations are performed according to this order. Placing a subtractive Brush and then an additive Brush will not have the same effect as placing an additive Brush and then a subtractive Brush, even if they are in the exact locations.
If you subtract from empty space and add on top, the subtractive Brush is essentially ignored, as you cannot subtract from anything. However, if you place those same Brushes in the opposite order, you add to empty space, then subtract from the addition, carving space out of it.
Sometimes you may place Brushes out of order or want to add a new Brush that needs to be calculated before an existing Brush. The Brushes' order can be modified, as seen in the Brush Properties section.
Brush Surfaces
If you select a Brush surface (use Ctrl + Shift + Left Click to select the surface and not the Brush), you will see the following categories in the Details panel:
Geometry Category
The Geometry category contains a few tools for helping you manage Material application across Brush surfaces.
| Geometry Category Buttons | |
|---|---|
| Select | Helps you select Brush surfaces based on various situations. |
| Alignment | Realigns the texture coordinates for surfaces based on your desired settings. This is useful, for example, when you need a complex arrangement of Brushes along the floor to align and look like a single surface. |
| Clean Geometry Materials | If, through any operations, your Brush surfaces have lost their Material, this will fix the problem. |
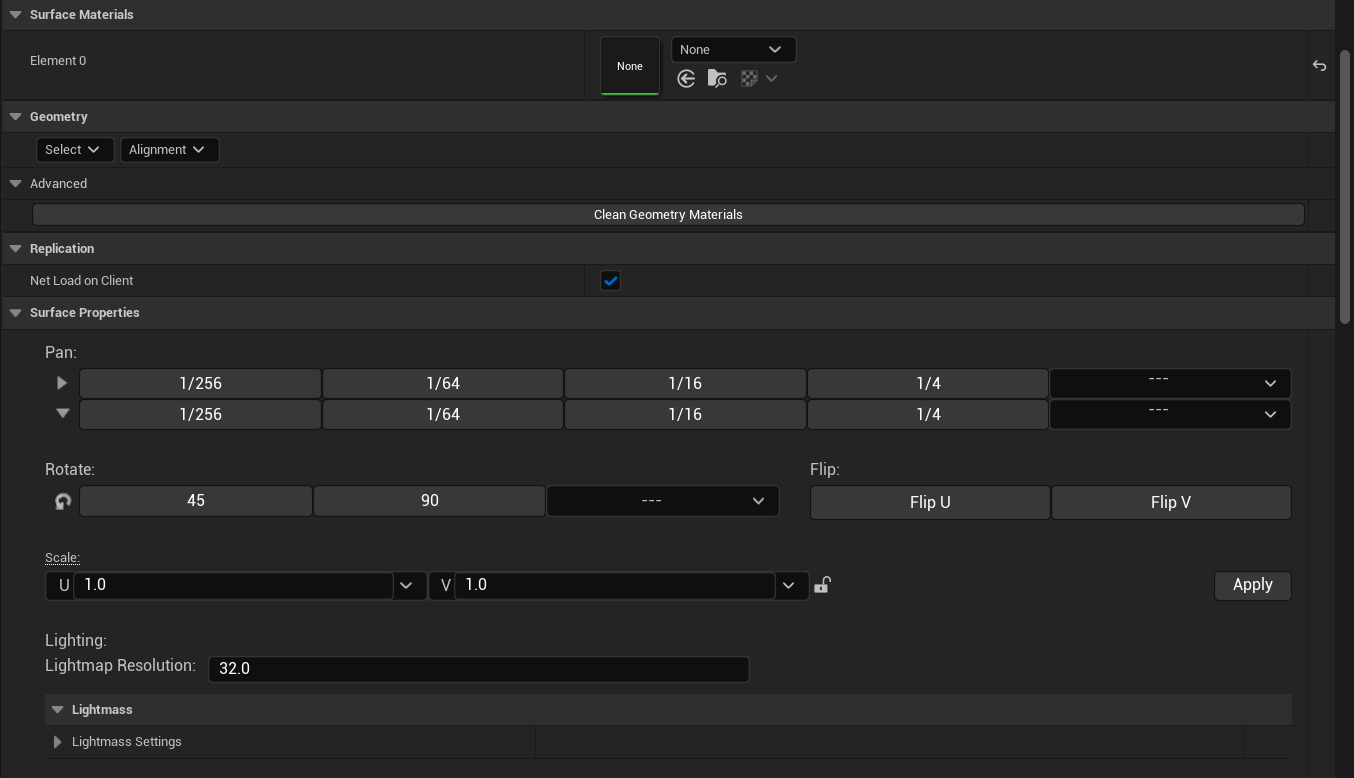
Surface Properties
The Surface Properties area contains various tools to help you control how textures are placed across your surfaces, as well as lightmap resolution.
| Surface Property Categories | |
|---|---|
| Pan | The buttons in this section allow you to pan the texture of the Material either horizontally or vertically by the given number of units. |
| Rotate | Rotates the texture on a Brush surface's Material by the given number of degrees. |
| Flip | Allows you to flip the texture on a Brush surface horizontally or vertically. |
| Scale | Resizes the texture of a Brush surface by the amount given. |
Lighting
The Lighting section allows you to change various important light-centric properties for your Brush surfaces.
| Lighting Properties | |
|---|---|
| Lightmap Resolution | Essentially allows for adjustment of the shadows across this surface. The lower the number, the tighter the shadows. |
| Lightmass Settings | |
| Use Two Sided Lighting | If checked, this surface will receive light on both the positive and negative sides of each polygon. |
| Shadow Indirect Only | Check this box to allow the surface to create shadows from indirect lighting. |
| Use Emissive for Static Lighting | Check this box to allow the emissive color of the surface to influence the lighting of static objects. |
| Use Vertex Normal for Hemisphere Gather | Check this box to use the vertex normal rather than the default triangle normal that prevents self-shadowing. |
| Emissive Boost | Scales the amount of influence emissive color will have on indirect lighting. |
| Diffuse Boost | Scales the amount of influence diffuse color will have on indirect lighting. |
| Fully Occluded Samples Fraction | Fraction of samples along this surface that must be occluded before it is considered to be occluded from indirect lighting calculations. |
Brush Solidity
Brushes can be either Solid, Semi-solid, or Non-solid. The solidity of a Brush refers to whether it collides with objects in the world and whether the Brush causes BSP cuts to be created in the surrounding Brushes when building geometry.
The solidity of Brushes can be changed in the Details panel after you create a Brush:
The three types of solidity are explained below.
Solid
Solid Brushes are the default type of Brush. You get these when you create a new additive or subtractive Brush. They have the following attributes:
- Block players and projectiles in the game.
- Can be additive or subtractive.
- Create cuts in the surrounding Brushes.
Semi-Solid
Semi-solid Brushes are colliding Brushes that can be placed in your level without creating cuts to the surrounding world geometry. You can use it to make pillars and support beams, though such objects should be created using Static Meshes. They have the following attributes:
- Block players and projectiles, just as Solid Brushes do.
- Can only be additive, never subtractive.
- Do not create cuts in the surrounding Brushes.
Non-Solid
Non-Solid Brushes are non-colliding Brushes that also do not create cuts in the surrounding world geometry. These have the effect of being visible but unable to be interacted with in any way. They have the following attributes:
- Do not block players or projectiles.
- Can only be additive, never subtractive.
- Do not create cuts in the surrounding Brushes.
Next Steps
After learning the essentials of Geometry Brushes, you can familiarize yourself with the geometry tools in Modeling Mode to further develop your level. To use the Modeling Mode tools on your current Geometry Brushes, you must convert them using Create Static Mesh in the Advanced tab.