Inside the Animation Editor, the Bone Manipulation Mode allows technical artists to temporarily translate or rotate bones in order to look for skinning issues in a Skeletal Mesh while previewing animations. Another useful aspect to the Bone Manipulation Mode is that you can translate or rotate a bone (for example, tilting the head of a character up or down) then use the Timeline's Record option to create a new animation based on the altered bone positioning.
Manipulating Bones
To maniuplate bones in a Skeletal Mesh during animation playback:
-
In the Content Browser (or Asset Browser) open any animation asset.
-
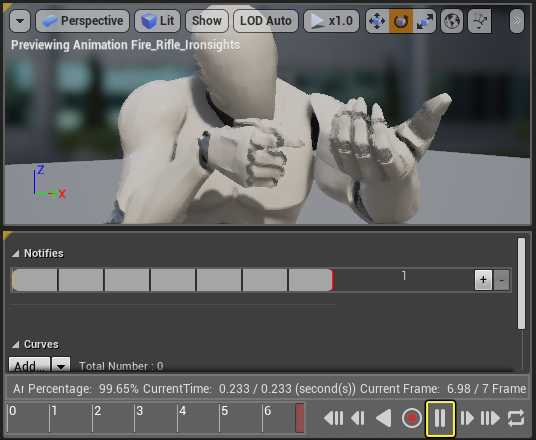
In the Animation Editor, click the Pause button on the timeline to pause the animation.
-
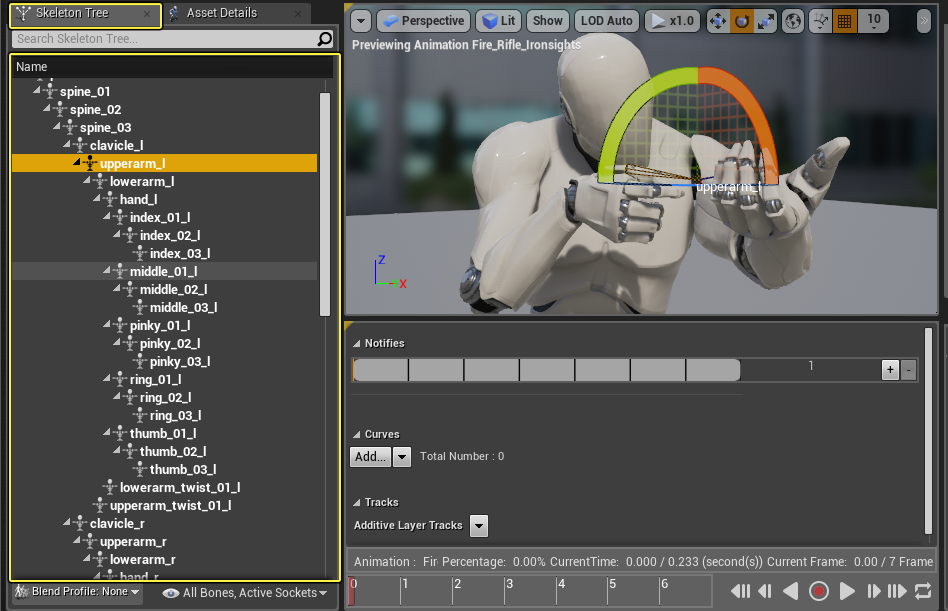
Click the Skeleton Tree tab, then select your desired bone to manipulate from the Tree View window.
-
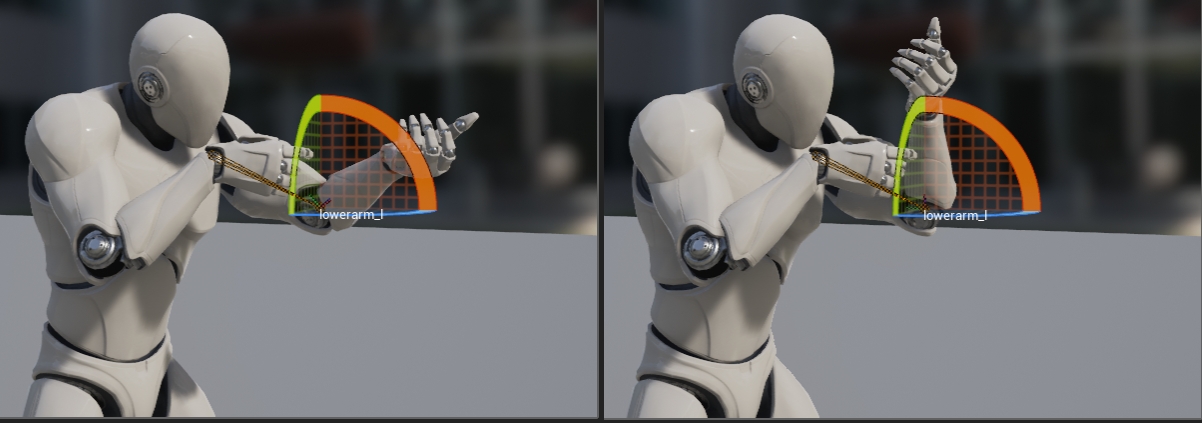
Use the Transform Widgets to Translate (W key), Rotate (E key) or Scale (R key) the selected bone.
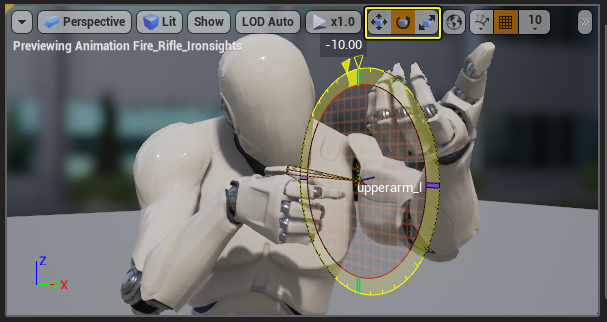
You can also click one of the transform options from the toolbar across the top of the viewport.
-
Play the animation with the modified bone transformations.
In the video above, we adjusted two different bones to see what the animation would look like if the bones were in different positions.
After you have manipulated a bone, the manipulation persists when you select different animation assets, so you can preview the change with different animations. Any modified bones will return to their default translation, rotation or scale when you close and re-open the Animation Editor.