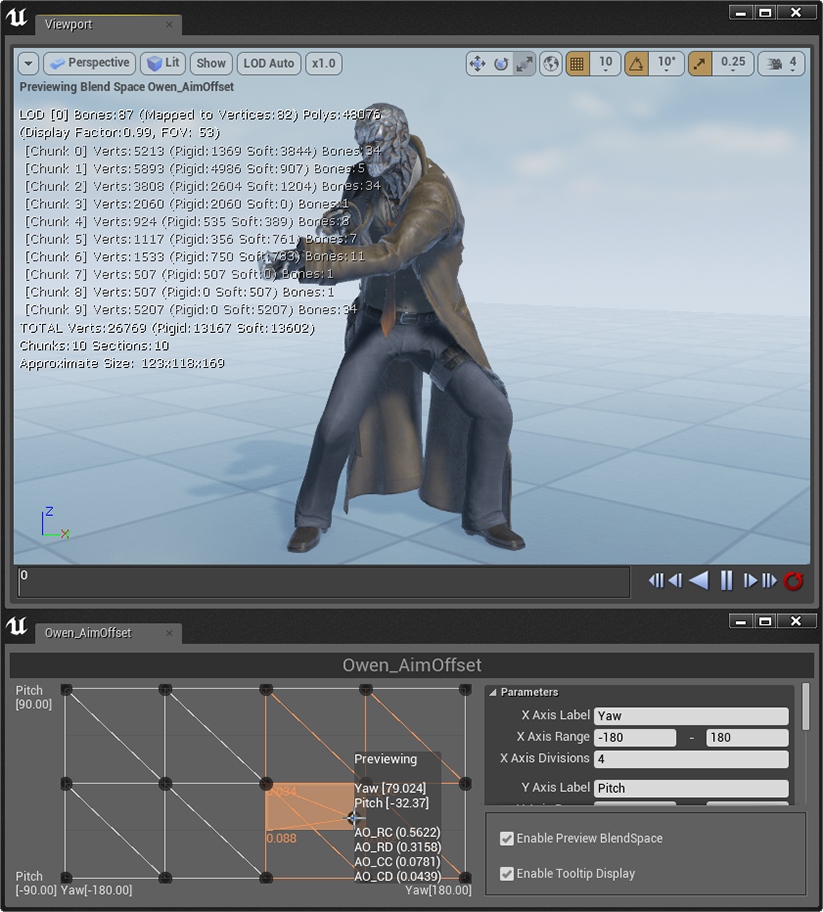
An Aim Offset is an asset that stores a blendable series of poses to help a character aim a weapon. During animation, the result of the Aim Offset is blended with other motions such as running, walking, jumping, etc. to cause the character to appear to smoothly look in all directions.
The key concept behind Aim Offsets is that they are designed to be additively blended to existing animation. Therefore, if you were using an Aim Offset to make a character aim a weapon, for example, you would want to make sure that the other motions on the character are not getting in the way of that additive motion. Put another way, your run, idle, jump, and so on should have relatively rigid arms so that they can be additively controlled by the Aim Offset.
In many ways, an Aim Offset is just like a Blend Space. As such, you would do well to get a solid understanding of Blend Spaces before you use them. Please see the Blend Spaces documentation for details.
You can also refer to the Animation Content Examples page under section 1.4 for an example of an Aim Offset applied to a character.
Creating Aim Offsets
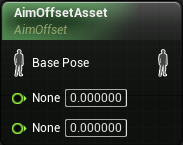
Creating an Aim Offset is done in the Content Browser just as with any other asset. You may either Right-click or use the  button and choose Animation > Aim Offset from the context menu. You will notice that you also have the option of an Aim Offset 1D. These are the same as Aim Offsets, but only support input from one variable to control the blending, where a standard Aim Offset supports two.
When creating a new Aim Offset, you will have to designate a Skeleton asset. Be sure to choose the same one used by the Skeletal Mesh you wish to use with the Aim Offset.
Aim Poses
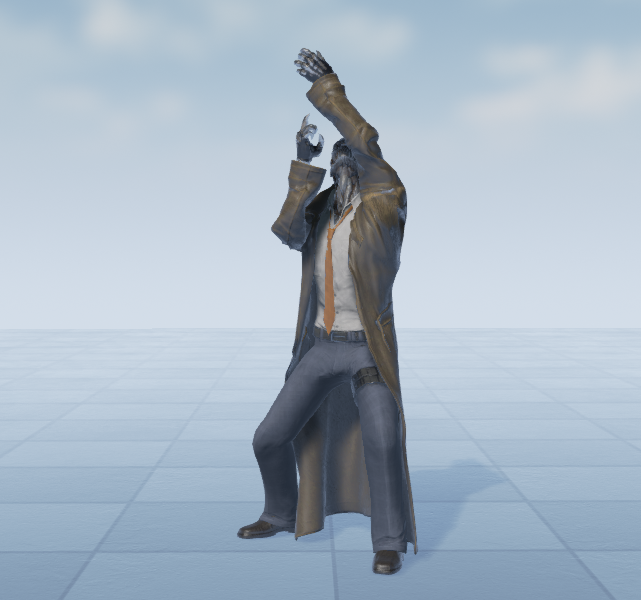
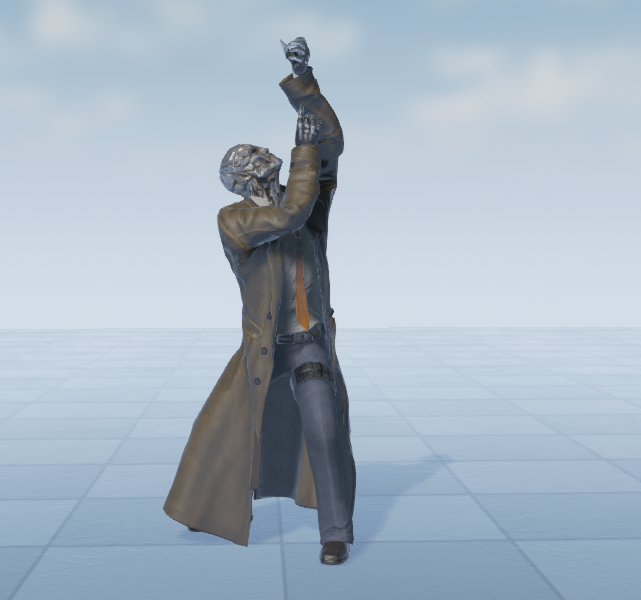
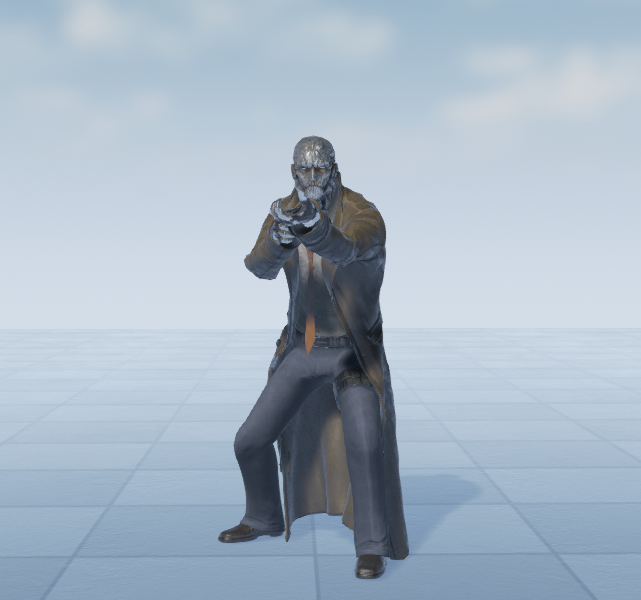
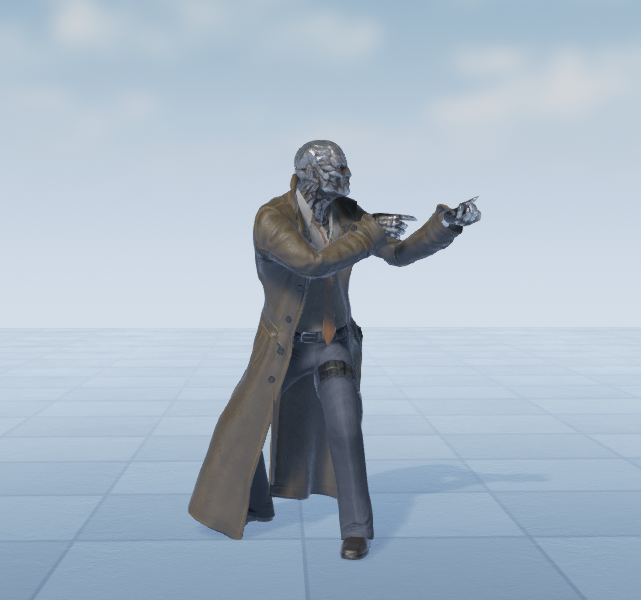
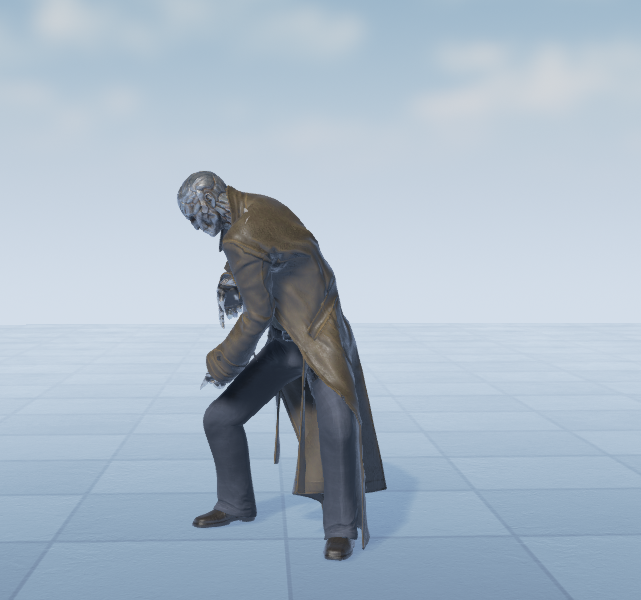
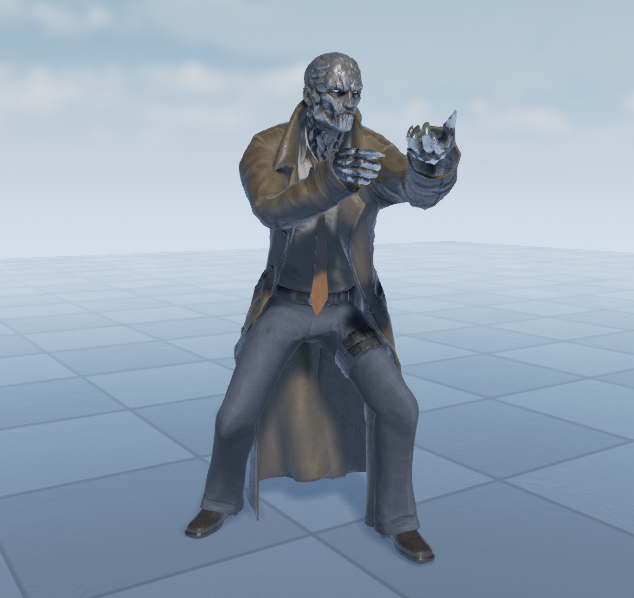
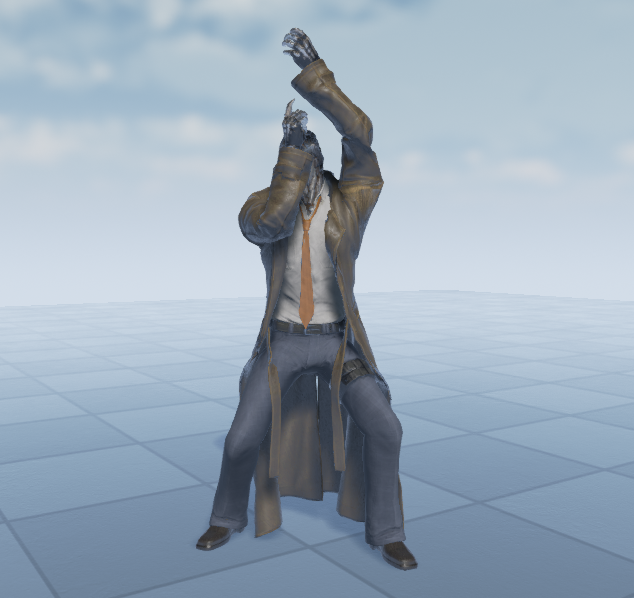
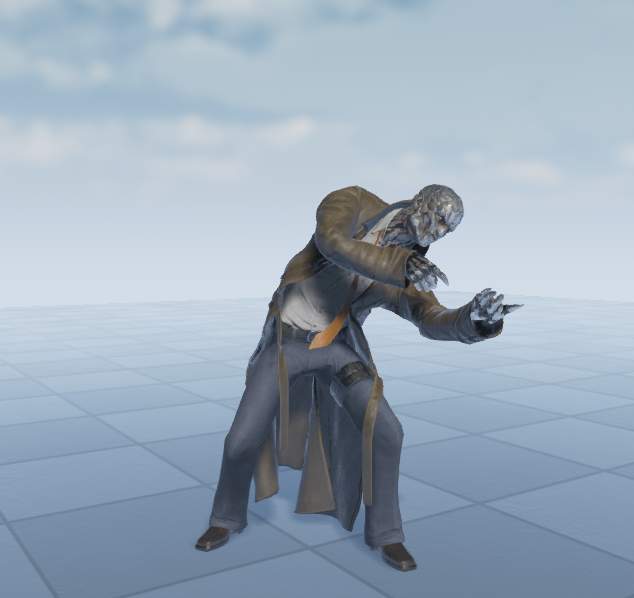
Since the purpose of the Aim Offset is to additively combine a series of poses to help aim, we will now discuss the types of poses you will generally need to create. The number of poses you will actually need is highly dependent on the motions your character will need to do. Below is an extreme example:
 |
 |
 |
 |
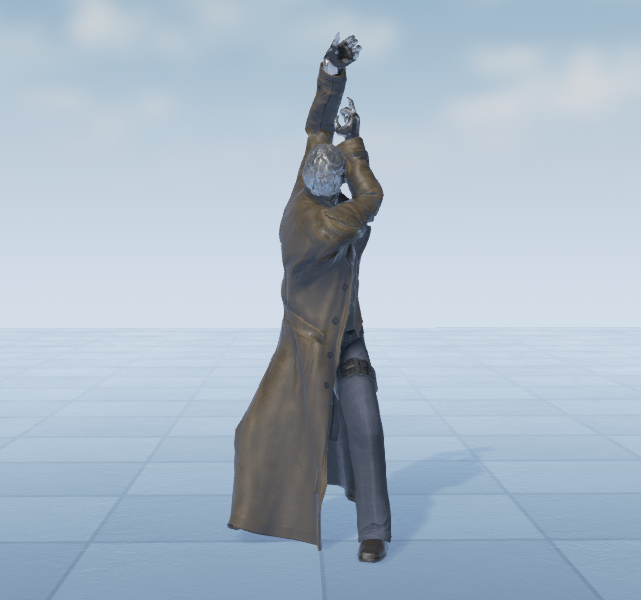 |
| Up Right Behind | Up Right | Up Center | Up Left | Up Left Behind |
 |
 |
 |
 |
 |
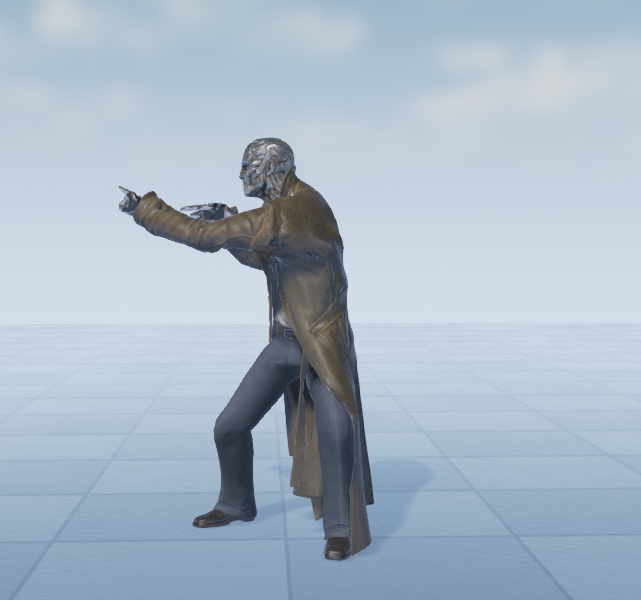
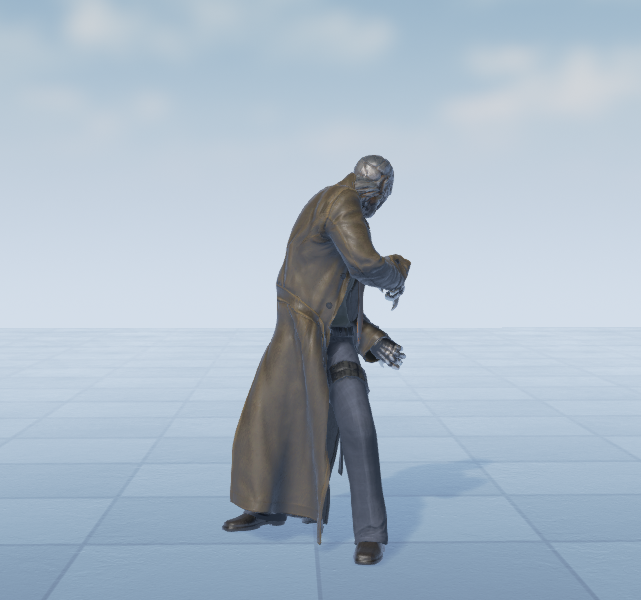
| Center Right Behind | Center Right | Center | Center Left | Center Left Behind |
 |
 |
 |
 |
 |
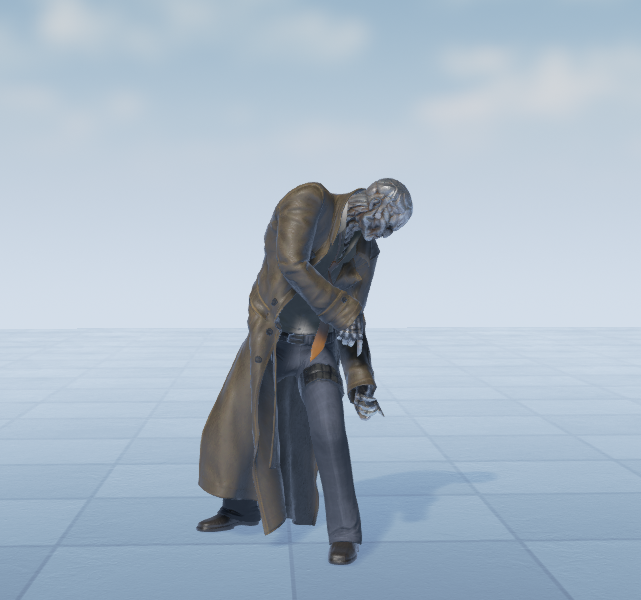
| Down Right Behind | Down Right | Down | Down Left | Down Left Behind |
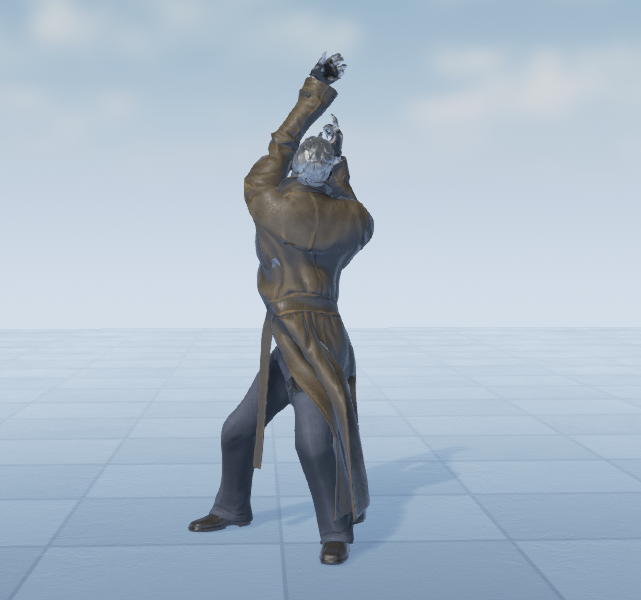
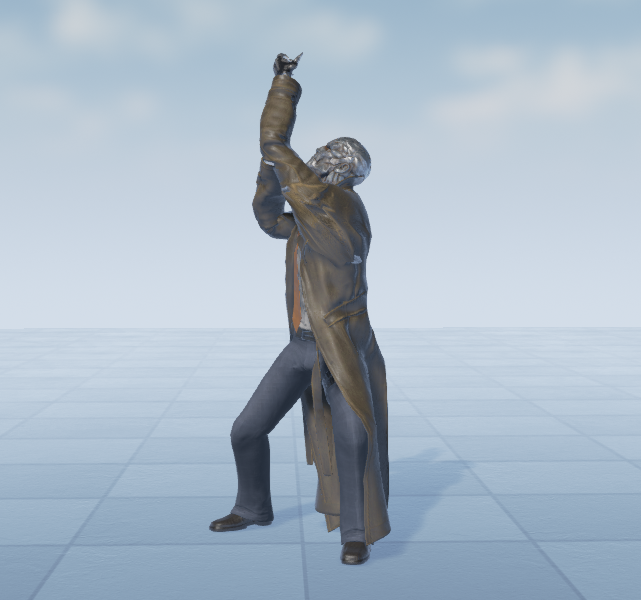
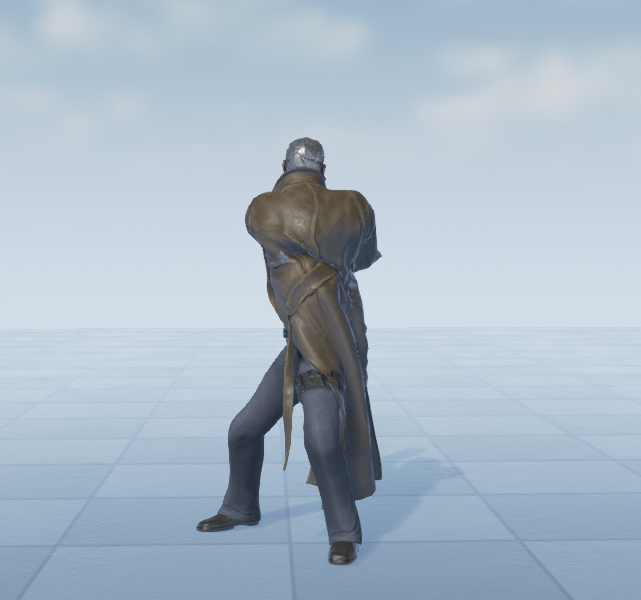
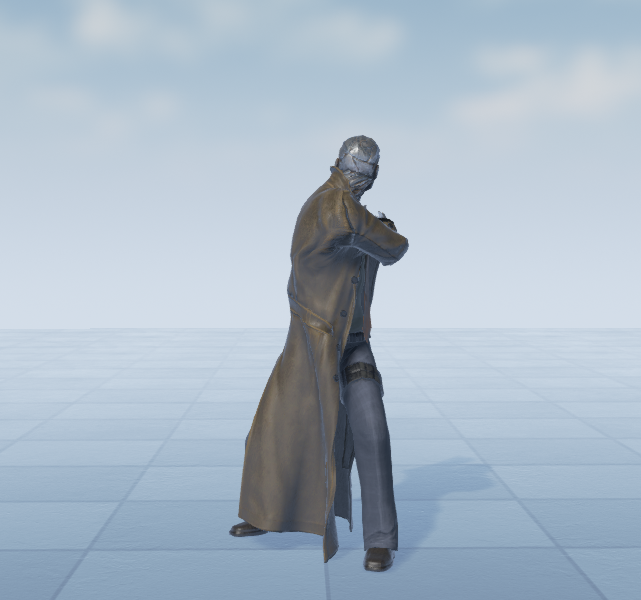
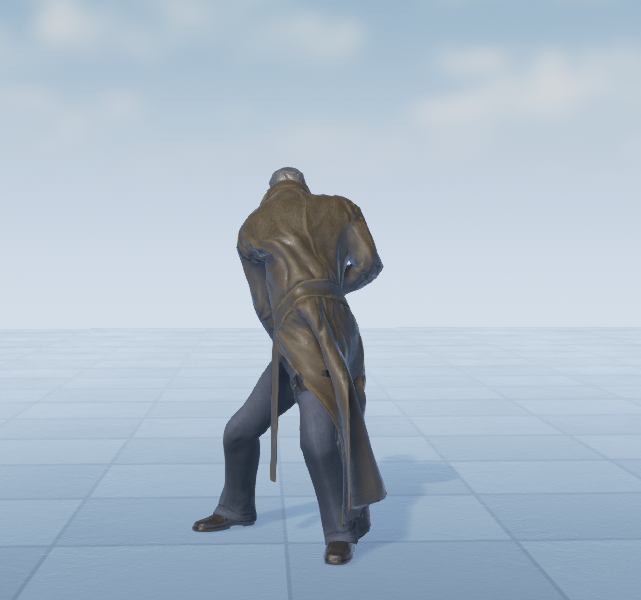
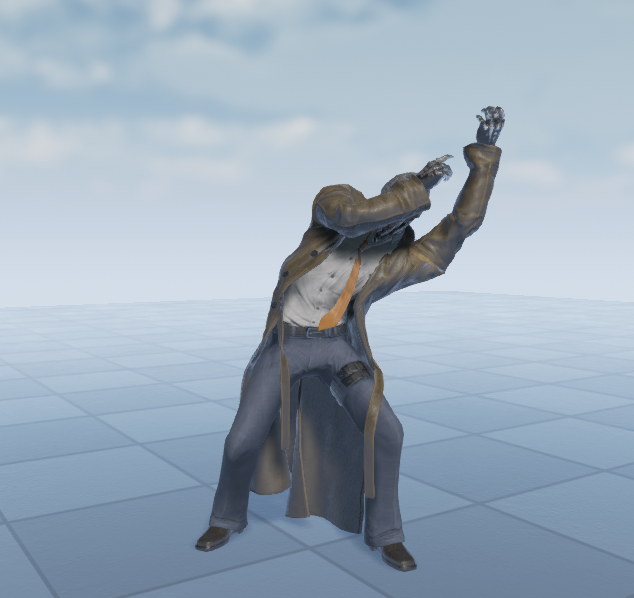
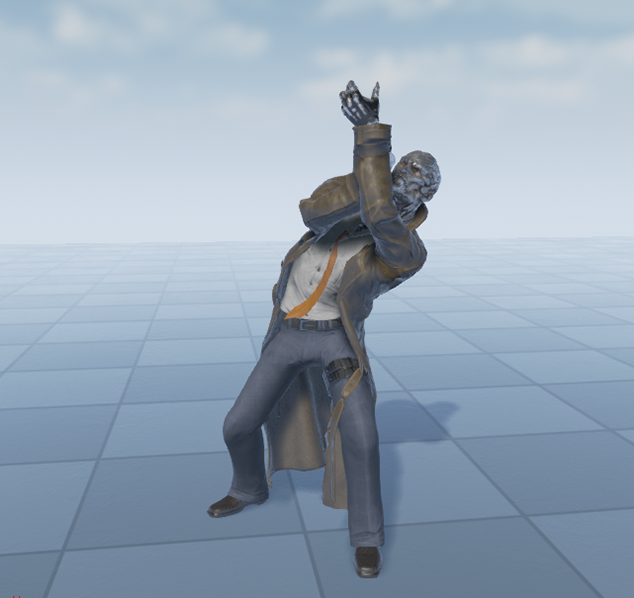
If you were to use a setup like this, however, you would need to be extra careful about how you allow the yaw (side-to-side) motion to animate. For example, the motions you see above will look just fine when the character is standing still. But if you allow the character to twist all the way around while running, you could end up with a nasty result like this:
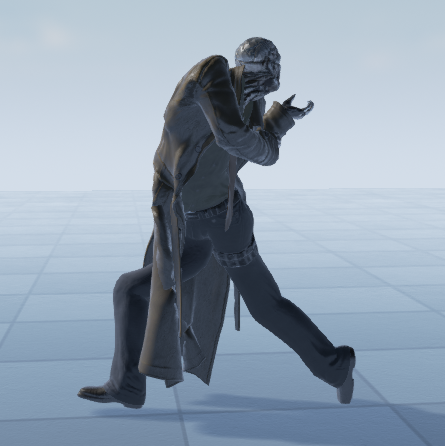
For this reason, Aim Offsets are often set up to just aim the character up and down, rather than side to side, allowing the rotation of the actual character to deal with side-to-side motion. However, you could use a series of poses as shown above; you would simply want to use the Animation Blueprint to limit the incoming data for the Aim Offset so that the side-to-side extremes were only in use when the character was stationary.
Mesh Space
Once you import each of the poses you need into Unreal Engine, you will need to set some specific properties on them to make them compatible with Aim Offsets. Under the Additive Settings category, make sure to set the following:
- Additive Anim Type - AAT_MeshSpace
Aim Offsets only accept animations with an Additive Anim Type of Mesh Space.
Mesh space is a bit of a different approach for extracting delta of additive animation, in that it is only used in certain instances such as Aim Offset assets. Mesh space uses the mesh's bounding box as its base for rotation, allowing rotations to move in the same direction regardless of the orientation of chain of the bone in the Skeletal Mesh. Consider a character that was leaning to the side, but needing to aim a pistol upwards. If that upward aiming motion was in Local space, then the aim would rotate outward, in the direction of the lean.
 |
 |
| Base Idle Pose | Upward Aim |
 |
 |
 |
| Leaning Pose | Leaning with Upward Aim (Local Space) | Leaning with Upward Aim (Mesh Space) |
This is solved with Mesh space rotation. Since rotation is based on the Skeletal Mesh's box, the orientation of that rotation remains constant no matter what the character is doing. So even though the character might be leaning sideways, the upward aim would still rotate in an upward direction.
Mesh space is set as a property of an Animation Sequence. Under the Additive Settings category, you will see the Additive Anim Type property. Setting this to Mesh Space will utilize the Mesh coordinate space as described. This is a fairly expensive blending operation, and should generally only be used by certain types of Blend Spaces where you know you need the animation to move in a constant direction, such as in the case of an Aim Offset.
Performance
When an Aim Offset node is placed in the Anim Graph you can adjust their performance using the LOD Threshold property, introduced in 4.11, you can find the setting for this in the Details Panel for the Aim Offset node.

| Property | Description |
|---|---|
| LOD Threshold | This is the max Level of Detail (LOD) that this node is permitted to run on. For example: if you have LOD Threshold set to 2, it will run until LOD 2, but disable itself once the component's LOD becomes 3. |