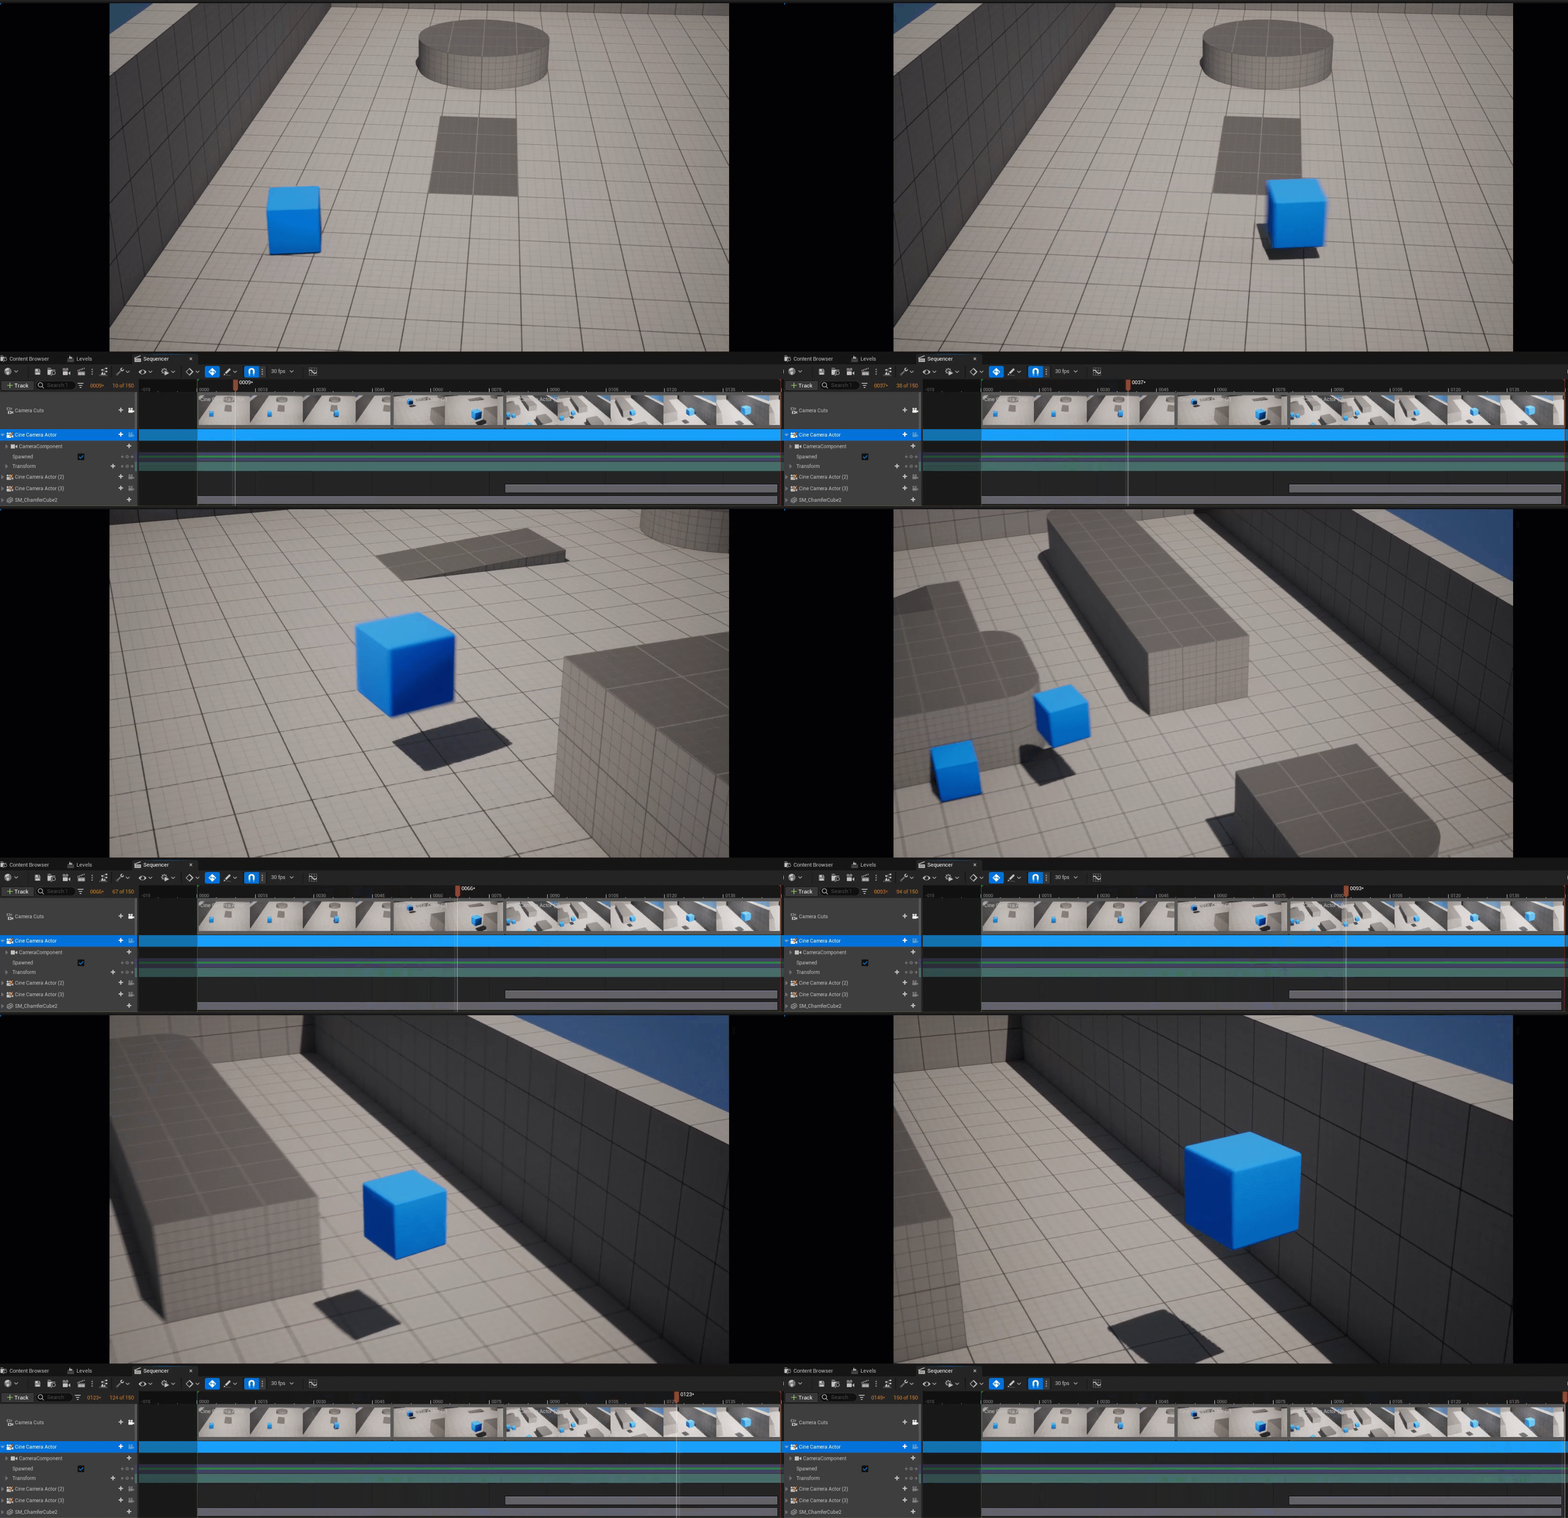
What is Sequencer?

Sequencer is a robust cinematic tool that you can use to create animation and cinematic sequences without leaving Unreal Engine (UE). Sequencer is a non-linear editing suite. Non-linear editing is a form of offline editing for a wide variety of UE assets. In offline editing, the original content is not modified.
Common User Cases for Sequencer
Sequencer can create level fly-throughs, animate assets such as lights, materials, objects, and characters, and render out sequences. These are some of the more common uses for Sequencer.

Sequencer provides you with the tools and intuitive UI to create cinematics using level sequences, tracks, and keyframed assets all in one platform.
What You'll Learn
This tutorial is designed to show new users to UE how to gain experience, provide a light introduction to animating assets, setting static and animated up cameras, gain exposure to Sequencer's UI, and learn how to create camera cuts in Sequencer.
Set Up the Project
- Create a new Unreal Engine project using the Third Person template. You don't need to modify any of the default project settings.
- In the Content Browser, create a folder by right-clicking in an empty space in the Content Browser, and name it Sequences. Make sure you create this folder under the Content folder.
- Inside the Sequences folder, right-click and add a Level Sequence from the Cinematics menu.
- Double-click this sequence to open it in Sequencer. At this point, you have an empty level sequence.
Animate a Cube
With your level sequence set up, you need to consider what your camera cuts will focus on. For this tutorial, you'll animate a cube moving across the scene and create three camera cuts to follow it as it moves.
-
From the Outliner or the Viewport, select SM_ChamferCube2. This cube is the one furthest away from the three cubes that come with the template.
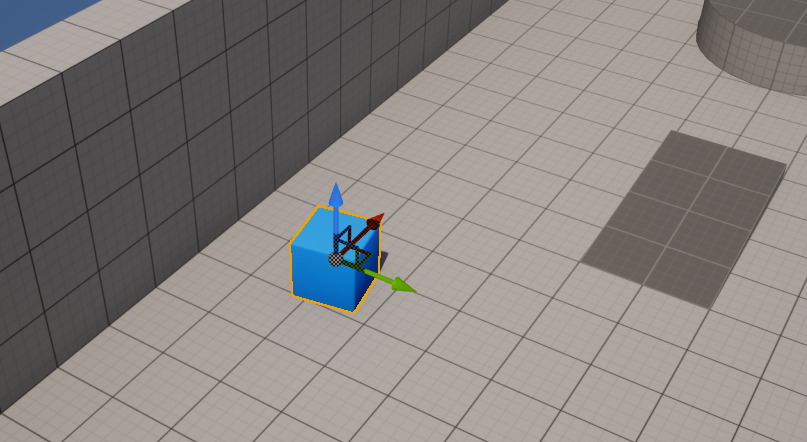
-
In Sequencer, click the + Add button and select Actor to Sequencer > Add 'SM_ChamferCube2'. This creates a track that has a transform property that you can animate in Sequencer.
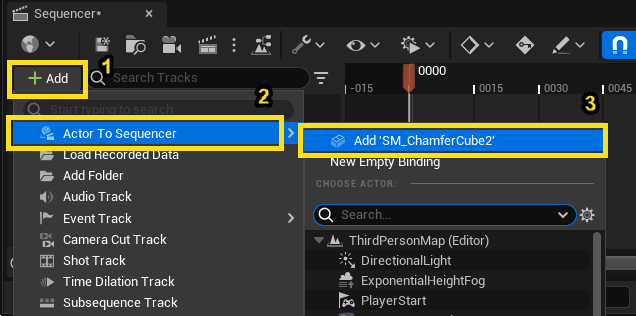
-
Expand the Transform property and click the Add keyframe button at frame 0000 for the Location property of Transform. This adds a keyframe to the X, Y, and Z attributes of Location. If you haven't moved this cube, the Location keyframe should be set to 1050 on X, 320 on Y, and 50 on Z.
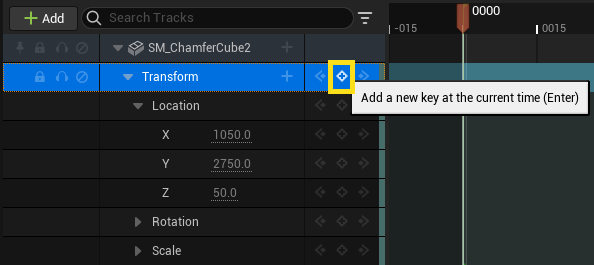
-
Move the playback head to the end of the shot by clicking the To End button.

-
Toggle the automatic keyframe creation feature by enabling the Auto-Key button in the Toolbar.

The magnet icon turns blue when enabled.
-
Move the cube to the other side of the scene to these Location coordinates: X: 1050, Y: 3200, and Z: 280. At this point, you can scrub the playback head back and forth and see the cube move from the start to end point in your shot.
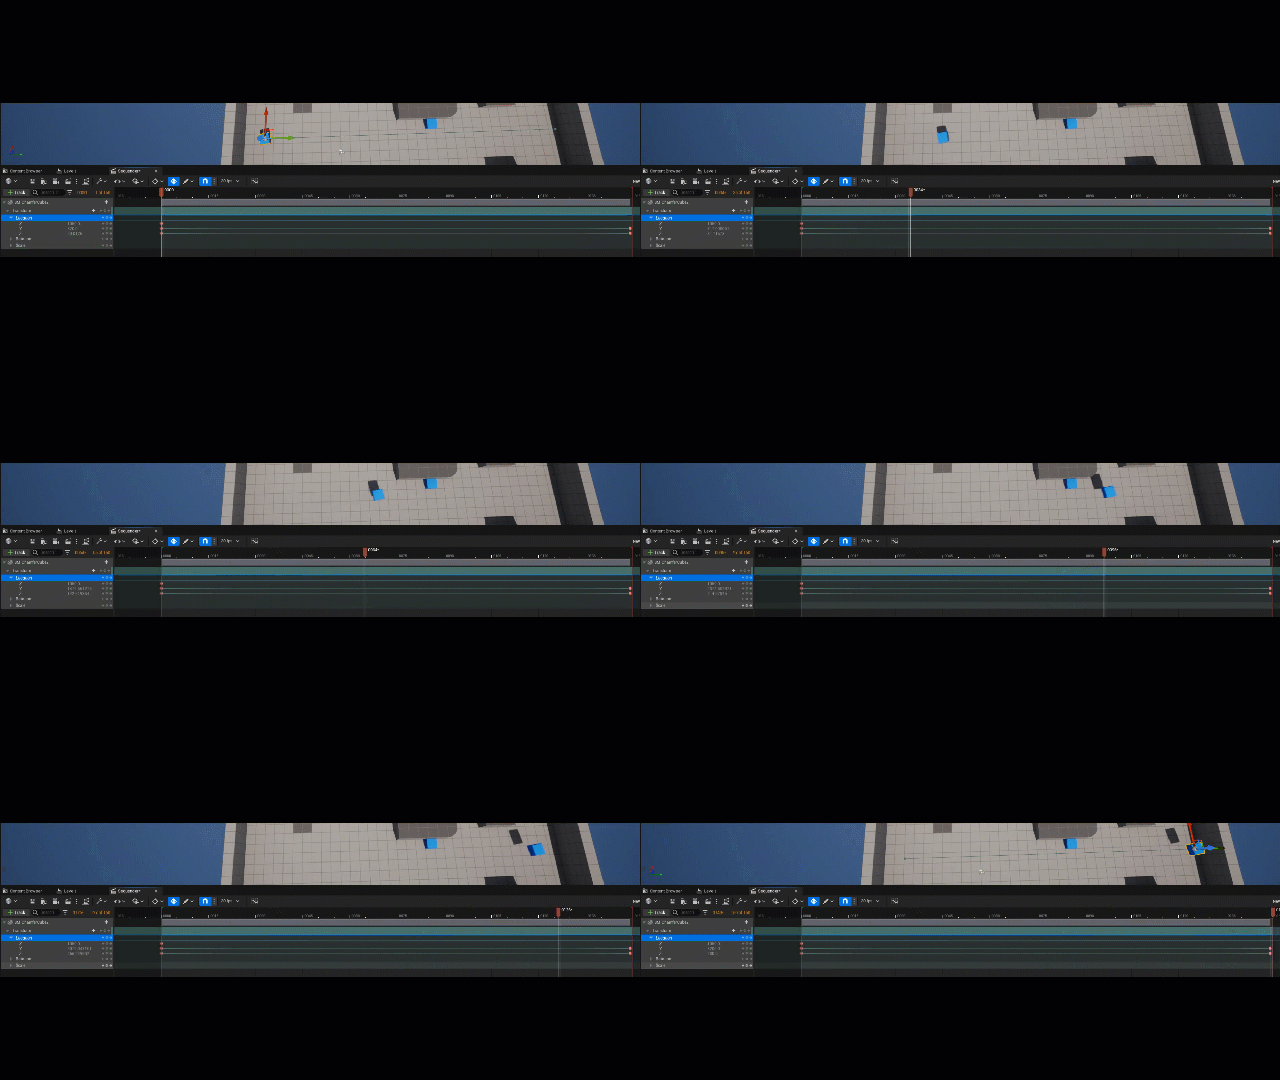
-
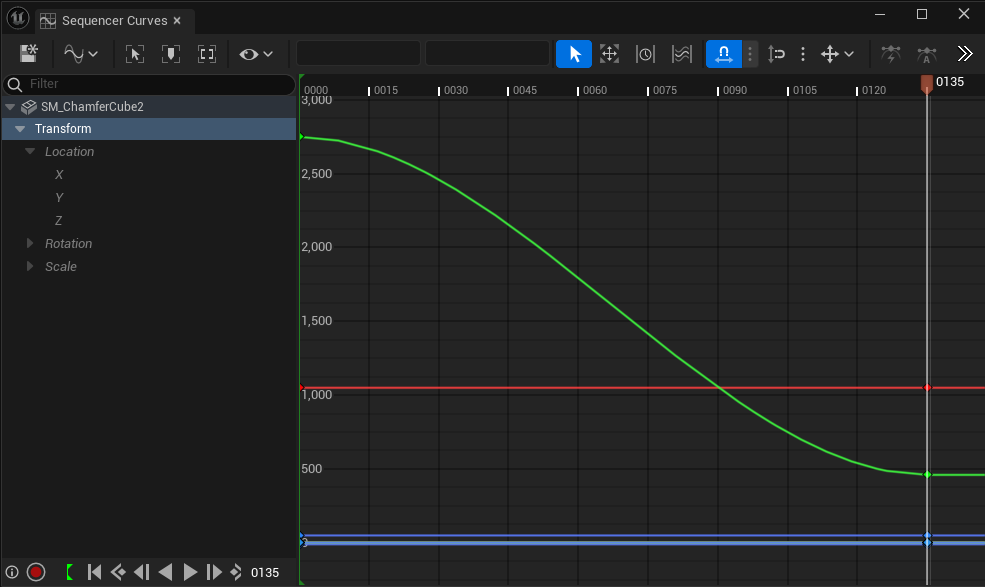
If you need to adjust the animation, move the selected cube around on the end frame with the Auto-Key enabled. This updates the cube's Location keyframes automatically. Or, you can click the Curve Editor and adjust the keyframe values as necessary by selecting the appropriate key and drag it up ordown to adjust its value or left-right to change what frame it starts or ends on.
Add Cameras
Now you need to create some cameras to focus on the action of the cube.
-
In Sequencer, click the Create Camera button (1) to create a camera. This action creates a camera called Cine Camera Actor, creates and assigns this asset to its own Sequencer track, creates a Camera Cuts (2) track (more on this later), and changes your viewport to look through this newly created camera.
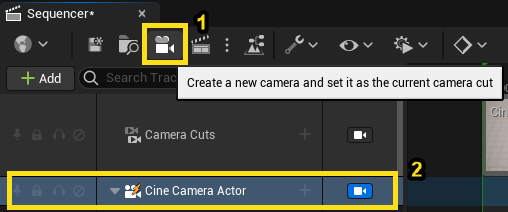
If you want to change back to the scene view in the Viewport, you can enable the Cine Camera Actor icon in its Sequencer track.

- While the camera is locked to the Viewport, you can pilot the camera. Ensure that your frame is set to 0000, then expand the tracks for Location and Rotation (found under Transform for the Cine Camera Actor track) and position the camera to these Transform values:
- Location:
- X: -520
- Y: 740
- Z: 890
- Rotation:
- Roll: 0
- Pitch: -25
- Yaw: 355
- Location:
-
Move the playback head to just before the cube leaves the camera's view (frame 0050). Now you are ready to make your first camera cut. Trim the duration of the camera shot by grabbing and pulling the right end of the track until it reaches frame 0050. Hover your mouse over the end of the track until you see the edge turn blue and the cursor turn into a right-left arrow.

- For a little more practice, create a second camera called Cine Camera Actor (2) by clicking the Create Camera button in Sequencer. From the Viewport, nothing changes, but a new camera asset and track have been added to Sequencer. The new camera has the same position as the first camera.
Remembering that the creation of a new camera automatically puts you into camera pilot mode, move the new camera to look at the cube in an oncoming shot. Position your camera to these values:
- Location:
- X: 685
- Y: 2600
- Z: 640
- Rotation:
- Roll: 0
- Pitch: -25
- Yaw: -70
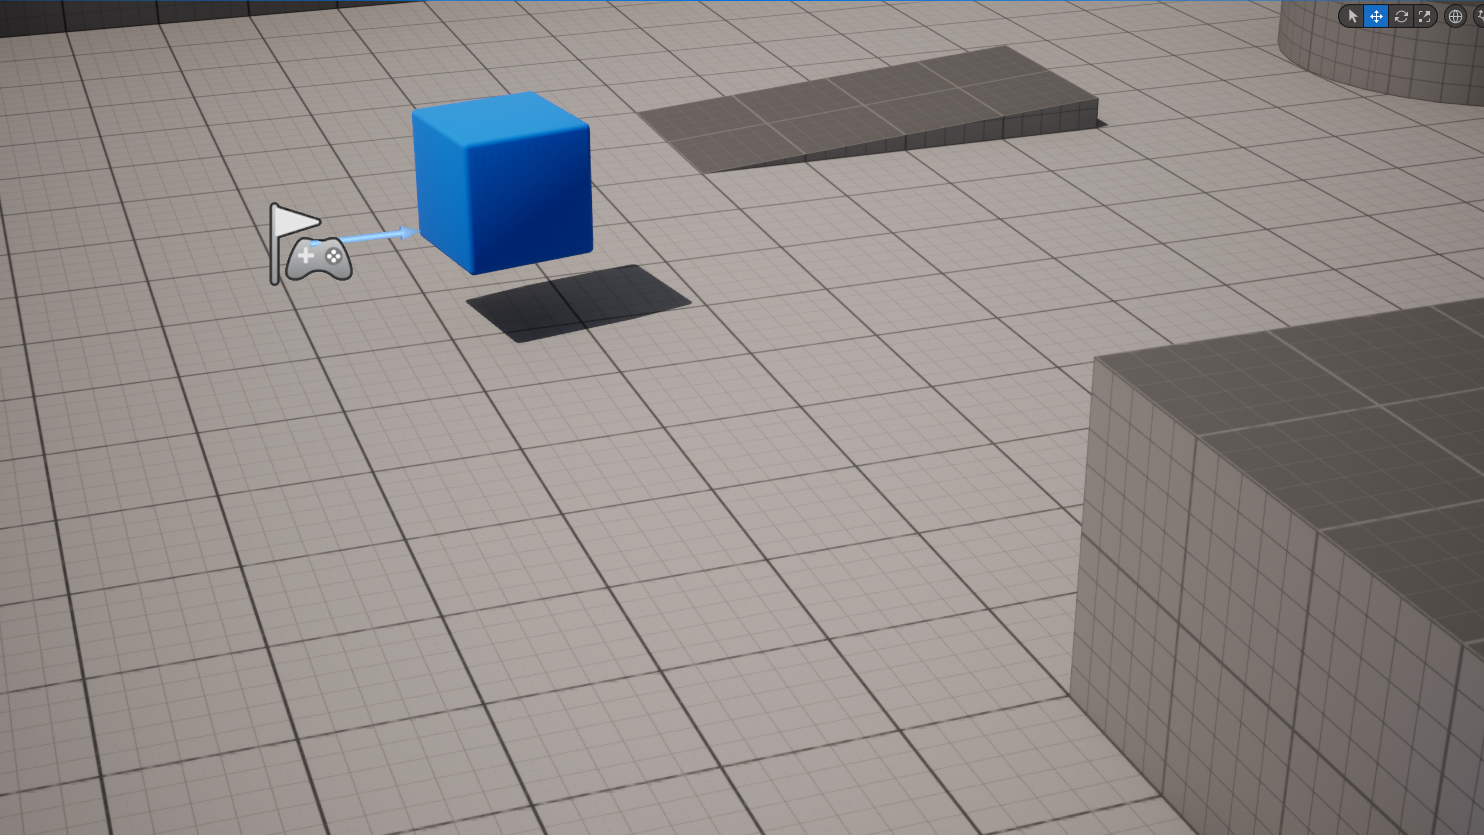
- Location:
-
In the Camera Cuts track, click the plus sign and select New Binding > Cine Camera Actor (2). This adds the second camera track to the Camera Cuts track.

-
If you slide the playback head around, you see the cube moving but the cuts between the cameras don't change. Keep in mind which camera is active. At this point, the second camera is active. To see the camera cuts, you need to disable the Lock Viewport.
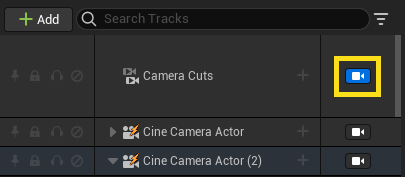
-
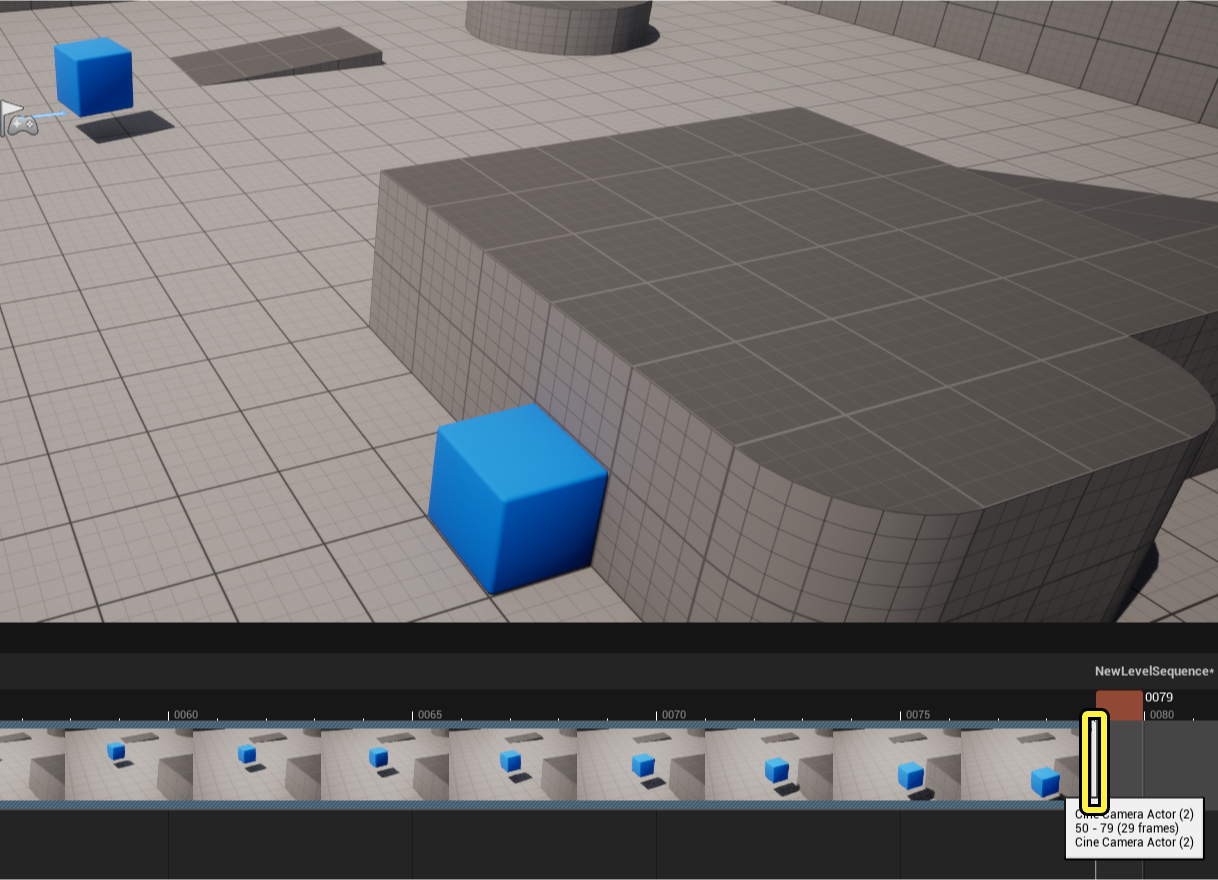
For the third and final camera, create a camera that follows the cube to its final position. Move the playback head to frame 0079 (the cube should be nearly touching the bottom-right edge of the Viewport). Crop the camera cut of Cine Camera Actor (2) to end on this frame. Once you complete this step, the camera seems to jump out of its position. This is expected as the camera cut ends at this frame and the playback head is at this same position. If you double-click this camera, the camera cut fills Sequencer's track view (zooms in and focuses on the camera cut). If you hover the camera cut for a second, UE tells you the name of the camera (Cine Camera Actor (2)), start and end frames (50-79), and frame duration (29 frames).
-
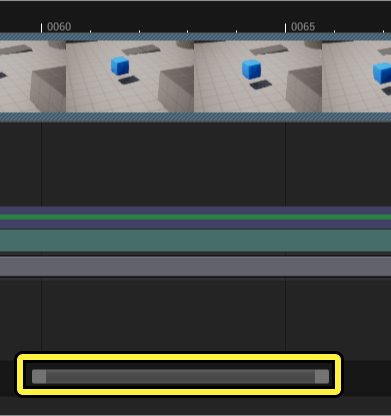
Double-click the Sequencer Slider to zoom out to see all the camera cuts you have created so far and the remaining frames.
- Click Create Camera to add a third camera. This camera's purpose is to follow the cube until it reaches its final resting position.
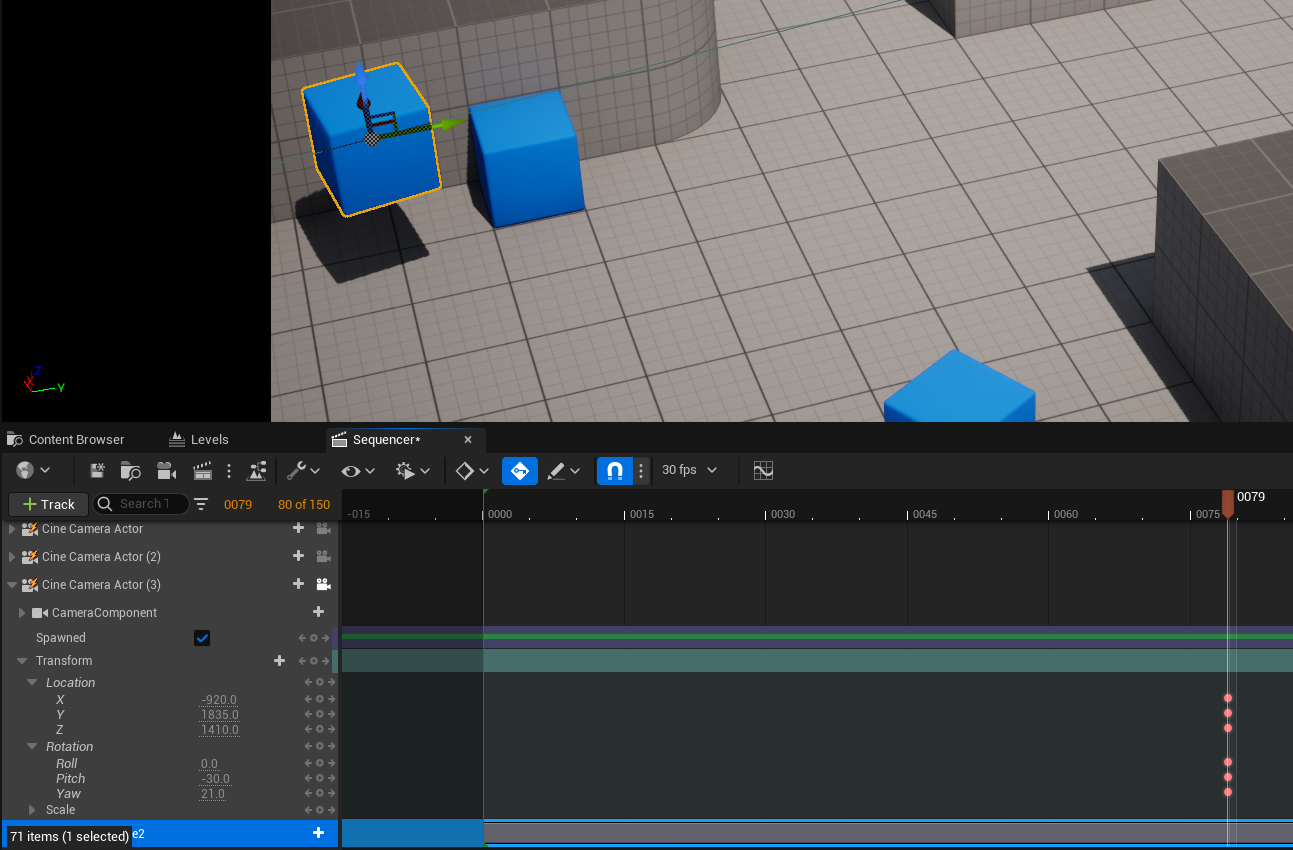
- Position the camera to focus on the end point of the cube animation. Use these Transform values and set a keyframe for them on frame 0079:
- Location:
- X: -920
- Y: 1835
- Z: 1410
- Rotation:
- Roll: 0
- Pitch: -30
- Yaw: 21
- Location:
- Move the playback head to frame 0149 and set the Transform values for Cine Camera Actor (3) to the following values:
- Location:
- X: 157
- Y: 2733
- Z: 585
- Rotation:
- Roll: 0
- Pitch:-22
- Yaw: 25 If Auto-Key is still enabled, these keyframes are set automatically once you change the position of the camera.
- Location:
- Move the playback head to frame 0079 and enable the Camera Cuts Lock Viewport. Select the Camera Cuts track in Sequencer, and add the third camera to this track: click the Plus icon, then select New Binding > Cine Camera (3). This automatically adds the final camera cut at frame 0079 and ends at 0149.
-
Move the playback head back to frame 0000 and click Play. Your animation and camera cuts are now complete.
