
The Vertex Sculpt tool performs sculpting operations on the existing vertices of the mesh. The tool is helpful with shaping and adding details to your mesh.
Accessing the Tool
You can access the Vertex Sculpt tool from the following:
- The Deform category in Modeling Mode. To learn more about Modeling Mode and how to access it, see Modeling Mode Overview.
- The Editing Tools tab in the Skeleton Editor. To learn more, see Skeleton Editing.
Workflow Tips
Resolution
When working with the Deform category tools, you may experience unexpected results in your mesh's shape. The shape could indicate your resolution needs to be higher because you have a low-poly mesh.
To resolve the problem, follow these steps:
-
Add more triangles using the Remesh tool.
-
Perform any necessary edits.
-
Reduce the resolution using the Simplify tool.
 |
 |
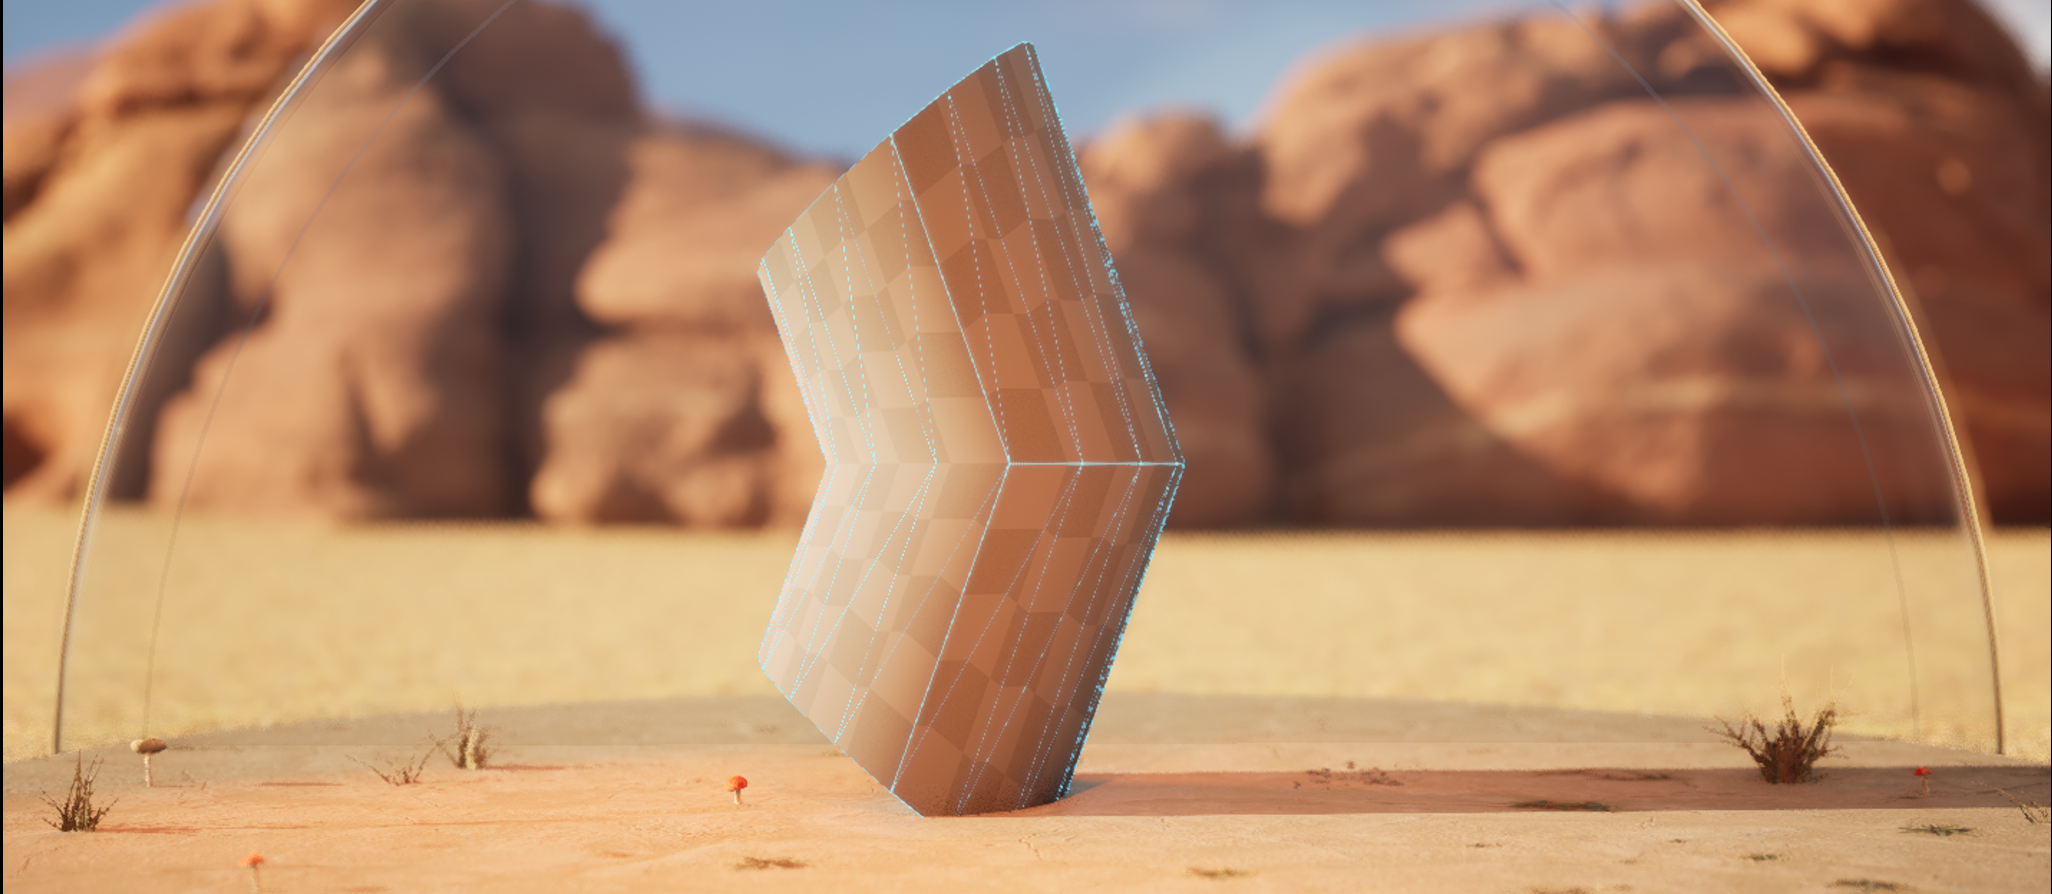
| Low-poly | High-poly |
In the image above, you can see the difference the Warp tool has on a mesh with roughly 30 triangles compared to one with over 100 triangles.
Depending on your project's desired look and performance budget, using the Simplify tool to reduce the number of polygons may not be necessary if remeshing didn't add a quantitative amount of triangles.
Normals
Not all Deform category tools adjust normals properly as you sculpt, which could cause them to look incorrect. To correct the appearnce, you can use the Edit Attributes tool to reset normals to the sculpted surface after you deform the mesh.
Viewport
As a general modeling practice, use the various Viewport Types (Front, Back, Left, and Right) to help ensure your model is shaping correctly.
In addition, viewing your mesh's wireframe helps you troubleshoot and keep track of the topology. To do so, enable the Show Wireframe option in the applicable Deform category tool or use the Inspect tool. You can also change the View Mode to Wireframe, visualizing the polygon edges of all geometry in the Viewport.
Using Vertex Sculpt Tool
Vertex Sculpt includes a set of brushes for editing your mesh. These brushes are similar to ones in other Digital Content Creation (DCC) software, such as Maya, Blender, and ZBrsuh.
Sculpting Brushes
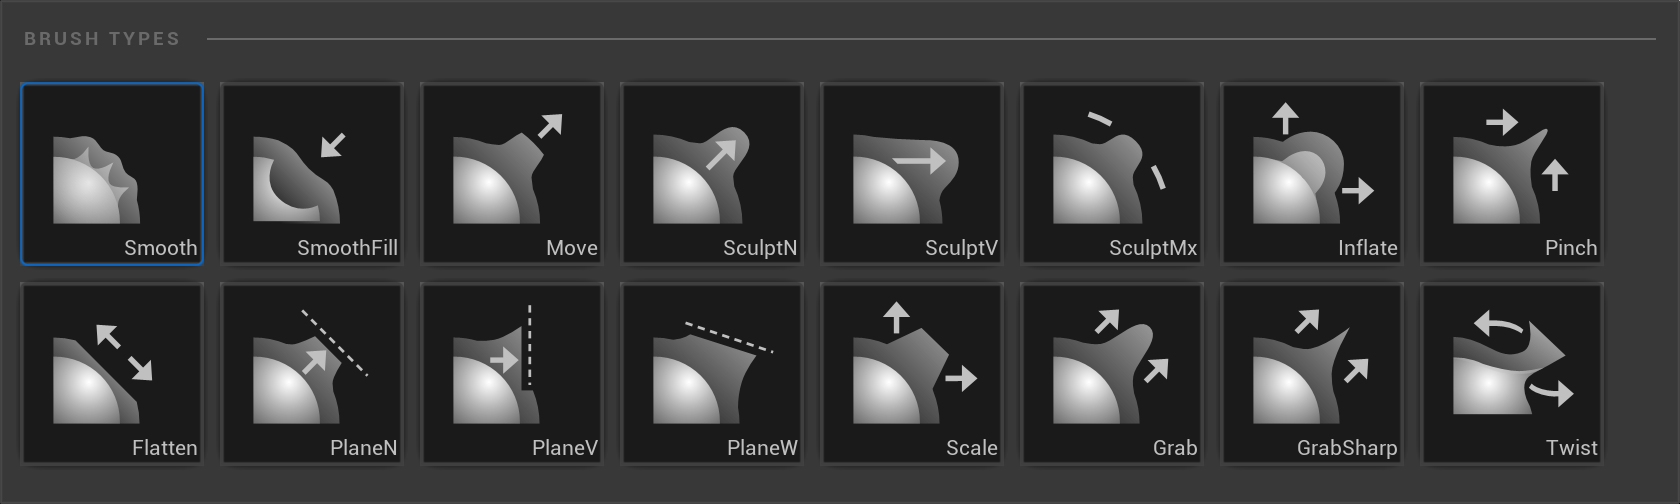
To open the panel of brushes, click the brush icon in the Sculpting section. With each brush, you can adjust settings like size, flow, and strength in the relative brush sections.
| Brush | Operation |
|---|---|
| Move | Moves vertices parallel to the view plane. |
| Kelvin Grab | Grabs and pinch-pulls vertices. Falloff controls the influence of the grab. |
| Sharp Kelvin Grab | Decreases the size of the brush by 0.025 with each key press. Holding the Shift key will decrease the size by 0.005 each key press. |
| Smooth | Evens out mesh vertices. |
| Sculpt (Normal) | Displaces vertices along the average surface normal. |
| Sculpt (Viewpoint) | Displaces vertices towards the camera viewpoint. |
| Sculpt Max | Displaces vertices along the average surface normal to a maximum height based on the brush size. |
| Inflate | Displaces vertices along their vertex normals. |
| Kelvin Scale | Inflates or pinches radially from the center of the brush. |
| Pinch | Moves vertices towards the center of the brush. |
| Kelvin Twist | Moves vertices in the plane perpendicular to the local mesh normal. |
| Flatten | Moves vertices towards the average plane of the brush stamp region. |
| Plane (Normal) | Moves vertices towards a plane defined by the initial brush position. |
| Plane (Viewpoint) | Moves vertices towards a view-facing plane defined at the initial brush position. |
| FixedPlane | Moves vertices towards a fixed plane in world space, positioned with a 3D gizmo. You can reposition in the world by pressing T. |
| Resample | Remeshes the brushed region but does not deform it in any way. |
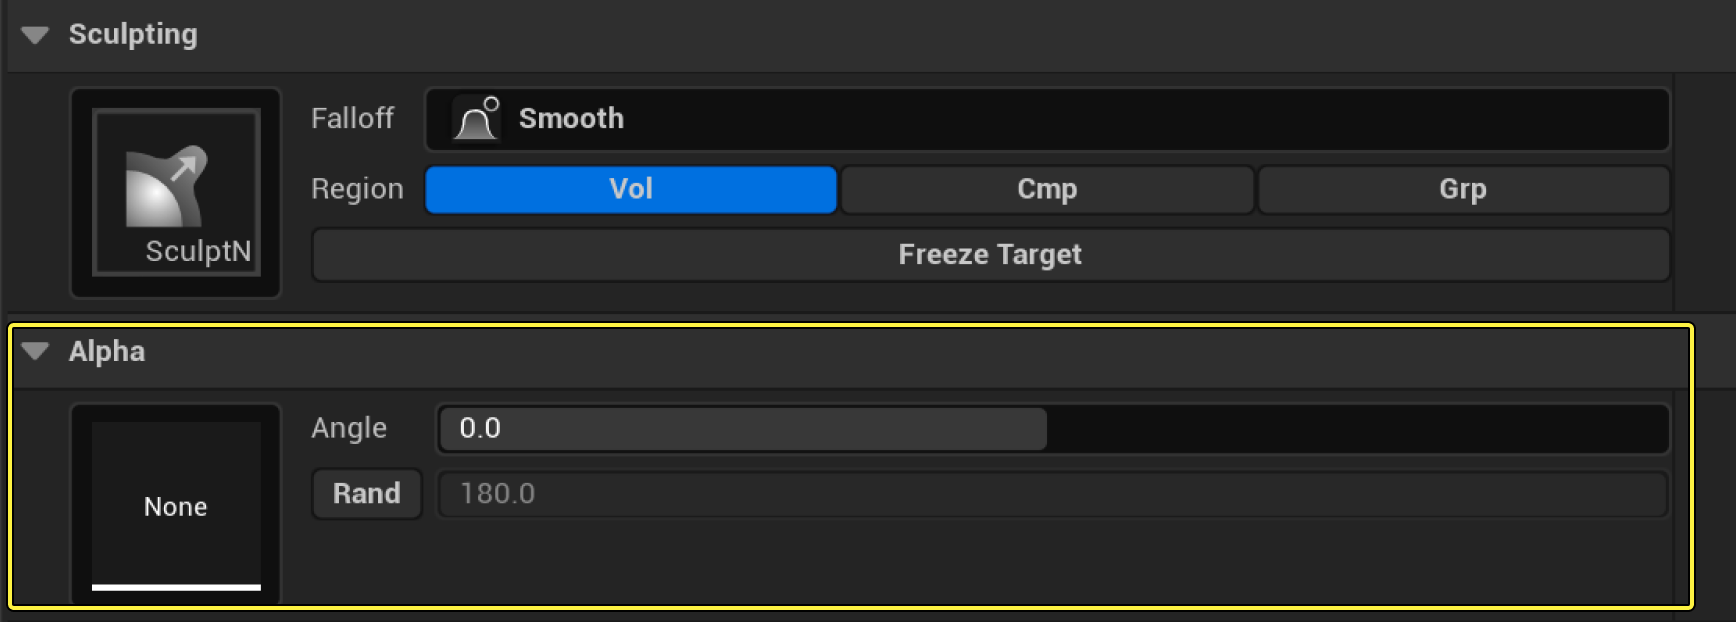
The SculptN, SculptV, and SculptMx brushes include the option to apply an alpha mask for custom shapes.
To help visualize the effect of the brush on your mesh, you can toggle Show Wireframe and Flat Shading and change the material mode in the Rending section.
Once you are done using the tool, accept or cancel the changes in the Tool Confirmation panel.
Hotkeys
| Key Command | Operation |
|---|---|
| Shift + Drag | Smooths the target surface. |
| Ctrl + Drag | When applicable, inverts the direction of the current brush. |
| [ or S | Decreases the brush size by 0.025 with each key press. Holding the Shift key decreases the size by 0.005 with each key press. |
| ] or D | Increases the brush size by 0.025 with each key press. Holding the Shift key increases the size by 0.005 with each key press. |
| W | Decreases how much strength each application of the brush has on the mesh. |
| E | Increases how much strength each application of the brush has on the mesh. |
| F | Zooms into the location of the brush. |