Importing Single Audio Files
Unreal Engine currently imports uncompressed, little endian, 16-bit Wave (WAV) files at any sample rate (although, we recommend sample rates of 44.1 kHz or 22.05 kHz).
-
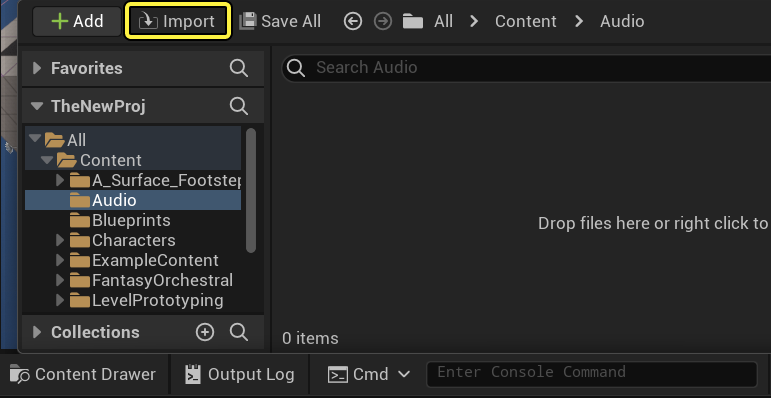
In the Content Browser, click the Import button.
-
Locate and select your
.wavfile.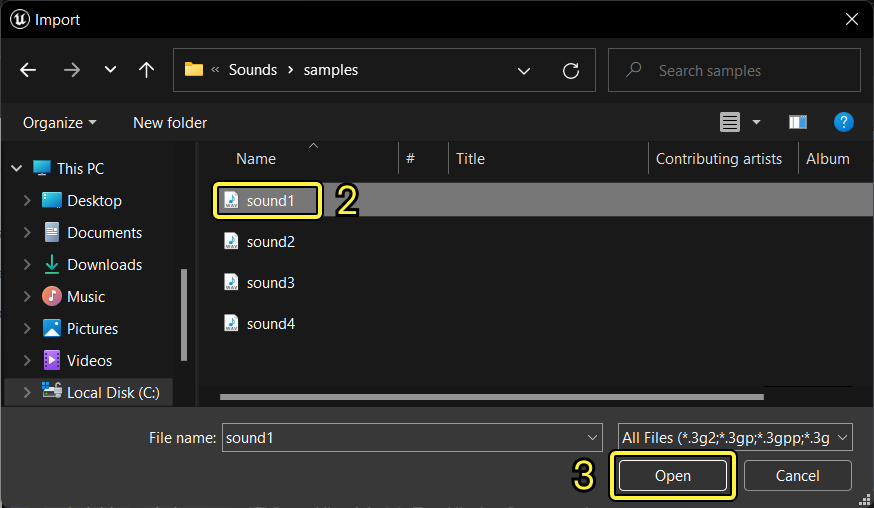
-
Click Open to begin importing the audio file to your project.
-
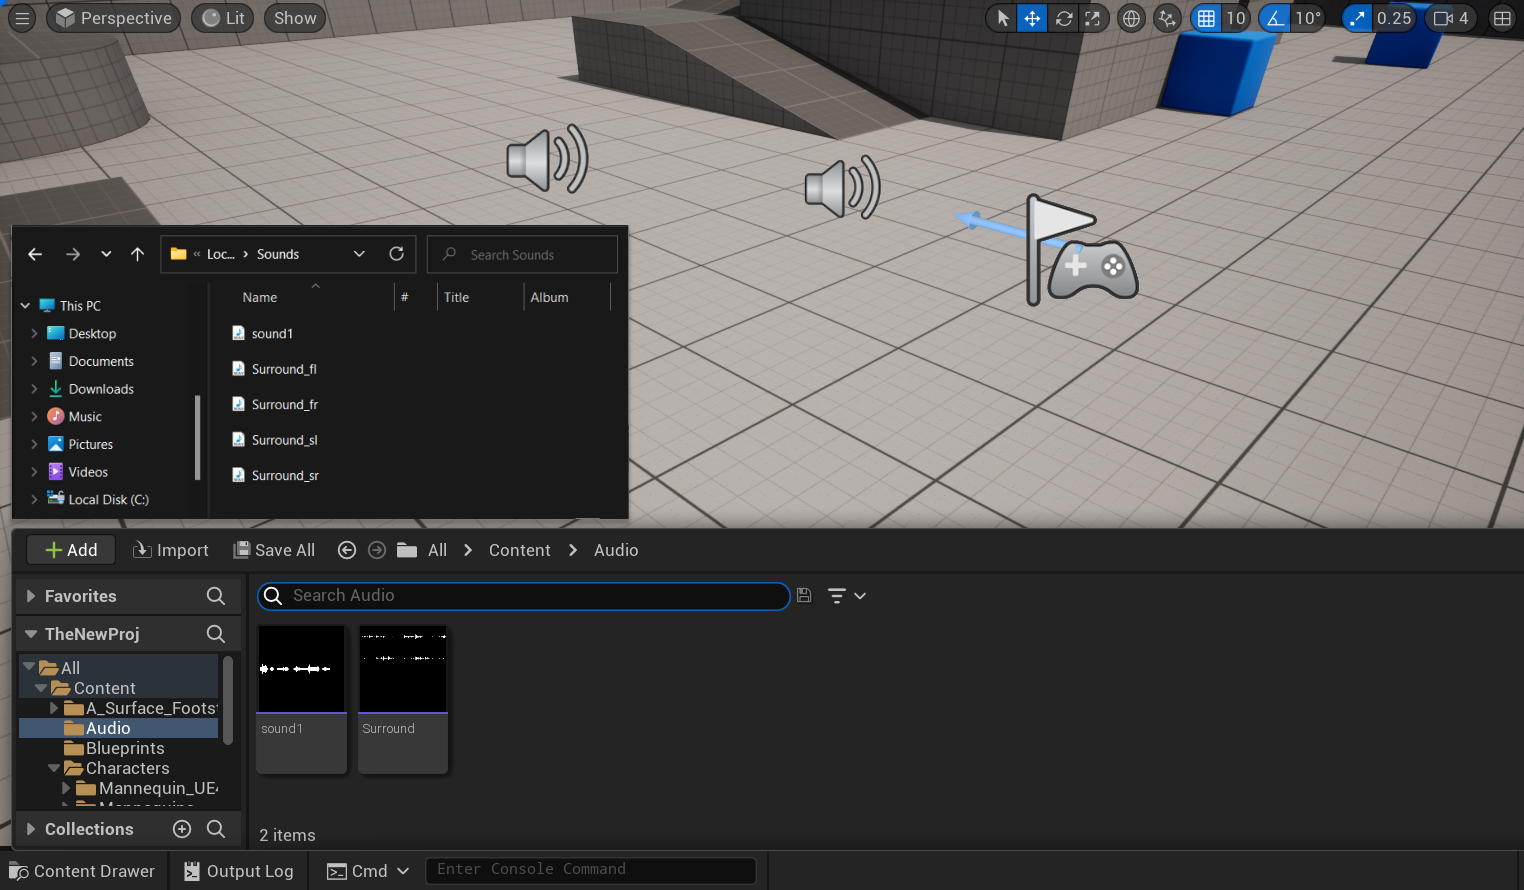
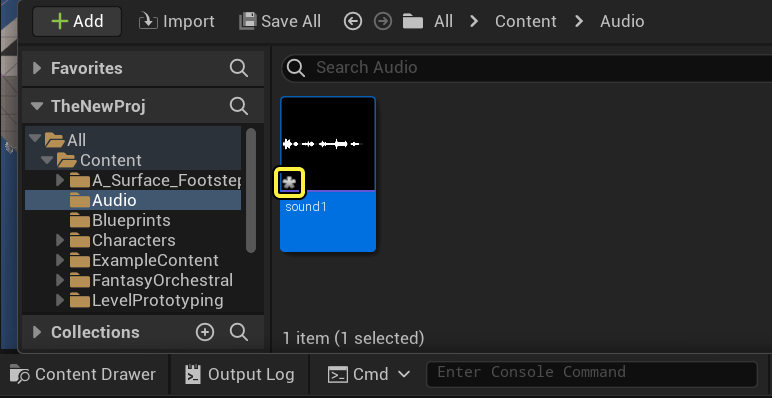
After the import progress bar fills up, a sound asset appears inside of the Content Browser, indicating that Unreal Engine has successfully imported the audio file to your project.
-
The unsaved sound asset is marked with an asterisk, prompting you to click the Save All button.

-
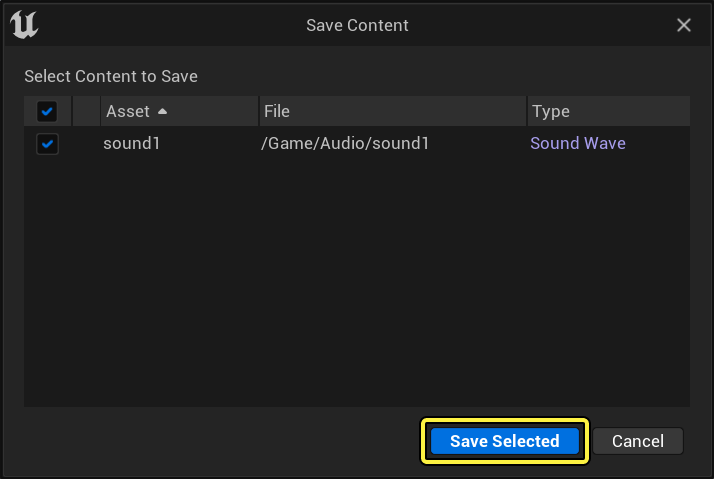
Once the Save Content dialog box appears, go ahead and click Save Selected to save your imported asset.
-
After clicking on the Save Selected button, Unreal Engine removes the asterisk, indicating that the audio file has been successfully saved.

-
Hover over the saved asset inside the Content Browser to view a summary of the sound asset's properties.
 (w:600)
Multi-Channel Audio Extension Table
Prior to importing multi-channel audio, it's a good practice to reference the following table when naming your *.WAV files.
| Extension | 4.0 | 5.1 | 7.1 | |
|---|---|---|---|---|
| FrontLeft | _fl | ✓ | ✓ | ✓ |
| FrontRight | _fr | ✓ | ✓ | ✓ |
| FrontCenter | _fc | ✓ | ✓ | |
| LowFrequency | _lf | ✓ | ✓ | |
| SideLeft | _sl | ✓ | ✓ | ✓ |
| SideRight | _sr | ✓ | ✓ | ✓ |
| BackLeft | _bl | ✓ | ||
| BackRight | _br | ✓ |
The following steps demonstrate a specific use-case for importing a 4.0 surround sound asset into the editor. Refer to our Audio documentation for information on sample rates, audio specifications, and best practices when importing audio into Unreal Engine.
-
After exporting your multi-channel sound asset, verify that your audio files are named according to the Multi-Channel Audio Extension Table (4.0 example pictured below).
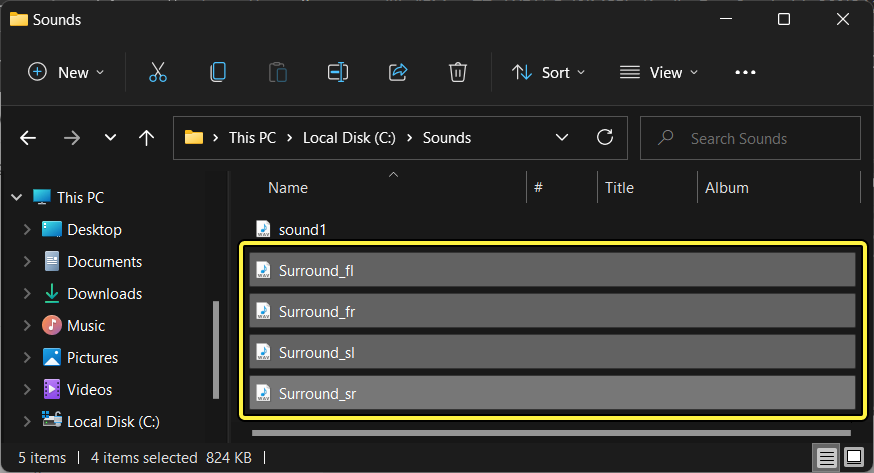
Extension requirements for 5.1, 6.1, and 7.1 channel surround sound are found in the Multi-Channel Audio Extension Table.
Importing Multi-Channel Audio
Exporting a multi-channel sound asset will create a mono .wav file for each channel, following the Multi-Channel Audio Extension naming convention.
-
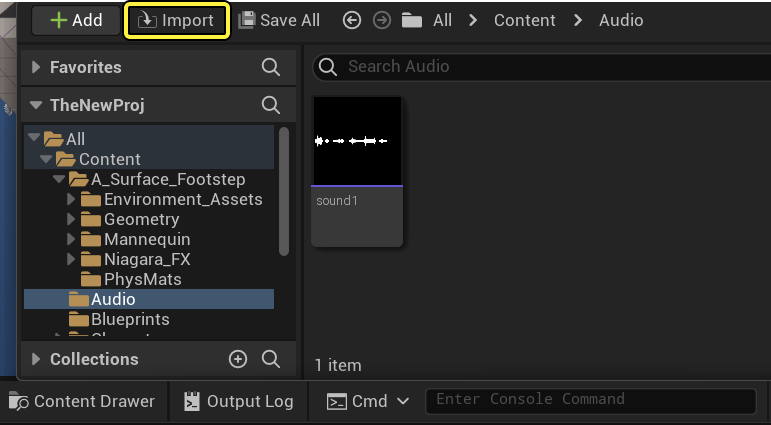
In the Content Browser, click the Import button.
-
Locate and select your
.wavfiles.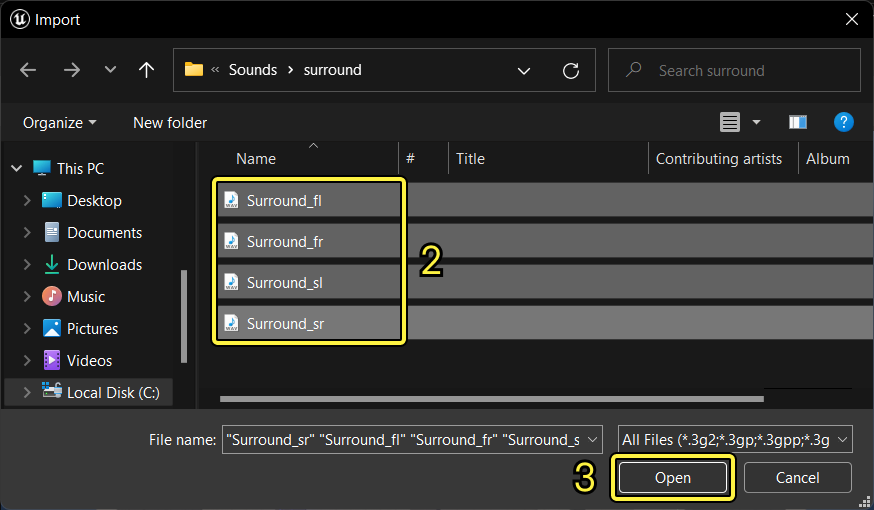
-
Click Open to begin importing the audio files to your project.
-
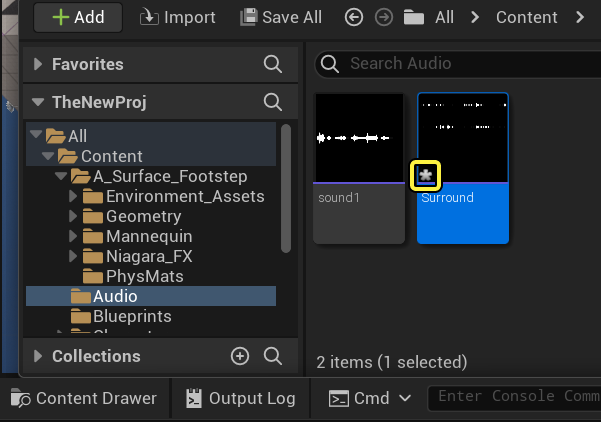
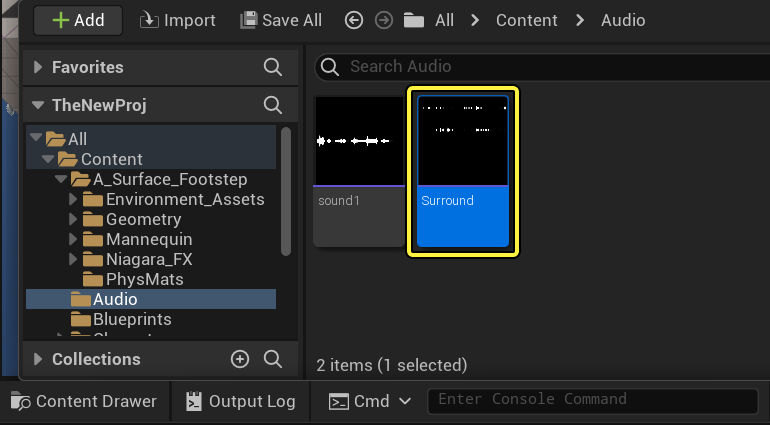
After the import progress bar fills up, a four channel sound asset (named "Surround") appears inside of the Content Browser, indicating that Unreal Engine has successfully imported the audio file to your project.
-
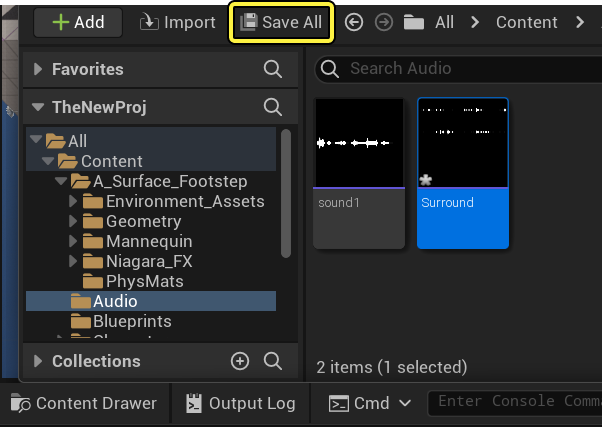
The unsaved sound asset is marked with an asterisk, prompting you to click the Save All button.
-
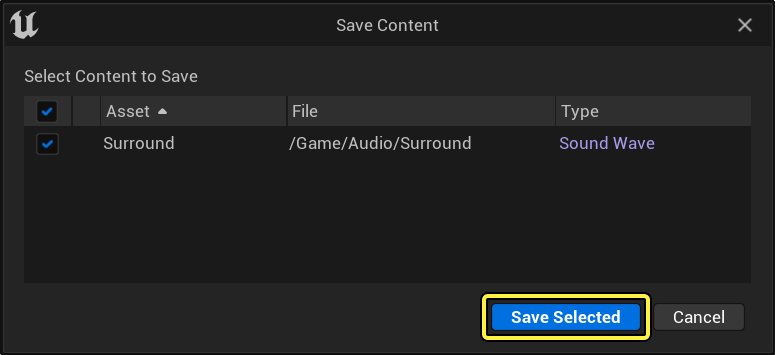
Once the Save Content dialog box appears, go ahead and click Save Selected to save your imported asset.
-
After clicking on the Save Selected button, Unreal Engine removes the asterisk, indicating that the assets have been successfully saved.
-
Hover over the saved asset inside the Content Browser to view a summary of the sound asset's properties.
 (w:600)
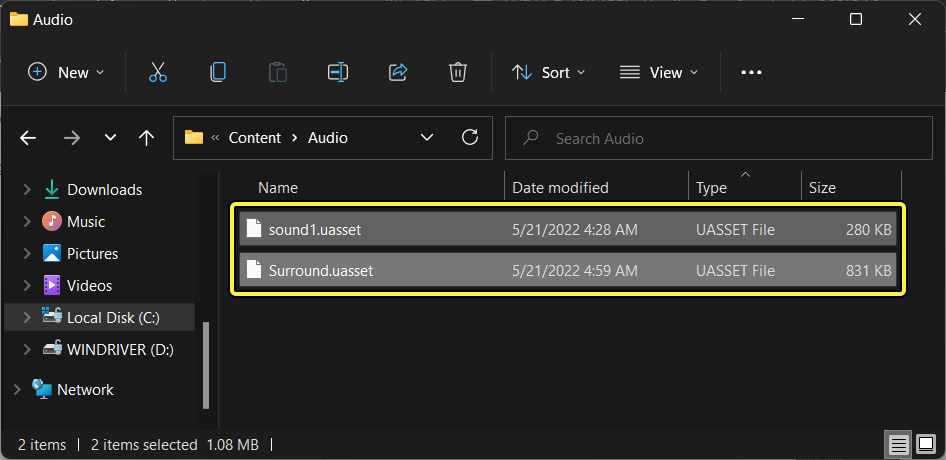
Verifying Imported Assets
It's good practice to verify that .uassetfiles were imported properly onto the hard disk.
-
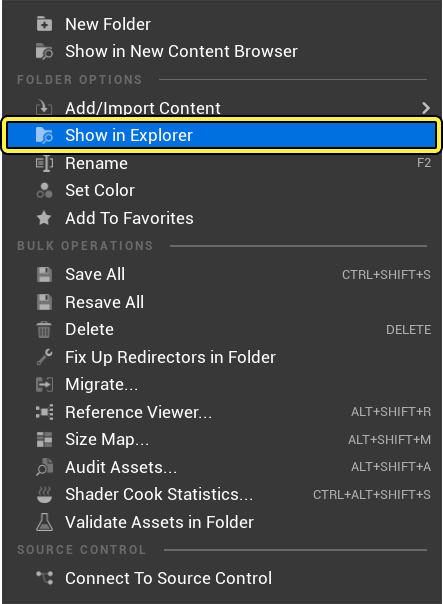
Inside the editor, right-click the folder with imported files. Under Folder Options, click 'Show In Explorer'.
-
With Explorer open, verify that Unreal Engine created the corresponding
.uasset filesfor your project.