
The Deform category in Modeling Mode consists of artist-friendly tools for sculpting and distorting a mesh. Adding the Deform tools to your modeling workflow can increase efficiency when you need to:
- Add finer details to your mesh.
- Create organic shapes.
- Reshape a mesh quickly.
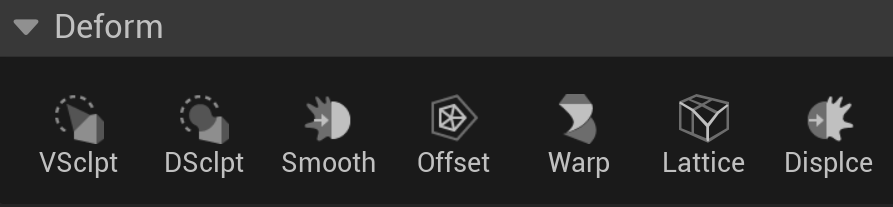
Derform Tools' Icons
Workflow Tips
Resolution
When working with the Deform tools, you may experience unexpected results in your mesh's shape. The shape could indicate your resolution needs to be higher because you have a low-poly mesh.
You can resolve the problem using the following workflow:
-
Add more triangles using the Remesh tool.
-
Perform any necessary edits.
-
Reduce the resolution using the Simplify tool.
 |
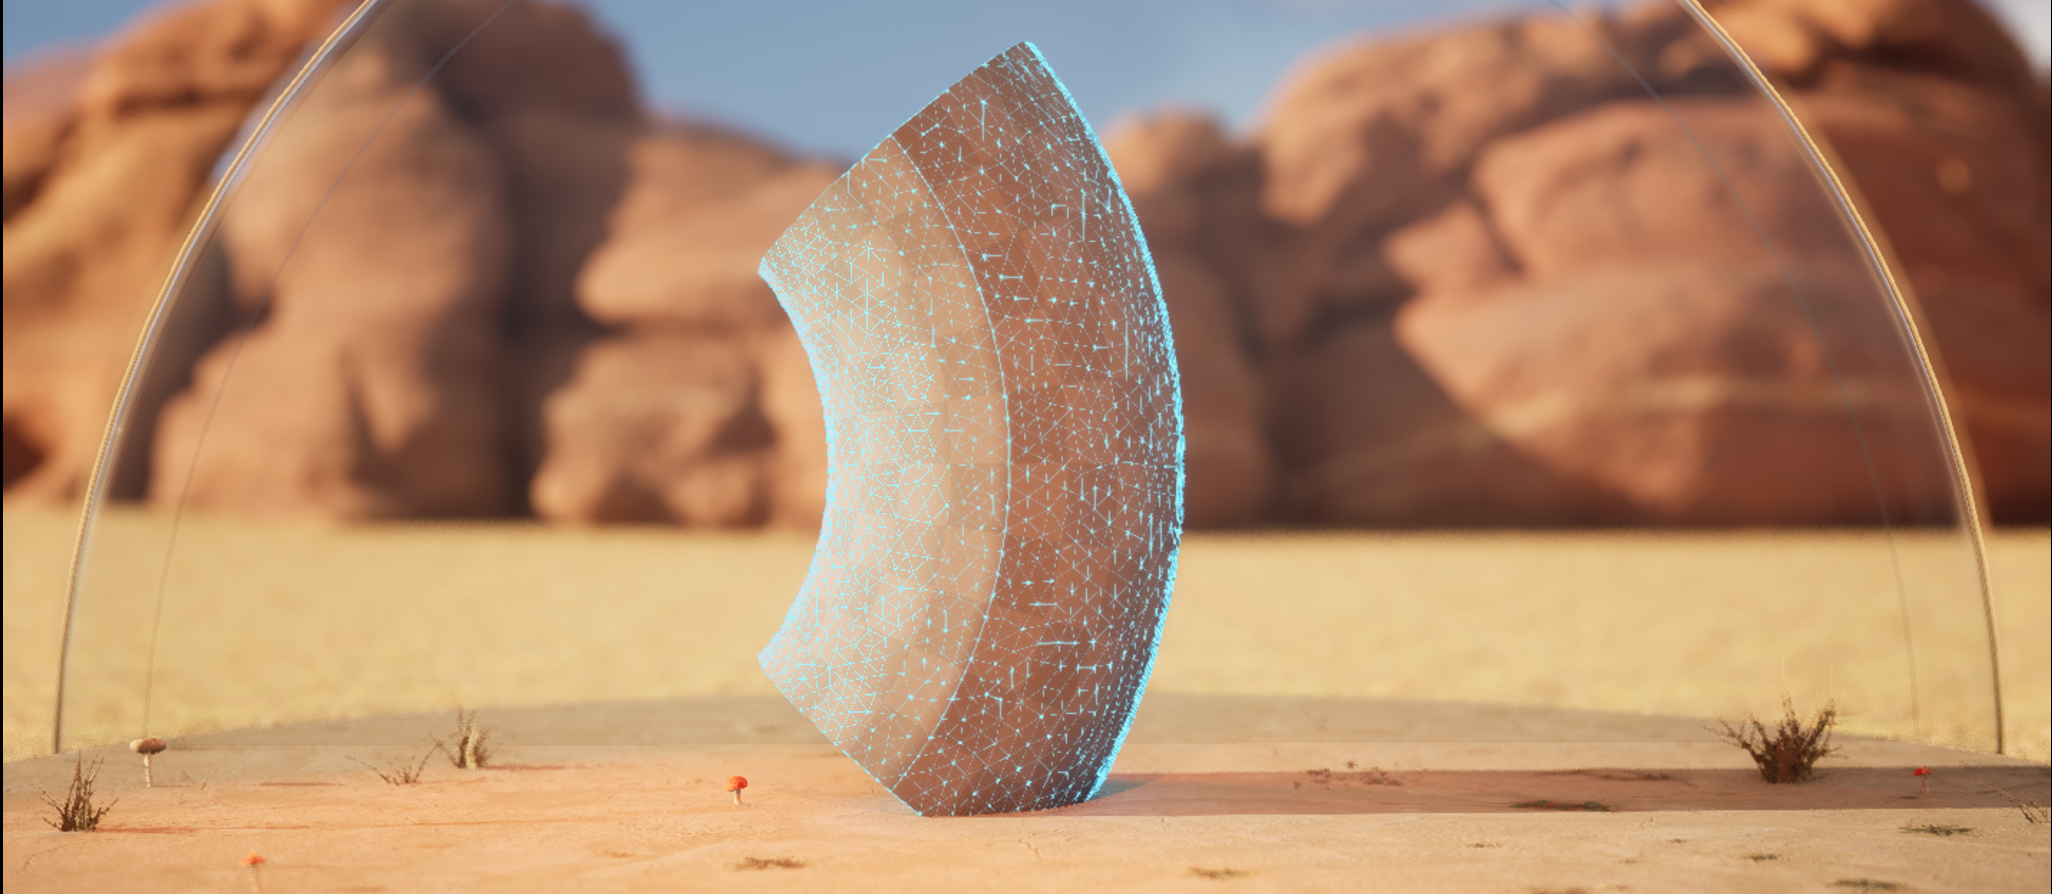 |
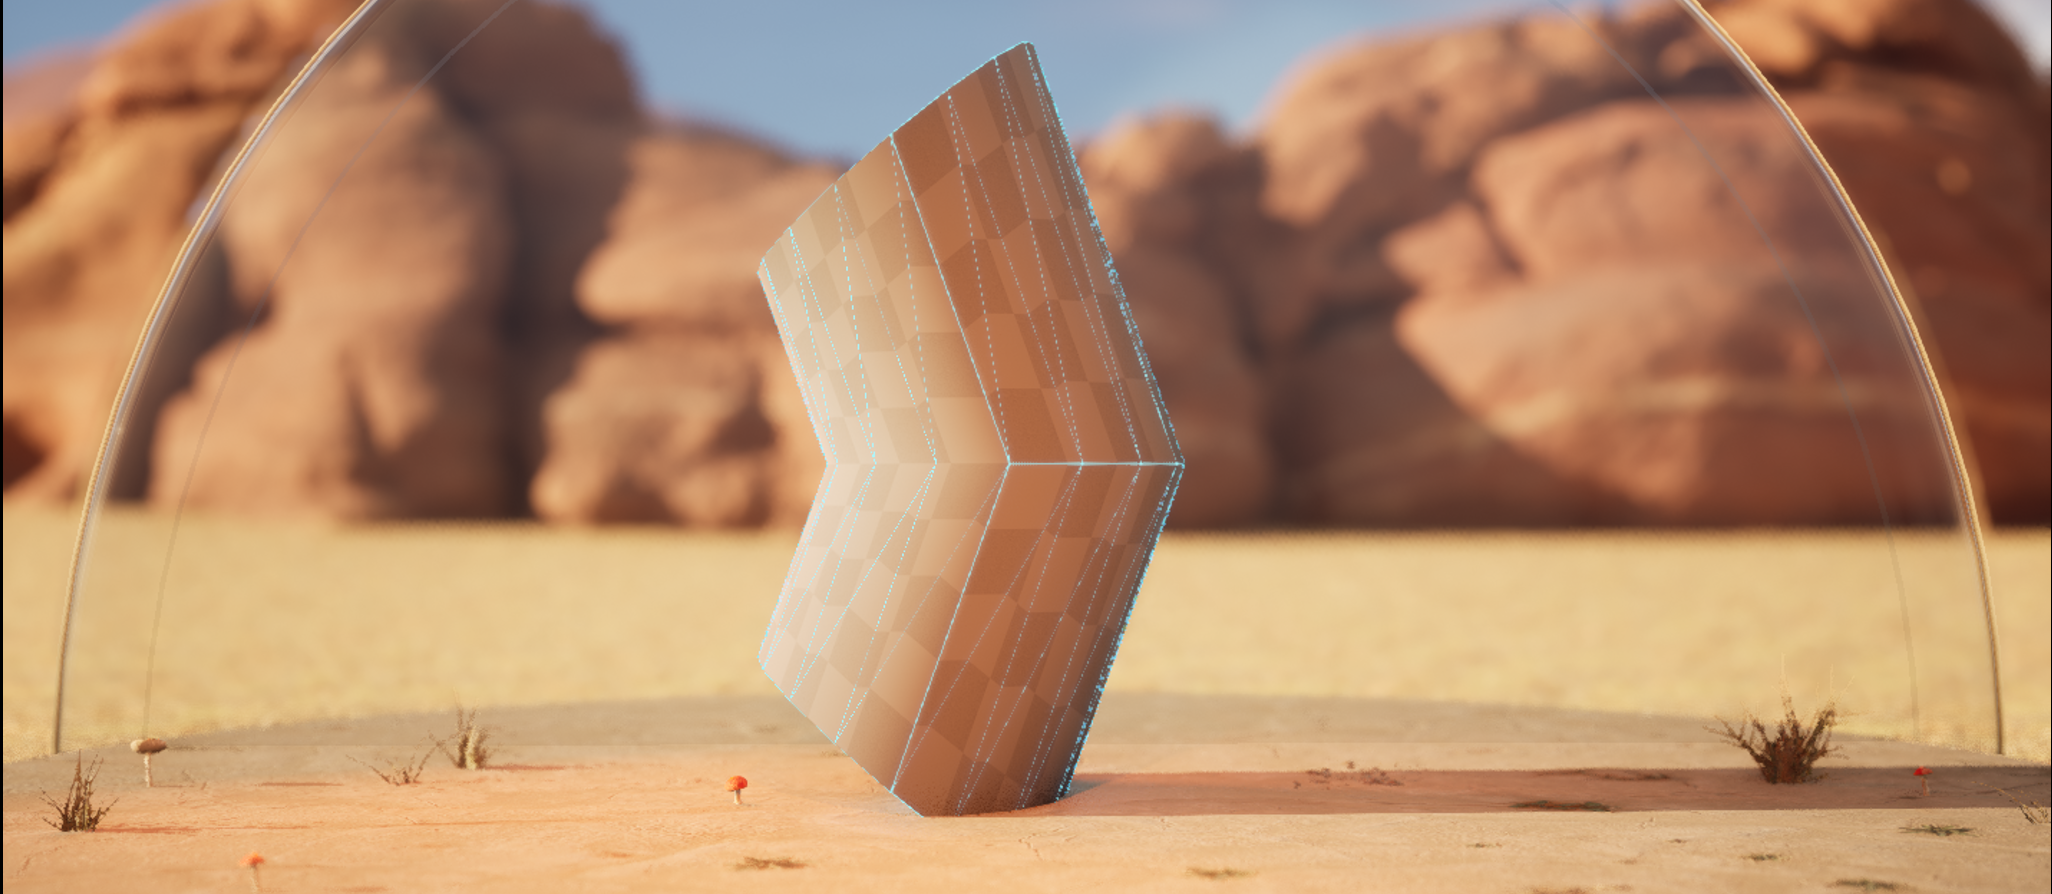
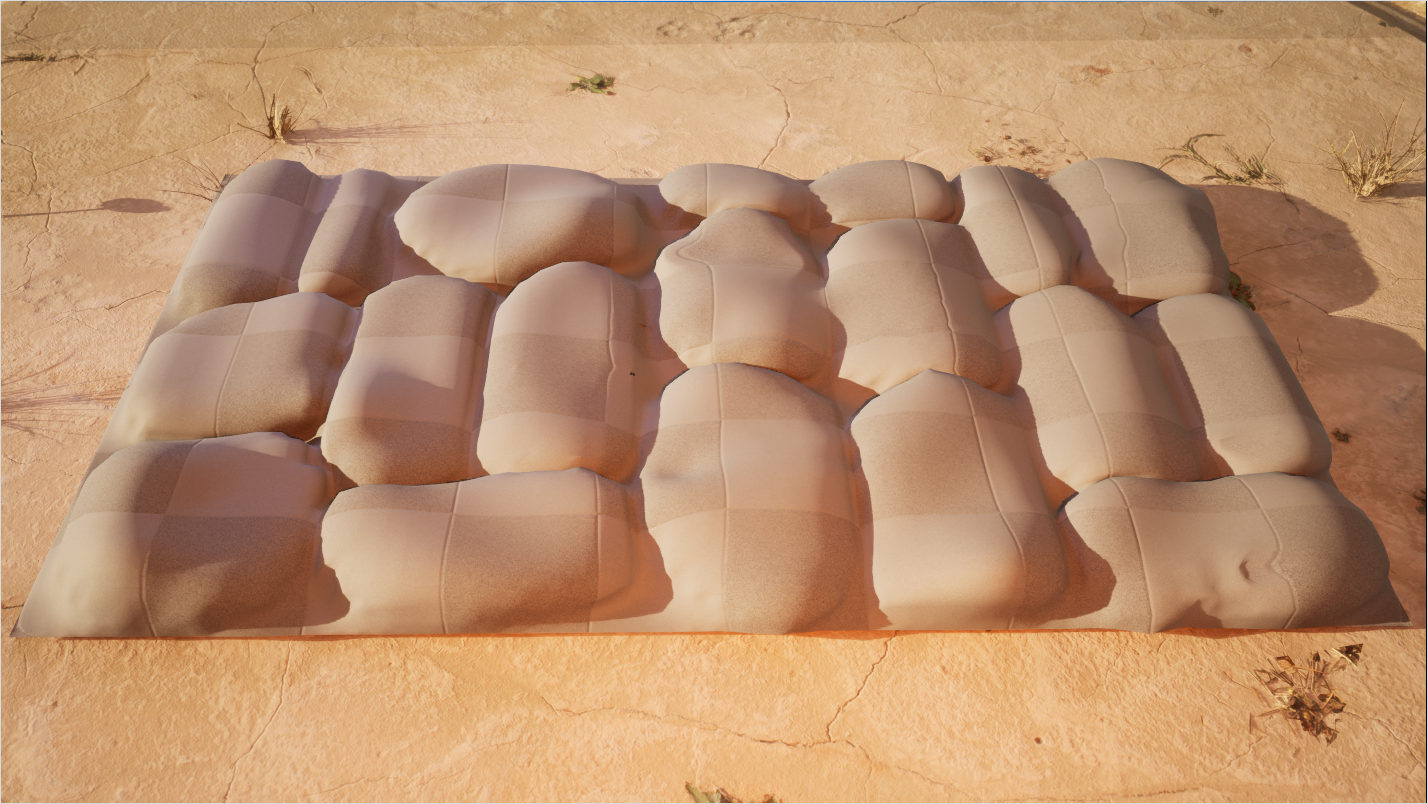
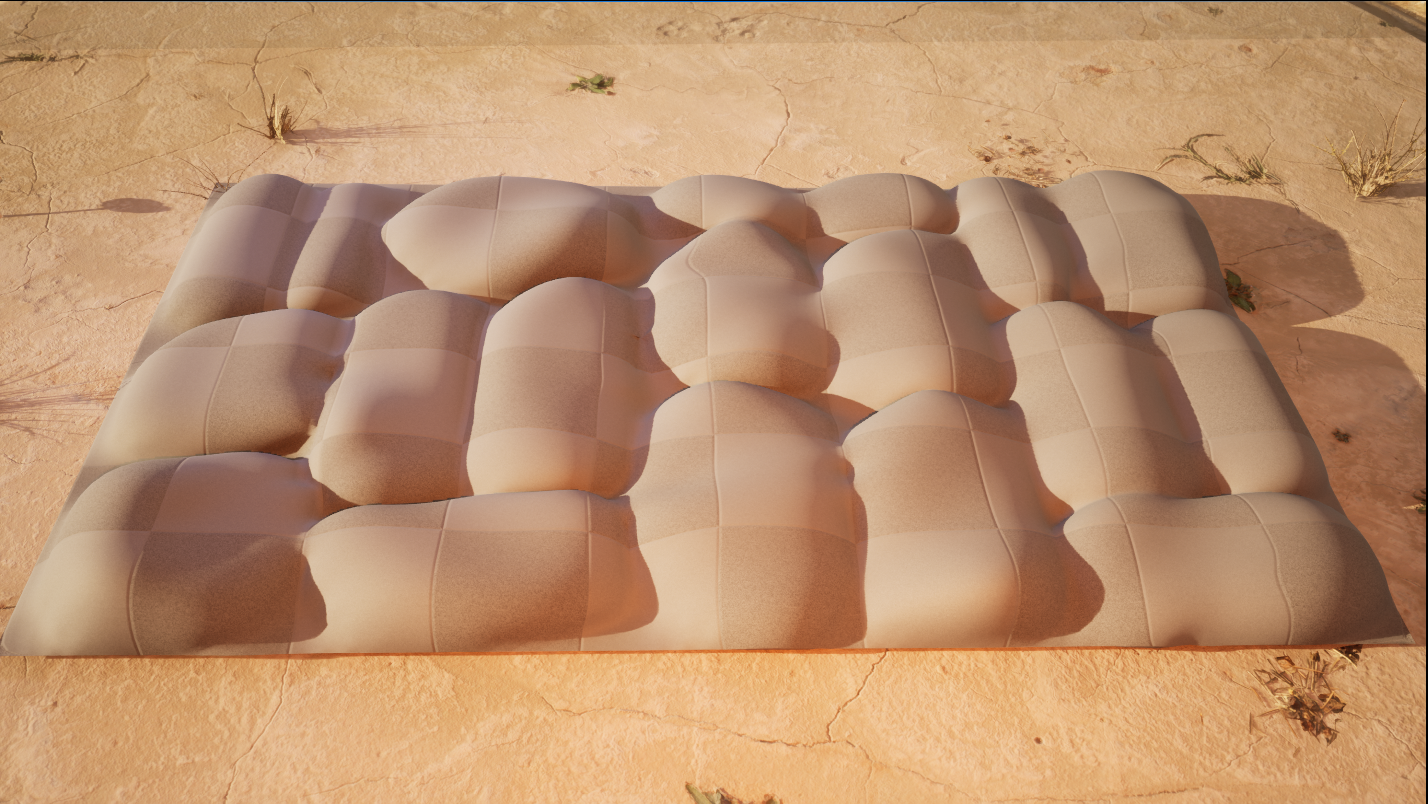
| Low-poly | High-poly |
In the image above, you can see the difference the Warp tool has on a mesh with roughly 30 triangles compared to one with over 100 triangles.
Depending on your project's desired look and performance budget, using the Simplify tool to reduce the number of polygons may not be necessary if remeshing didn't add a quantitative amount of triangles.
Normals
Not all Deform tools will adjust normals properly as you sculpt, which could cause them to look incorrect. Because of this, you may need to use the AttrEd (Attribute Edit) tool to reset normals to the sculpted surface after you deform the mesh.
Viewport
As a general modeling practice, using the various Viewport Types (Front, Back, Left, and Right) helps ensure your model is shaping correctly.
In addition, viewing your mesh's wireframe helps you troubleshoot and keep track of the topology. To do so, enable the Show Wireframe option in the applicable Deform tool or use the Inspct (Inspect) tool. You can also change the View Mode to Wireframe, visualizing the polygon edges off all geometry in the Viewport.
Using Deform Tools
Each tool includes properties that open in the Modeling panel. With these, you can:
- Adjust your mesh as a whole or in specific areas.
- Use Weight Maps for finer control of vertex regions.
To use Weight Maps you need to first create one using the AttrEd tool.
Vertex Sculpt
The VSclpt (Vertex Sculpt) tool performs sculpting operations whereby you can add detail to your mesh. The operations are based on the existing vertices of the mesh.
VSclpt includes a set of brushes for editing your model. These brushes are similar to ones found in other DCCs, such as Maya, Blender, and ZBrsuh.
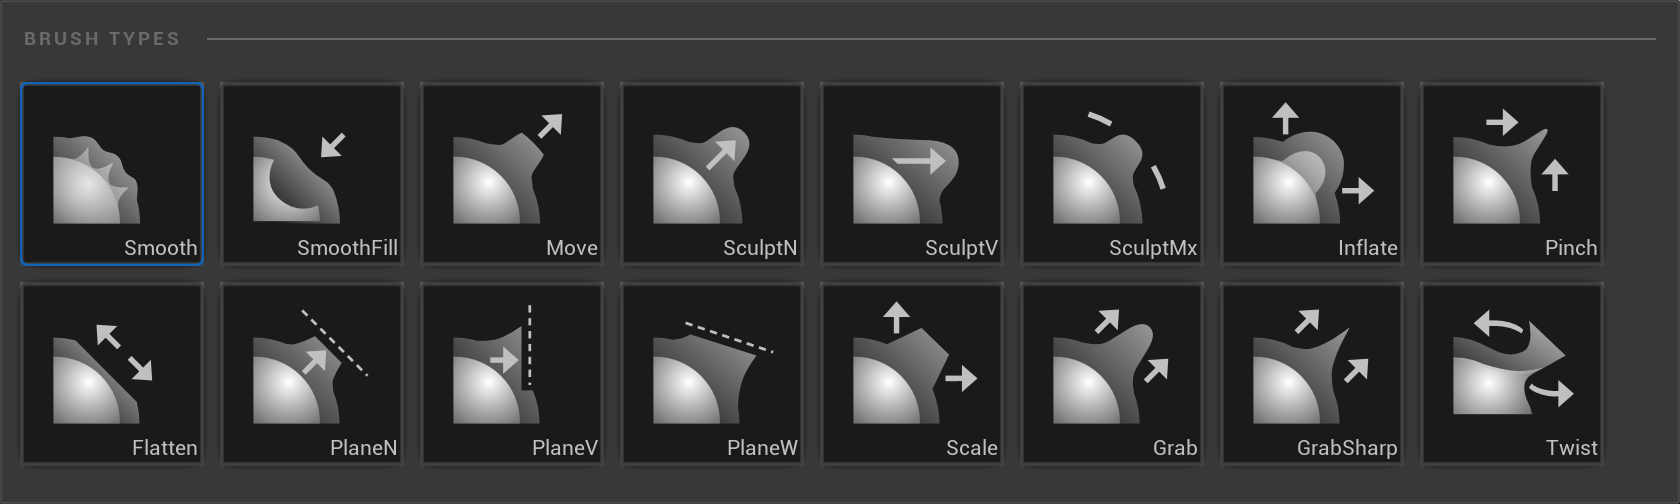
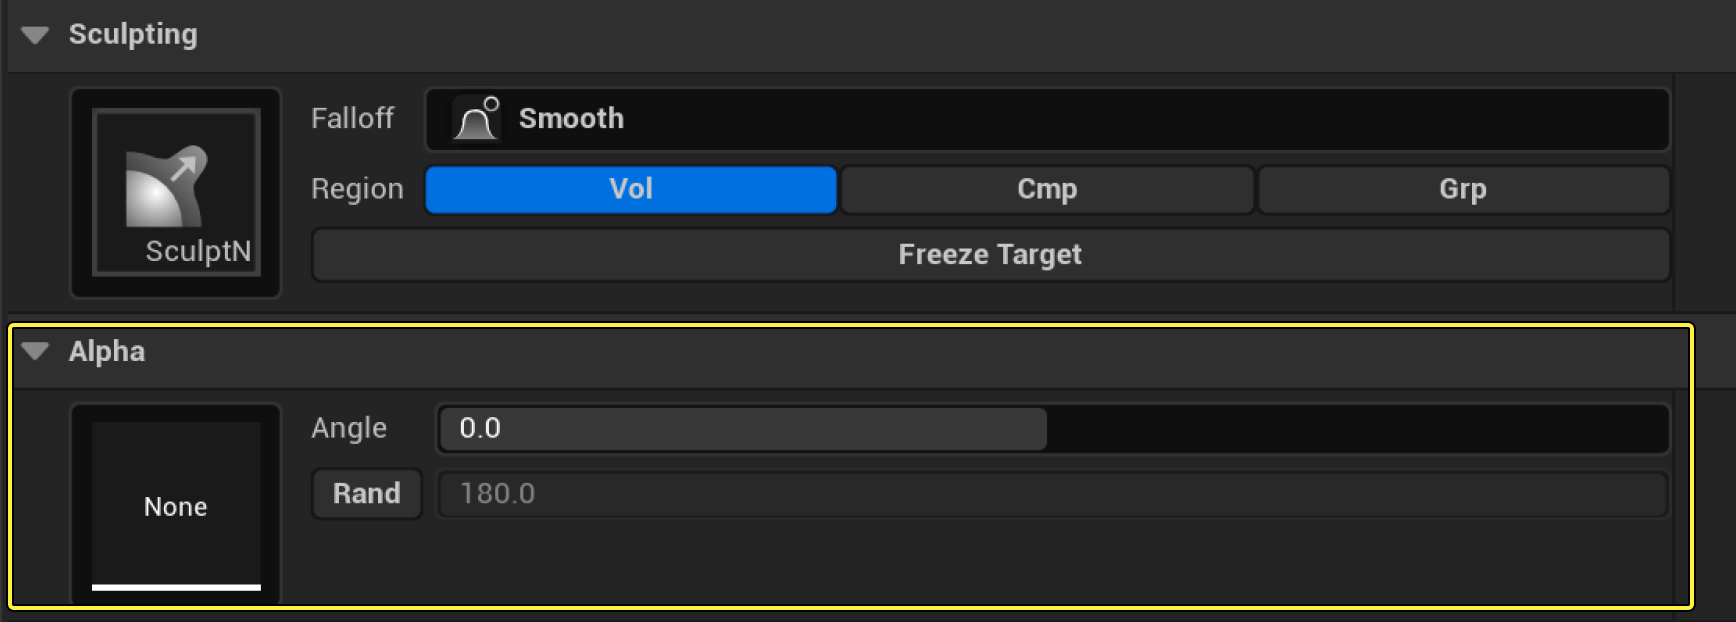
Sculpting Brushes
Some brush types include the option to input an Alpha Texture for custom shapes.
The specified sculpt brushes (SculptN, SculptV, and SculptMx) include the option to apply an alpha mask for custom shapes.
Dynamic Sculpt
The DSclpt (Dynamic Sculpt) tool sculpts a mesh using brushes similar to the VSclpt tool. However, the tool dynamically adds geometry through local remeshing of the area influenced by the brush.
Quickly adding geometry with DSclpt helps with efficiently creating new shapes and details on your mesh.
If using DSclpt on a model with predefined UV mapping, the model's UVs will alter as you add geometry. If you want to avoid this, you can disconnect the UVs before using the tool, or enable Preserve UVFlow, then use the UV Editor to adjust after sculpting.
Sculpting Hotkeys
Key commands for VSculpt and DSculpt brushes.
| Key Command | Operation |
|---|---|
| Shift + Drag | Smooths the target surface. |
| Ctrl + Drag | When applicable, this inverts the direction of the current brush. |
| [ or S | Decreases the size of the brush by 0.025 with each key press. Holding the Shift key will decrease the size by 0.005 each key press. |
| ] or D | Increases the size of the brush by 0.025 with each key press. Holding the Shift key will increase the size by 0.005 each key press. |
| W | Decreases how much strength each application of this brush has on the model. |
| E | Increases how much strength each application of this brush has on the model. |
| F | Zooms into the location of the brush. |
Smooth
The Smooth tool softens the edges of surfaces by moving vertices towards the averaged location of their neighbors. This is especially useful when a mesh has jagged edge artifacts.
There are times your mesh can seem to have disappeared when using the Smooth tool. Your mesh has not disappeared but has significantly smoothed and shrunken in size. This change in size happens based on the resolution (number of polygons) of your model and values used with the Iterative Smoothing Options.
Avoid this by:
- Increasing the number of polygons / triangles the mesh has with the Remesh tool (you'll have to cancel the current Smooth session to do this).
- Lowering the Smoothing Per Step setting under the Iterative Smoothing Options.
- Lowering the Steps settings under Iterative Smoothing Options.
Offset
The Offset tool adjusts the position of the mesh's vertices by a specified amount along its normal, such as creating additional details in highly tessellated geometry like a cobblestone pattern.
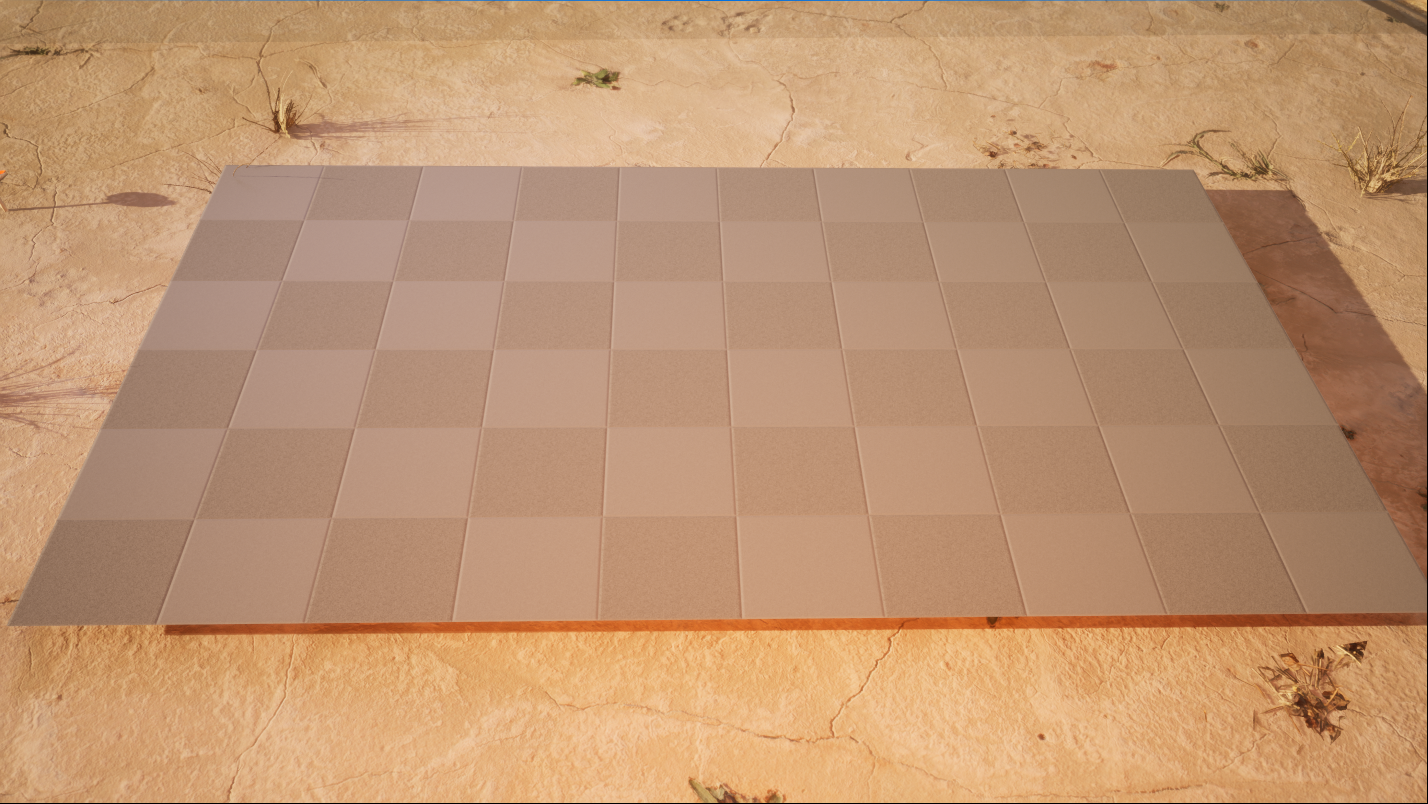 |
 |
| Flat Rectangle | Cobblestone |
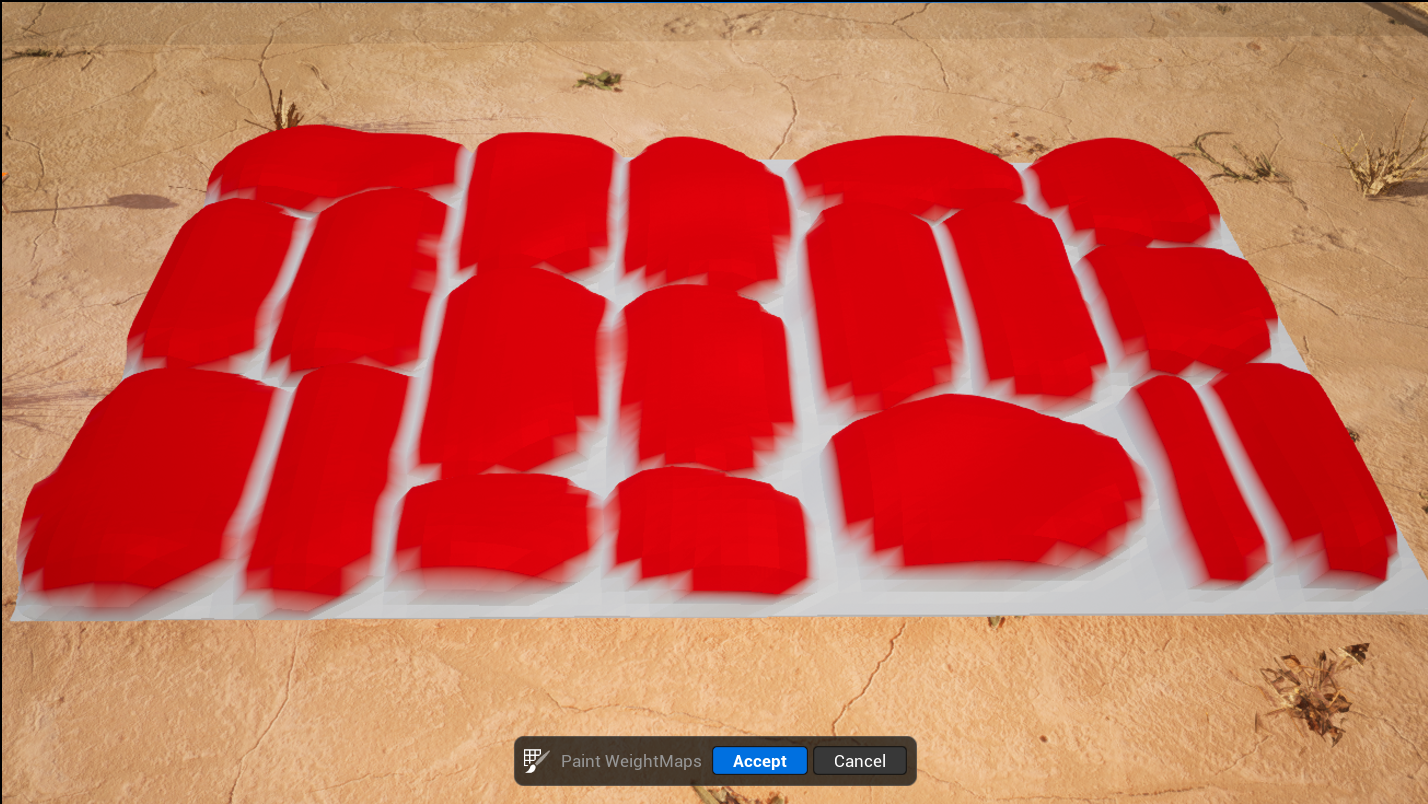
A weight map, like the one below, defines the vertices that will be moved along the normal. In this case, the red areas protrude upwards from the surface of the mesh while the white areas are left unaffected.
The tool is additonally helpful when:
- Adding thickness to a mesh, such as a wall.
- Growing or shrinking a solid object.
- Creating custom Volume Actors and Cutting Actors for fracturing.
Warp
Using the Warp tool, you can reshape a mesh using non-linear transforms such as Bend, Flare, and Twist to create different assets using a single mesh.
This tool uses a unique gizmo (yellow control points) to adjust specific regions of the mesh rather than the whole mesh. You can place the gizmo in a specific area by using Ctrl + Click.
Lattice
The Lattice tool edits a mesh's vertices through a structure of points. The number of points per axis determines what radius of vertices are deformed. Providing fine transformation control to specific areas of a mesh helps you quickly add variation.
Select the Constraints option to help with marquee selection and control affected areas by freezing points.
Displace
The Displce (Displace) tool adds tessellation and distortion to a mesh which is helpful for quickly adding surface details.
Before displacement is applied, the tool subdivides your mesh first. Use the Subdivision property to adjust the iteration amount.
Since your geometry is subdivided as you apply displacement, you may begin to exceed your resolution budget for your project. To help optimize your project, you can save your displacement effect into a Texture, then apply the Texture as a Normal map to a simplified, or lower resolution, version of your mesh. You can create these textures using the Baking tools.
Various displacement presets are available when using the Displace tool. This includes adding a Texture 2D Map for custom displacement.
To continue learning about the various tools in Modeling Mode, see Modeling Tools documentation.