
The Displace tool adds tessellation and distortion to a mesh. You can use the tool to generate surface details.
You can apply a weight map to limit displacement to a specific mesh region, as shown in the video. To learn more about creating weight maps, see Paint Maps Tool.
Accessing the Tool
You can access the Displace tool from the Deform category in Modeling Mode. To learn more about Modeling Mode and how to access it, see Modeling Mode Overview.
Workflow Tips
Resolution
When working with the Deform category tools, you may experience unexpected results in your mesh's shape. The shape could indicate your resolution needs to be higher because you have a low-poly mesh.
To resolve the problem, follow these steps:
-
Add more triangles using the Remesh tool.
-
Perform any necessary edits.
-
Reduce the resolution using the Simplify tool.
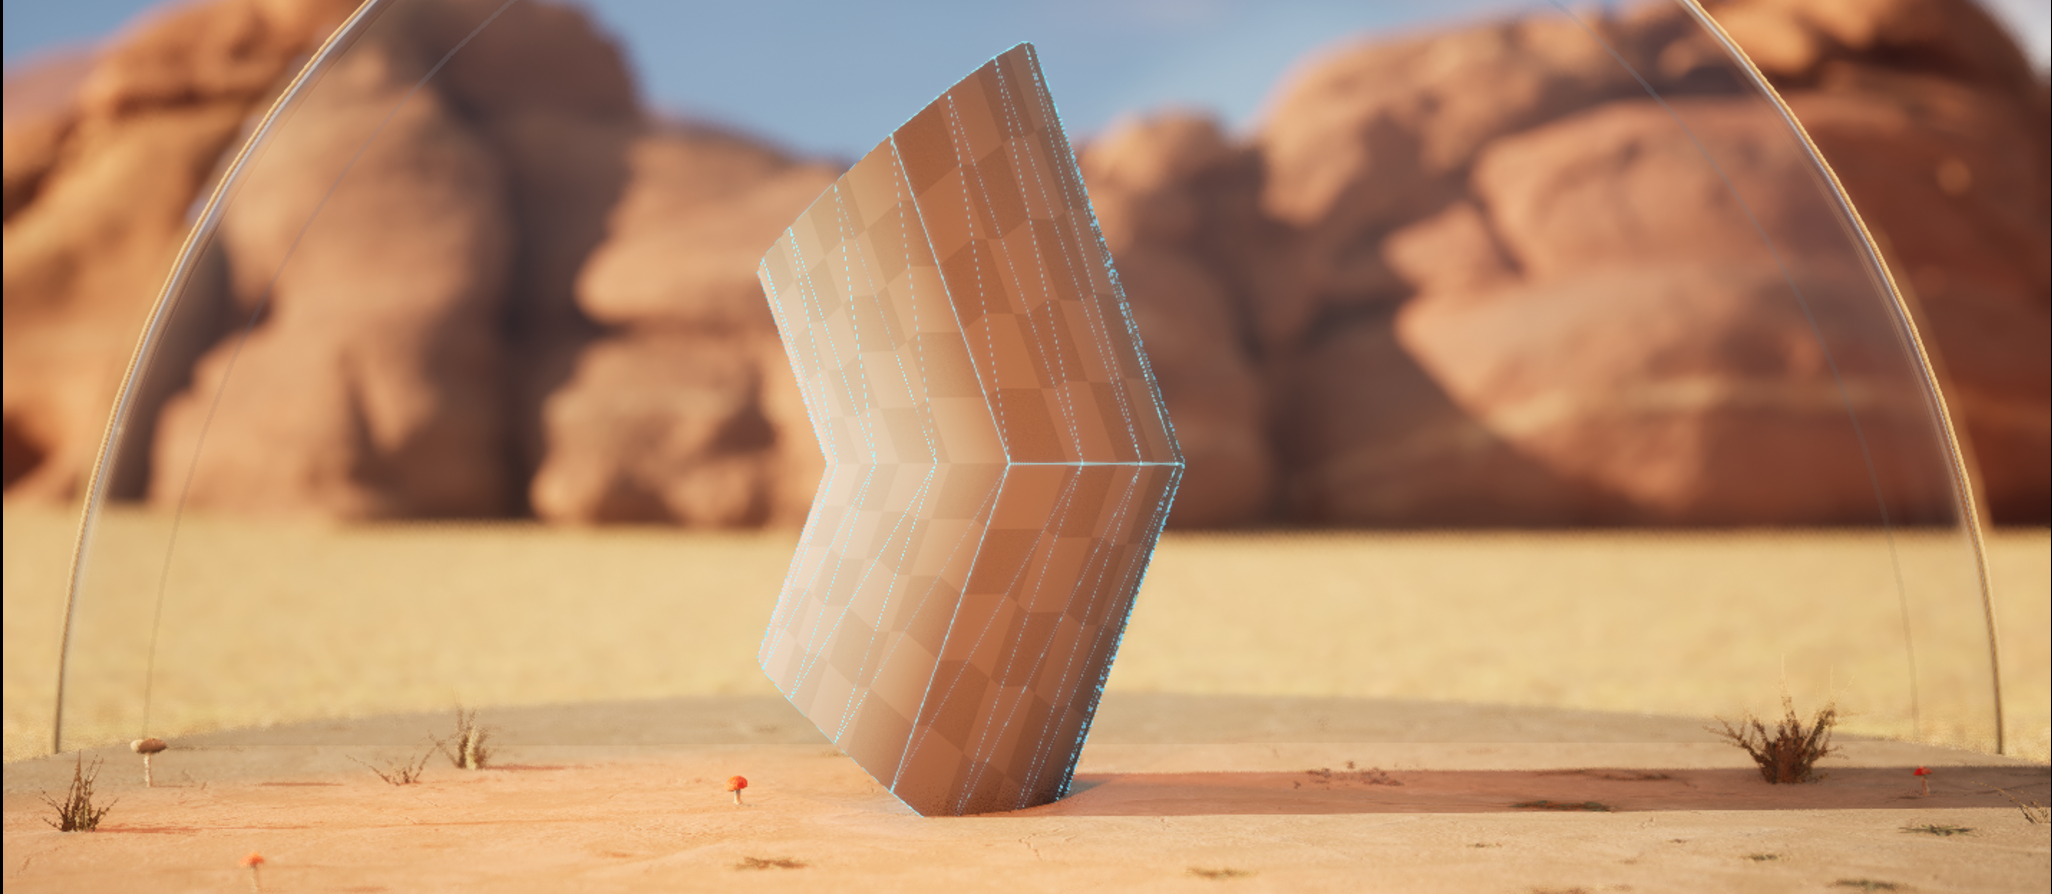 |
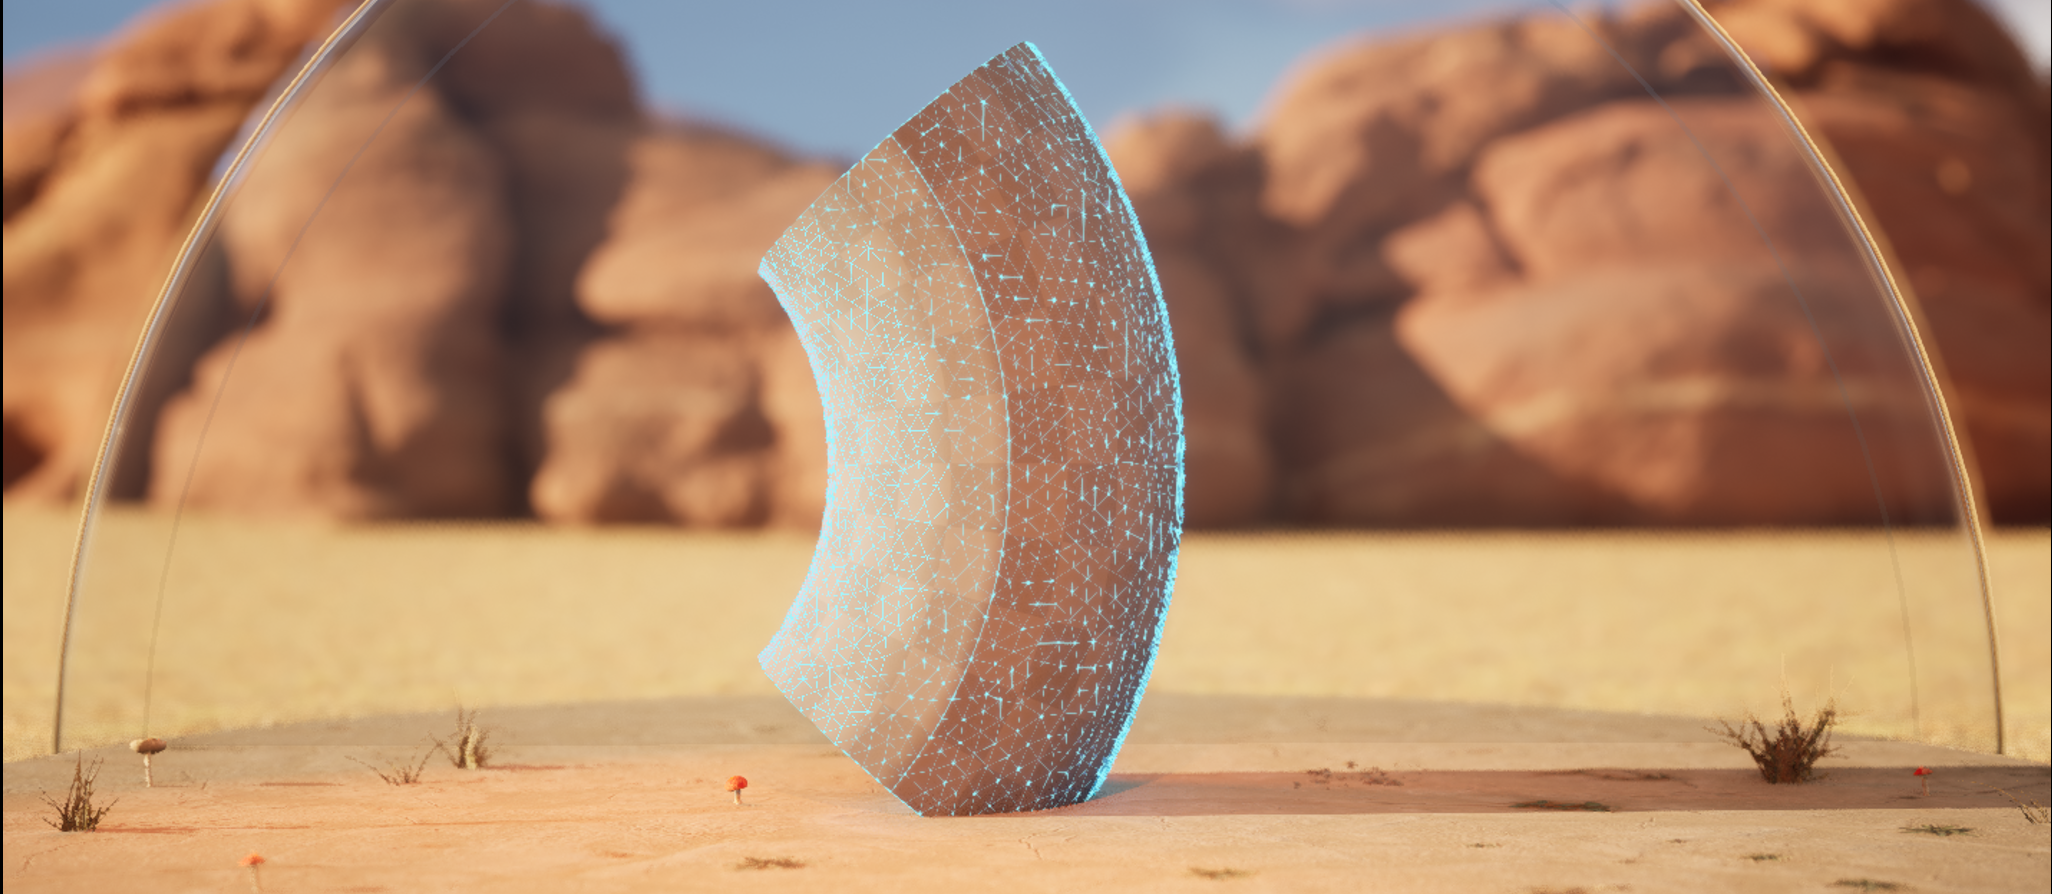 |
| Low-poly | High-poly |
In the image above, you can see the difference the Warp tool has on a mesh with roughly 30 triangles compared to one with over 100 triangles.
Depending on your project's desired look and performance budget, using the Simplify tool to reduce the number of polygons may not be necessary if remeshing didn't add a quantitative amount of triangles.
Normals
Not all Deform category tools adjust normals properly as you sculpt, which could cause them to look incorrect. To correct the appearnce, you can use the Edit Attributes tool to reset normals to the sculpted surface after you deform the mesh.
Viewport
As a general modeling practice, use the various Viewport Types (Front, Back, Left, and Right) to help ensure your model is shaping correctly.
In addition, viewing your mesh's wireframe helps you troubleshoot and keep track of the topology. To do so, enable the Show Wireframe option in the applicable Deform category tool or use the Inspect tool. You can also change the View Mode to Wireframe, visualizing the polygon edges of all geometry in the Viewport.
Using Displace
Before displacement is applied, the tool subdivides your mesh first. Use the Subdivision property to adjust the iteration amount.
Since your geometry is subdivided as you apply displacement, you may begin to exceed your resolution budget for your project. To help optimize your project, you can save your displacement effect into a texture, then apply the texture as a normal map to a simplified, or lower resolution, version of your mesh. You can create these textures using the baking tools.
The Displacement Type and Displace Intensity properties determine how you displace your mesh.
| Displacement Type | Operation | Example |
|---|---|---|
| Constant | Offsets a set distance in the normal direction. | 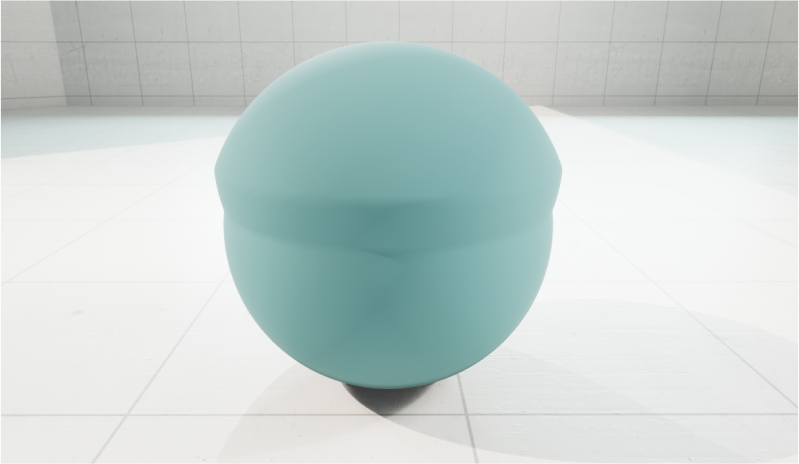 |
| Texture2D Map | Offsets in the normal direction using the first channel of a 2D texture. | 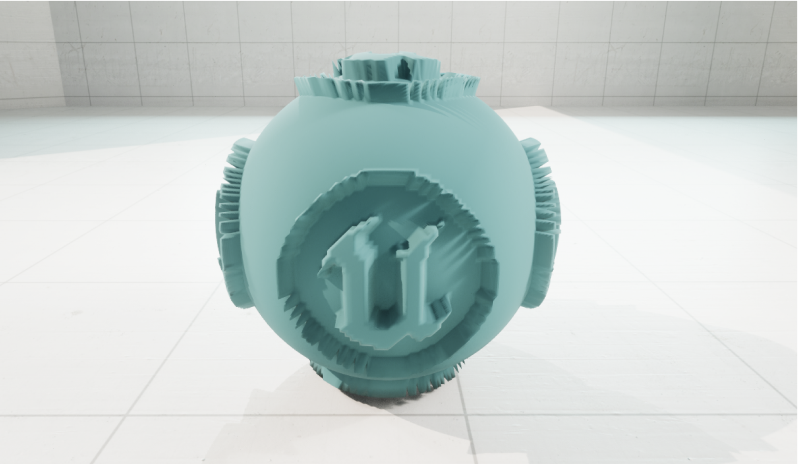 |
| Random Noise | Offsets vertices randomly. | 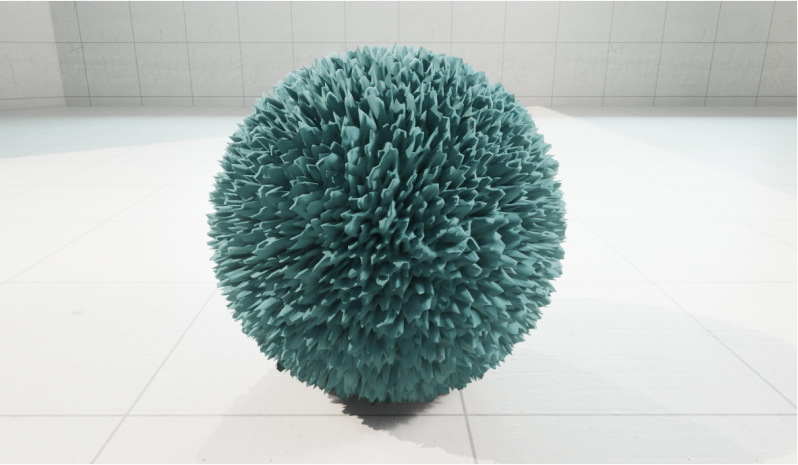
|
| Perlin Noise | Offsets in the normal direction weighted by Perlin Noise. | 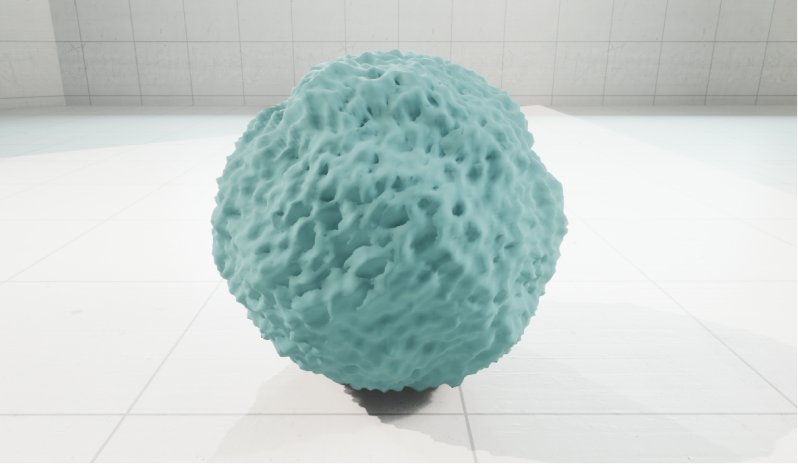
|
| Sine Wave | Moves vertices in spatial sine wave pattern. | 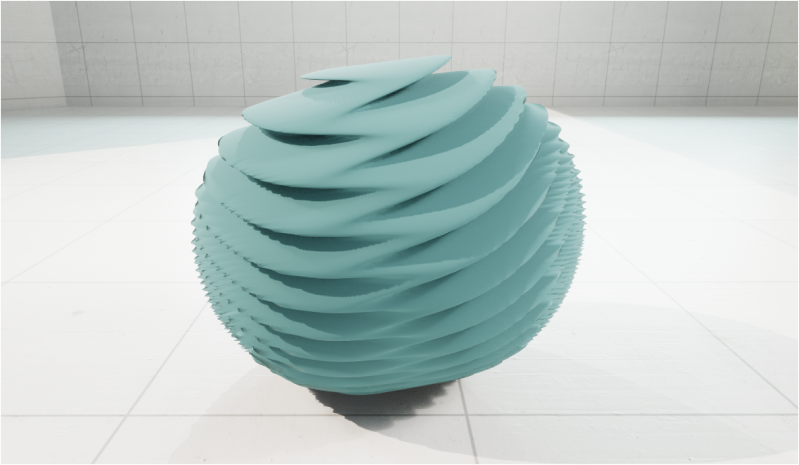
|
Once you are done using the tool, accept or cancel the changes in the Tool Confirmation panel.
Hotkeys
| Hotkey | Description |
|---|---|
| F | Zooms into the location of the mesh. |
| CTRL + Drag | Aligns the gizmo to the scene. |
| Enter | Accepts the tool changes. |
| ESC | Cancels the changes and exits the tool. |