
You can create a Multi-User Virtual Camera (VCam) workspace, where users from multiple workstations can control and render VCams in the same scene simultaneously, using the Switchboard application.
This document provides an example workflow, you can use to set up a connected work environment for multiple users to operate VCams in the same scene simultaneously.
Prerequisites
- Enable the Switchboard Plugin. In the Menu Bar, navigate to Edit > Plugins and locate the Switchboard plugin under the Virtual Production section. Alternatively, you can use the Search Bar. After enabling the Plugin, restart the editor.
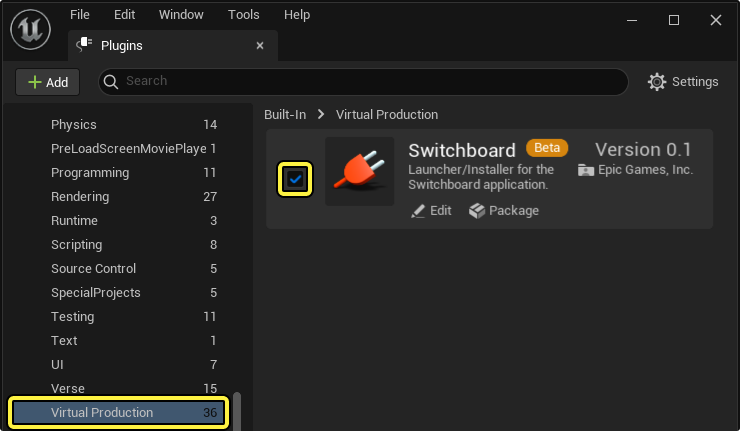
You can access the Switchboard application using the Icon in the Unreal Engine Toolbar, after the plugin has been successfully installed.
-
You must have a functional Virtual Production project. If you do not have one, you can use the Template project.
-
You must have a Multi-User Editor Server. For more information, refer to the Multi-User Quick Start Guide.
-
Your project must have a Virtual Camera (VCam) Actor.
Declare Virtual Production Roles
The Switchboard application requires each user to occupy a VP Role, such as an Editor or Render, to differentiate and identify which user is associated with which VCam Actor.
-
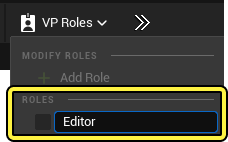
On your primary workstation in the Unreal Editor, select the VP Roles button in the Toolbar and Select the (+) Add Role option from the drop down menu. Define the new role with a name. In this workflow example the primary workstation is named
Editor.
-
Add a second Role using the VP Roles Toolbar button, for your secondary device to occupy. In this workflow example the secondary workstation is named
Render.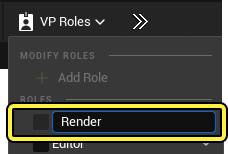
-
In the Menu Bar, navigate to Edit > Project Settings, and under the Multi-User Editing section, and set the Validation Mode property to Soft, using the dropdown menu.
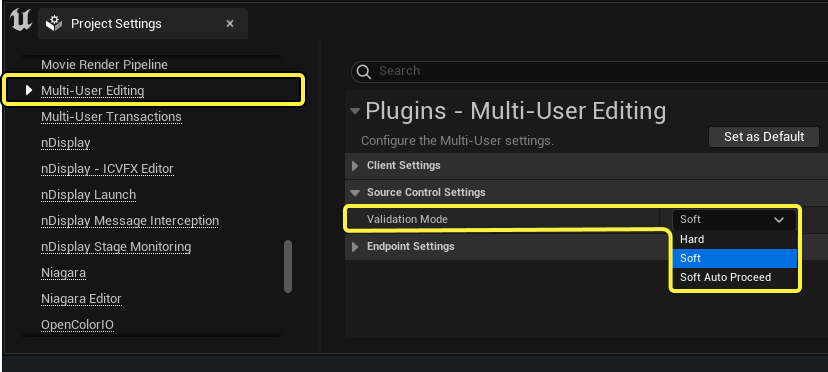
If your project contains any dirty packages, you will be prompted with an error when joining a multi-user session. You then have the opportunity to cancel the connection, to fix any present issues. If you choose to proceed any dirty packages will be deleted.
Your project is now ready to connect other devices using Switchboard for multiple users to operate VCams simultaneously in the same scene.
For more information about connecting multiple users using the Switchboard plugin, refer to the Switchboard and the Switchboard Quick-Start Guide documentation.
Connect Your Devices
After creating your VP Roles in the Unreal Editor, use the Switchboard application to connect your devices to the Multi-User session.
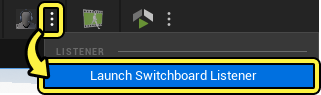
- Launch the SwitchboardListener, using the options menu adjacent to the Switchboard button in the Toolbar.
-
Launch the Switchboard application by clicking the button in the Toolbar.

-
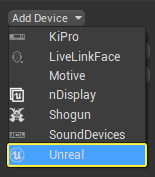
Create a new Switchboard Device, representing the primary workstation, by selecting Unreal from the Add Device dropdown menu.
-
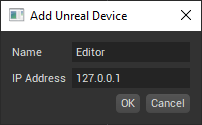
Set a Name in the provided field, and the primary workstation's IP Address. Set the same name as the primary workstation role set in Unreal Engine. In this workflow example, Editor was used.
-
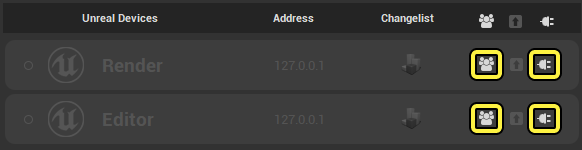
Create a second Switchboard Device, representing the second workstation, using the same method. For the second device, use the same name as the second workstation's role. In this workflow example, Render was used. Both devices are now listed in the Switchboard application, in the Unreal Devices list.
-
To automatically open a network connection and to connect a device to the Multi-User Editor session, select the Auto-Join and Network Connection icons for each device in the Unreal Devices list. The Connection Indicator appears blue after a device makes a successful connection to the network.
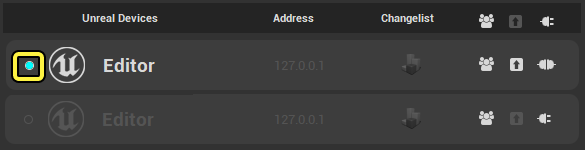
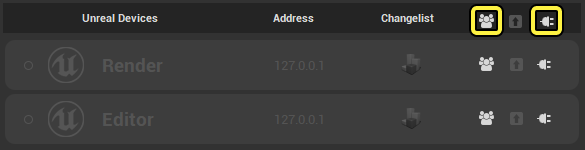
You can open a Network Connection and enable Auto-Join for every listed device using the Auto-Join and Network Connection icons in the Unreal Device's list header.
-
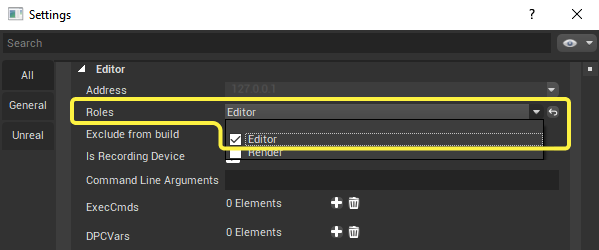
Assign a VP Role to each connected device. In the Switchboard's Menu Bar, navigate to Settings > Settings and scroll down to each connected device's section. In the Roles property, select one of the Unreal Engine VP Roles, for each device, using the dropdown menu.
With your workstations connected, and their roles assigned, you are now ready to launch each device and start operating VCams in a Multi-User environment.
Multi-User Virtual Camera Operation
-
Connect your primary workstation to the multi-user session by selecting the Launch icon next to the primary Editor device in the Unreal Devices list, in the Switchboard application.

Once your project has launched, you can verify that the editor is connected to the multi-user session in the Multi-User Browser window. You can open the Multi-User Browser in the Menu bar, navigating to Window > Multi-User Browser.

-
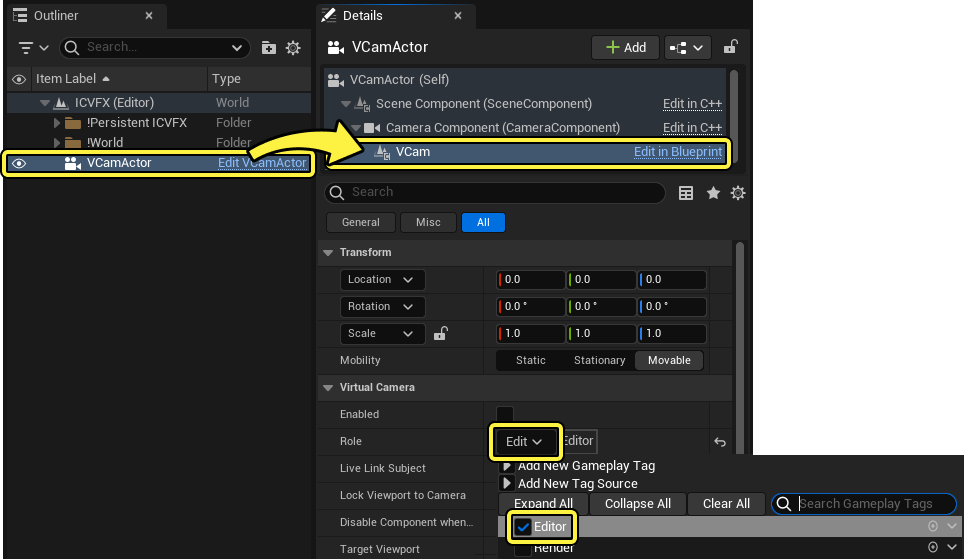
In the World Outliner, select the VCamActor.
-
Select the VCam component in the VCam actor's Details panel.
-
Set the Role property to Edit in the Virtual Camera properties section and select the Editor VP Role from the drop down menu.
-
Enable the Virtual Camera by toggling the Enabled property.
-
In the Switchboard application, launch the Render device by clicking the Launch icon. Following the steps above, verify that the secondary Render device is also connected to the multi-user session, using the Multi-User Browser window.
-
Now that both editor instances are open, move the Virtual Camera on the primary Editor device and see the changes replicated in the secondary Render device in real time. In the example below the Editor device (Left) is operating a VCam Actor and the Render device (Right) is receiving the changes and rendering the scene.
For more information on about Multi-User connection set behaviors, refer to the .