

The standard Motion Blur that Unreal Engine supports assumes that a point on an object's surface moves in a straight line from frame to frame, and then uses information from where that point was located during the previous frame to apply the blur effect.
This works well for an object moving from one position to another. However, this method produces visual errors when applied to an object that is rotating 180 degrees within a single frame, like a very quickly rotating wheel on a car. In this instance, the Motion Blur looks at a point on one side of the wheel, then assumes it traveled to the opposite side of the wheel in a straight line rather than moving around the circumference.
To help address this issue, a special Radial Motion Blur Material was developed and released in the free Unreal Engine Content Examples project. You can use this Material to make an object look as if it were rotating quickly by applying a radial instead of linear motion blur. In the example image below you can see the results of using standard Motion Blur on a rotating object (left) compared with the results of using the Radial Motion Blur Material (right).

This tutorial will walk you through the process of setting up the Radial Motion Blur Material in your own projects.
Required Setup
This tutorial requires assets found in the Content Examples sample project. If you do not already have this sample project, download and install it from the Learn tab in the Epic Games Launcher.
Click for full image.
In the Content Examples Project, you can find a working example of Radial Motion Blur in the Materials_Advanced map.
Due to its complexity, it is beyond the scope of this tutorial to rebuild the base M_RadialMotionBlur Material from scratch. However, if you would like to examine the base Material Graph, you can find the Material asset in the Content Browser under Content > Example Content > Materials > Materials.

For the purpose of this tutorial we will rebuild the Radial Motion Blur example using the following assets in the Content Browser.
- SM_Wheel - Static Mesh
- SM_Wheel_Blur - Static Mesh
- MI_RadialMotionBlur - Material Instance
To use the Radial Motion Blur Material in your own project, you can right-click the MI_RadialMotionBlur Material Instance in the Content Browser, and select Asset Actions > Migrate in the context menu.

The Migrate Assets tool will automatically include both MI_RadialMotionBlur and the base RadialMotionBlur Material in the migration. For more information on this topic, see the guide on Migrating Assets.
Steps
-
Make sure the Unreal Editor is closed. Inside your project folder, navigate to the Config folder and locate DefaultEngine.ini.
Click image to enlarge.
-
Open DefaultEngine.ini with a text editor, and in the [/Script/Engine.RendererSettings] section add r.CustomDepth=3.

-
Radial Motion Blur requires two Static Meshes: The mesh that you want to apply the Radial Motion Blur to, and a "dummy" mesh that will cover it. The dummy Mesh needs to not only cover the object that will be blurred, it also needs to completely cover the space that it will sweep through while rotating, and it should wrap around that swept space as tightly as possible without intersecting with the original object's geometry.
Click image to enlarge.
In the example image above, the Mesh that we want to apply the blur to has its standard Material applied, while the "dummy" mesh is a hull wrapped around it, visualized with a yellow wireframe. Note that it fits closely over the Static Mesh but does not penetrate through it. You may decide to use your own Meshes, but for the purposes of this guide we will be using the assets SM_Wheel and SM_Wheel_Blur, which you can find in the Content Examples project under Content > ExampleContent > Materials > Meshes.

-
Create a new StaticMeshActor by dragging SM_Wheel into the scene.
Click image to enlarge.
-
In the Details Panel for this StaticMeshActor, click the Create Blueprint from Selection button to create a new Blueprint based on this Actor. Name the Blueprint BP_StaticMesh_MotionBlur and save it to your Blueprints folder. The Static Mes is converted to a Blueprint Actor type and the Blueprint Editor will automatically open.
Click image to enlarge.
-
In the Blueprint Editor, locate the Components Panel and select the StaticMeshComponent for your Mesh. Then, in the Details Panel, expand the Advanced section under Rendering. Set Render Custom Depth Pass to True, then set Custom Depth Stencil Value to 5.
Click for full image.
-
In the Components Panel, click the Add Component button. Select Static Mesh in the drop-down list to add a new StaticMeshComponent as a child of the base Mesh. Re-name this Mesh "MotionBlur Mesh".

-
In the Details Panel, set the Static Mesh for your MotionBlur Mesh to SM_Wheel_Blur. Rotate it 90° on the x-axis so that it fits over the base Mesh. In the Materials section, ensure that it has the MI_RadialMotionBlur Material Instance applied.
Click for full image.
Result
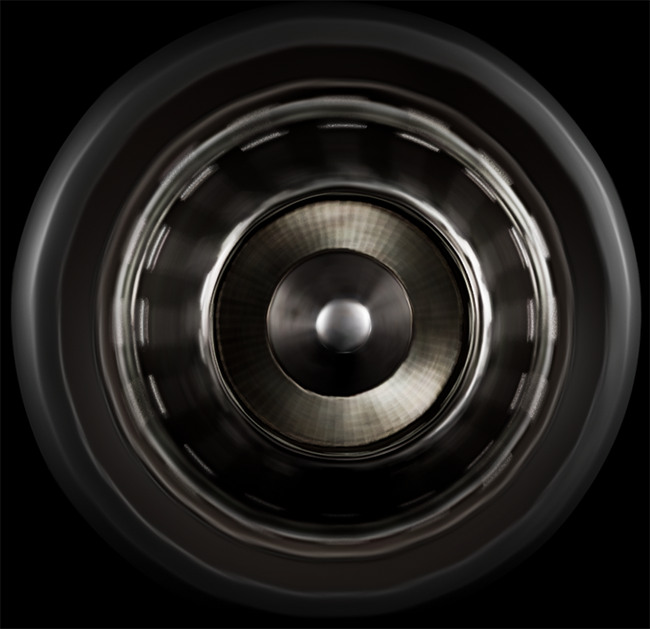
With the MI_RadialMotionBlur Material Instance applied, your base Mesh should now appear as if it is rotating very quickly. The image below demonstrates a normal, stationary Static Mesh (left), versus a Mesh with the RadialMotionBlur applied to a dummy Mesh surrounding the base Mesh (right).

Note that you do not need to rotate your base Mesh or Actor in order to achieve this effect. Instead, the RadialMotionBlur Material itself creates the illusion that the object is rotating. You can adjust the effect using the Angle and RimRadius parameters that are found in the MI_RadialMotionBlur Material Instance.

The following two image sequences show how the visuals of the Radial Blur are affected when you adjust the Angle and RimRadius Material inputs.


This Angle parameter is used to control the intensity of the Radial Blur. The higher it is, the faster the object will look like it is rotating.


The RimRadius parameter is used to limit what will be blurred by the Radial Blur. You should set the RimRadius to match the radius of the mesh that is used for the Radial Blur.
You can reuse this new Actor type that you've created to make all kinds of objects that use the Radial Motion Blur effect. Change the Static Mesh used for both the base Mesh and the dummy Mesh, and ensure that the dummy Mesh uses a Material Instance of the RadialMotionBlur Material. Remember that the dummy mesh should fit as closely as possible to the area that would be swept by the base mesh when it rotates.

Finally, if you want different objects to have different settings, create new Material Instances based on the RadialMotionBlur Material and give them the desired settings accordingly. For more information about how to create Material Instances, see the guide on Creating and Using Material Instances.