Virtual cameras support multiple simultaneous streams connected to supported iOS devices using the Live Link VCAM app. You can use these devices to view and control individual streams while connected to a single IP address running your Unreal Engine project.
Prerequisites
To use multiple virtual cameras in your virtual production environment, you must first:
- Follow the "Required Setup" section of Controlling a Virtual Camera Actor using Live Link. This includes:
- Enabling all necessary plugins for your project.
- Using a supported iOS device.
- Downloading and Installing the Live Link VCAM app from the iOS App Store.
- A shared network connection for your Unreal Engine project and your iOS device running the Live Link VCAM app.
- In your Unreal Engine project, have two or more Virtual Camera Actors in your currently loaded scene.
Unreal Engine Hardware Limitations
- A maximum of four streams can be connected at one time — one for each viewport in the Unreal Editor. These use hardware encoders for each iOS device connected to a stream. However, if your hardware cannot handle running multiple viewports simultaneously, this will limit the number of streams that can effectively be used. If you have more than four, any additional streams will fall back to software encoding and performance may be negatively affected. For our workstation recommendations, see the Hardware and Software Specifications page.
Connecting to a Virtual Camera
To connect to a Virtual Camera:
- On your iOS device, open the Live Link VCAM app.
-
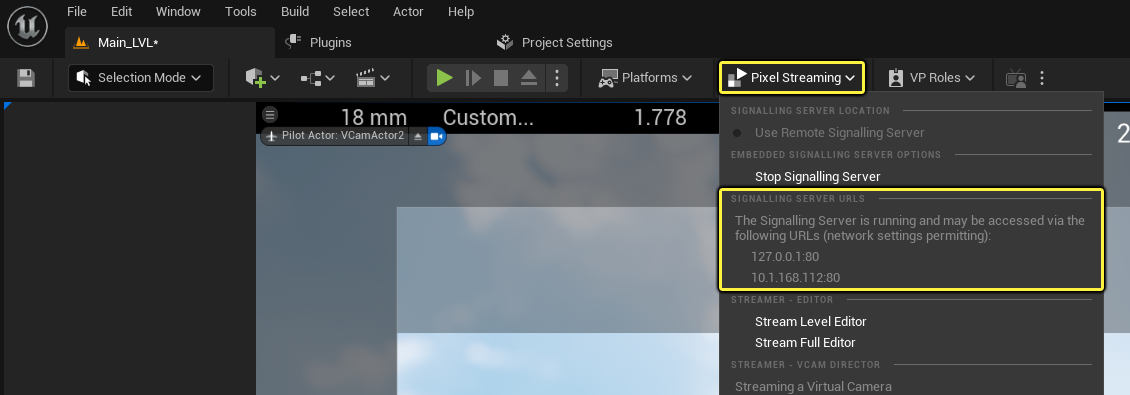
Enter the IP address into the text field of the Live Link VCAM app.
You can retrieve the IP address from your Unreal Engine project in the Pixel Streaming dropdown menu under Signalling Server URLs.
-
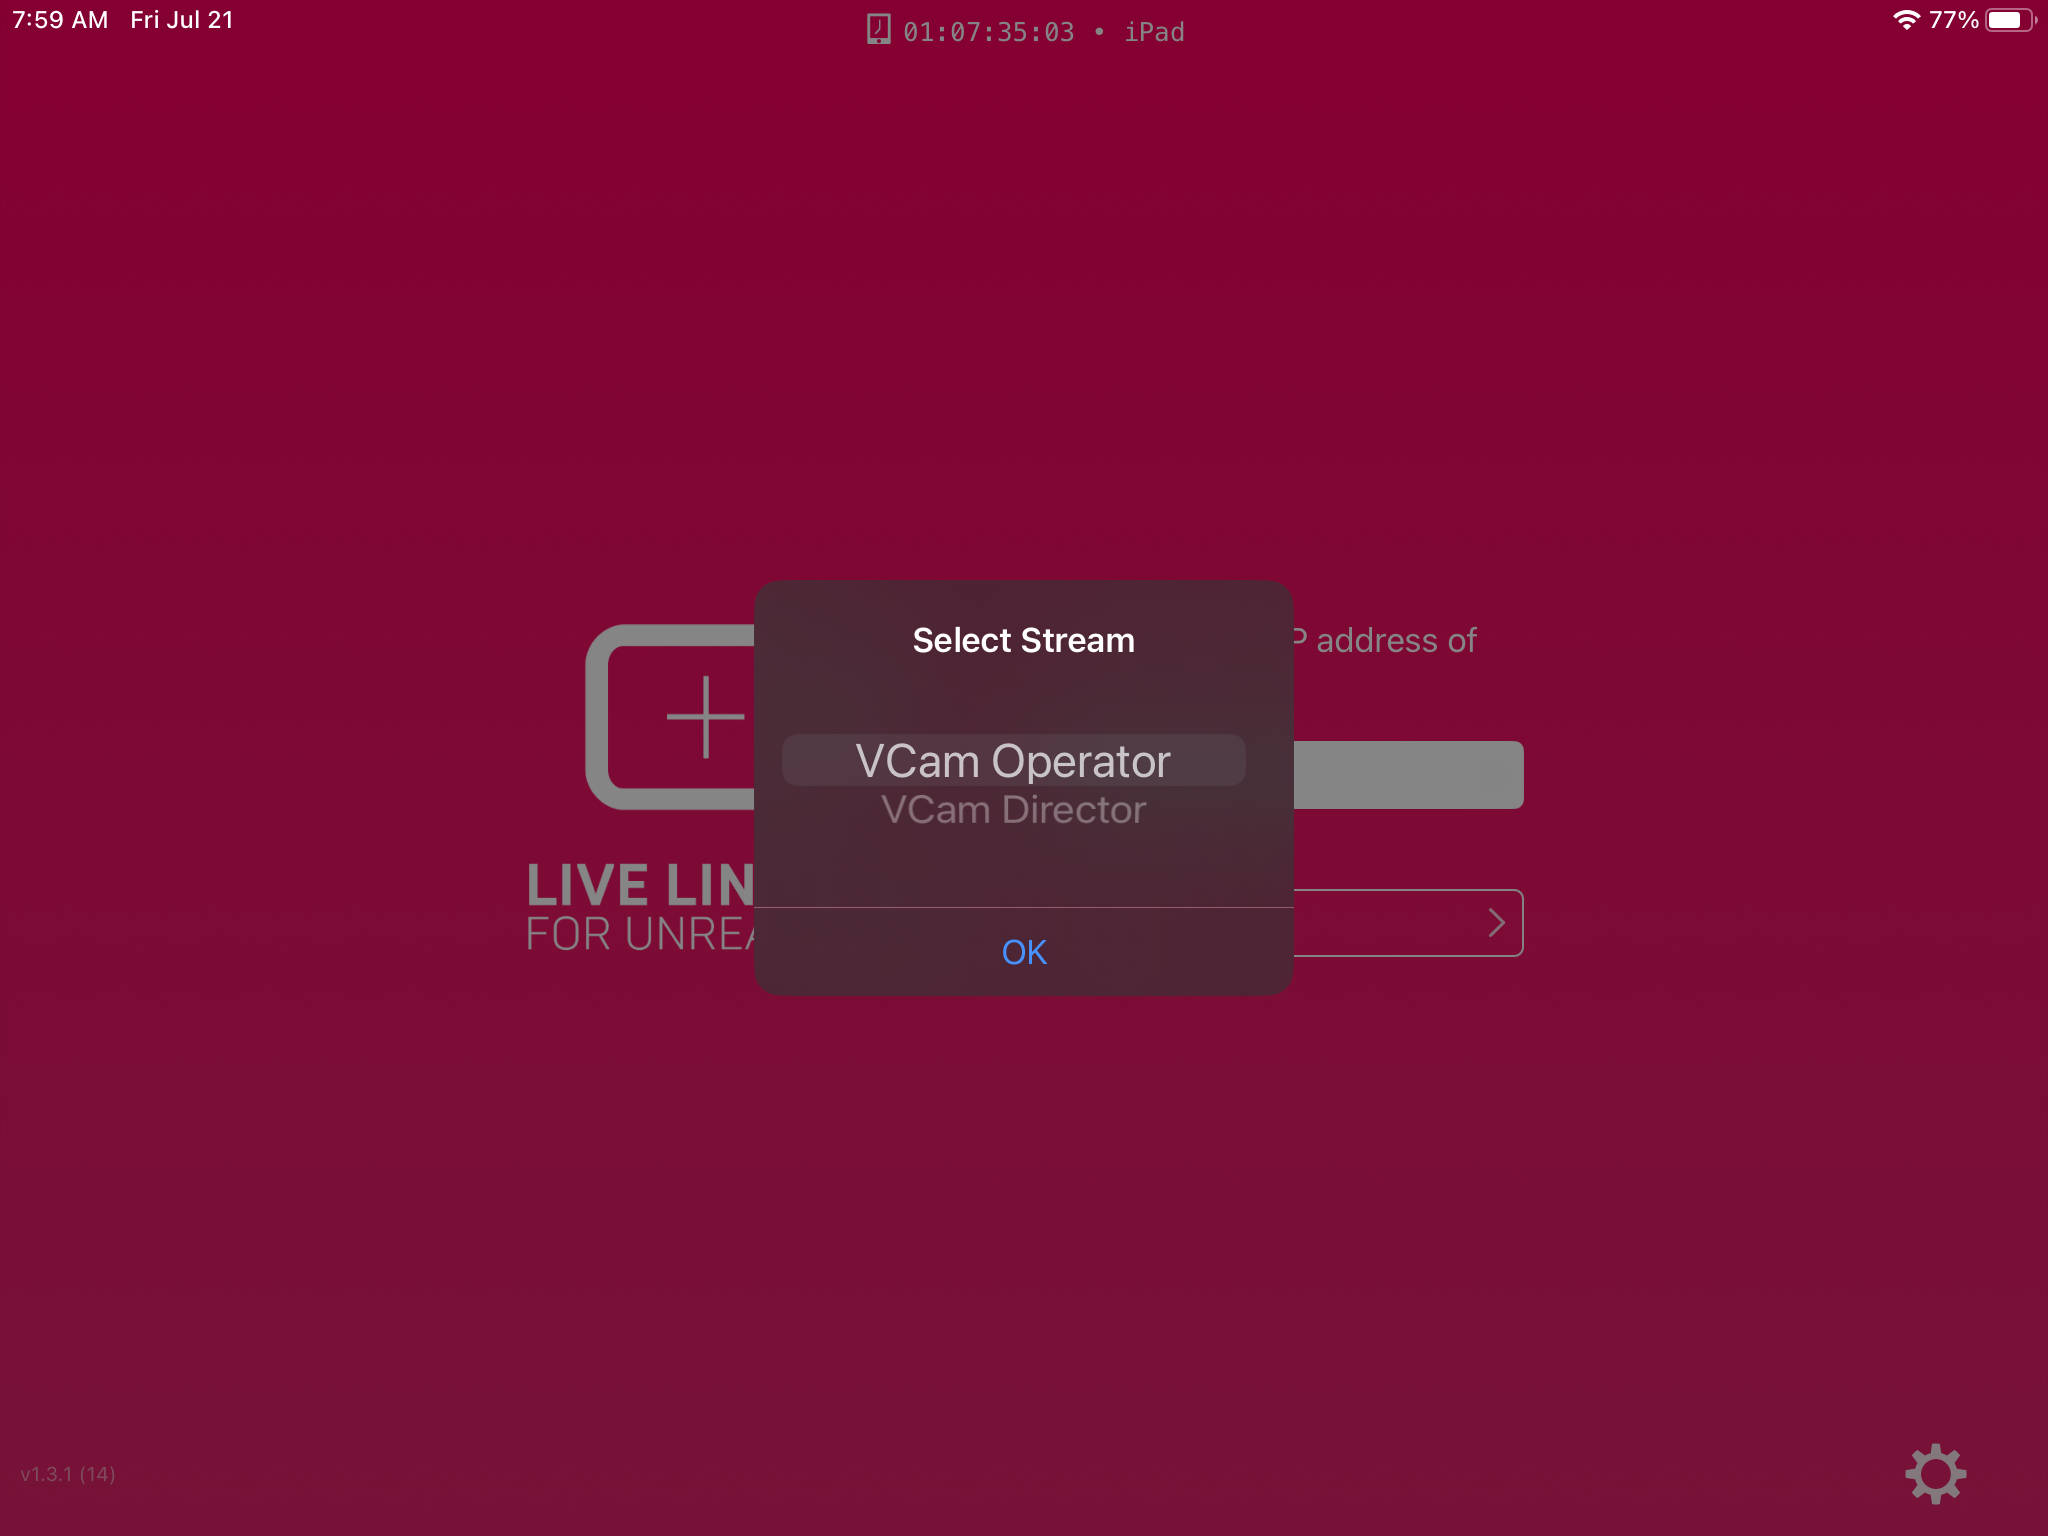
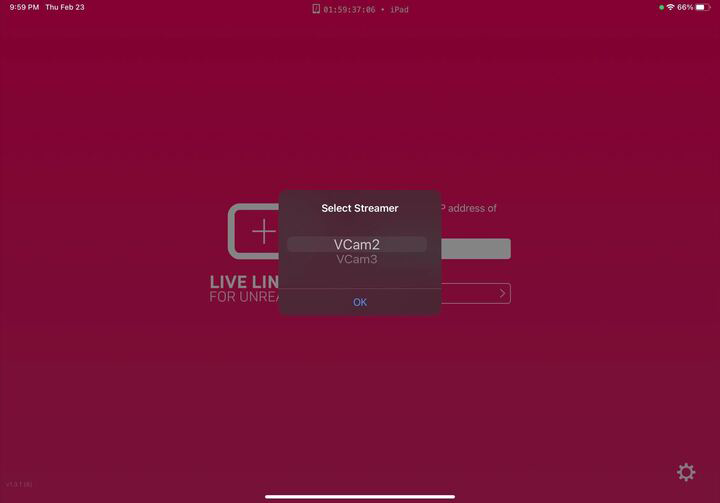
Press Connect and select which virtual camera you want to connect to from the Select Streamer list.
If the scene you're connecting to doesn't have two or more virtual cameras, the app automatically connects to the only virtual camera placed in the scene.
- Click OK.
The screen should now connect to the selected VCam actor. While this list only shows two virtual cameras to choose from, you can have any number of ones to choose from, each with their own settings. You can only use a maximum of four iOS devices connected simultaneously to any of the available VCam actors.
Additional Notes
- By default, virtual cameras placed in the scene are named "VCam [number]". For example, VCam1 and VCam2. To learn how to give each virtual camera a unique name (streamer ID), see Setting Virtual Camera Streamer IDs.
- Multiple iOS devices can be connected to the same IP address to view and control individual streams. For example, all iOS devices would connect to the same IP and when choosing connect, you select from the list of available VCam actors to connect to using that device.
Setting Virtual Camera Streamer IDs
You can give each virtual camera a unique name to better identify them. These Streamer IDs can be useful when you have scenes that are using multiple virtual cameras and when you have ones that fulfill a specific role.
To give your virtual camera a unique Streamer ID:
- Select a Virtual Camera actor in your scene.
- In the Details panel under the Virtual Camera section, expand Output Providers and look for Streamer Id.
-
Enter a unique name in the text field.
Click image for full size.
Streamer ID names must be unique. If several cameras have the same name, Unreal Engine might not be able to connect to them.
-
While still in the same section of the Details panel, look for Target Viewport. Use the dropdown list to select a viewport for this virtual camera to use.

- Save the project for the changes to take effect.
When you use the Live Link VCAM app on your iOS device and connect to your Unreal Engine project, the names will reflect the unique Streamer ID you've given them rather than their default name.