No matter what type of Static Mesh you put into your Level, chances are when the player looks at that object, you want it to have a Material. In this guide, you will learn a couple of ways to apply a Material to your Static Mesh.
Setup
If you already have a project you are working on, you can use that project to follow along. If you do not, start by launching Unreal Engine and creating a new project with Starter Content enabled. For more information on creating new projects in Unreal Engine, refer to Creating a New Project.
This guide uses the First Person game template, but the template you use does not matter for this tutorial. The important thing is to make sure Starter Content is enabled if you are creating a new project. If you do not, you won't have the assets referenced later in this guide, which might make it difficult to follow along.
Click image for full size.
Once your project is loaded, open your Content Browser and open the folder labeled Starter Content, as shown below.
Click image for full size.
Inside of the Starter Content folder, there is a folder labeled Props. Open that folder and find the Static Mesh labeled SM_Chair.
SM in SM_Chair stands for Static Mesh and follows the standard naming convention recommended by Unreal Engine. Following a consistent naming convention helps maintain an organized project. To learn more about naming files in Unreal Engine, refer to Recommended Asset Naming Conventions.
Click image for full size.
Click and drag SM_Chair into the Level Viewport. A copy of the Static Mesh now appears in your Level. To learn other methods of adding a Static Mesh to your Level, refer to Placing Actors.
Click image for full size.
Applying a Material via the Details Panel
A quick way to switch the Material of one instance of a Static Mesh is by highlighting that particular instance and changing the Material in the Details panel. The following section goes over how you can do that.
When placing a Static Mesh into your Level an instance of the mesh is created. Any Material assigned to the instance will not affect the Static Mesh itself.
Highlight your Static Mesh by clicking it in the Viewport or searching for SM_Chair in the Outliner.
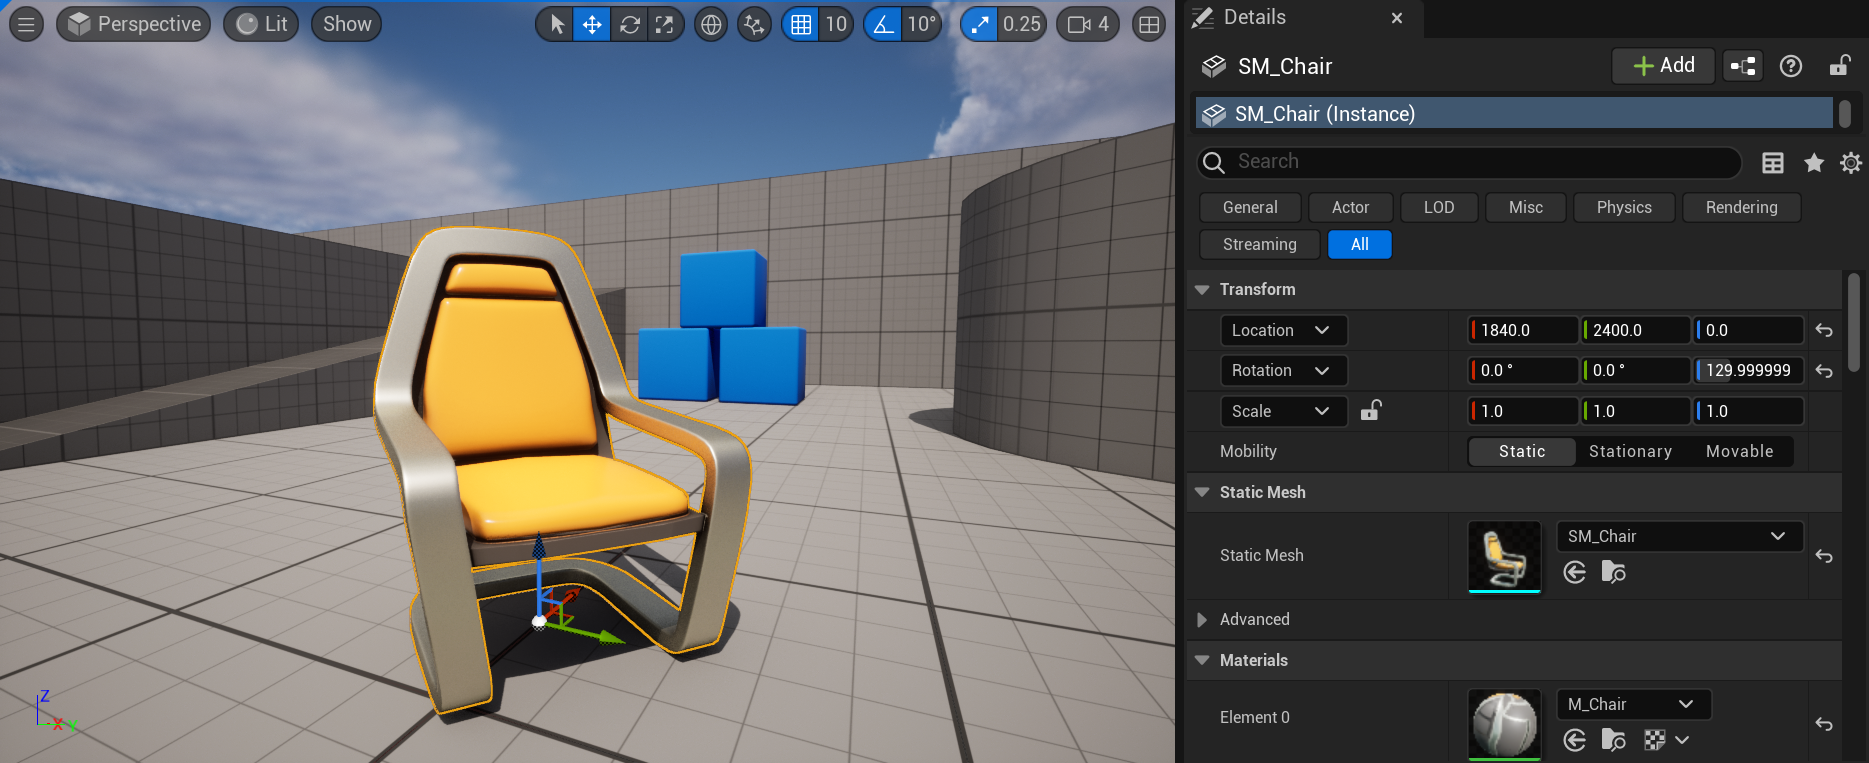
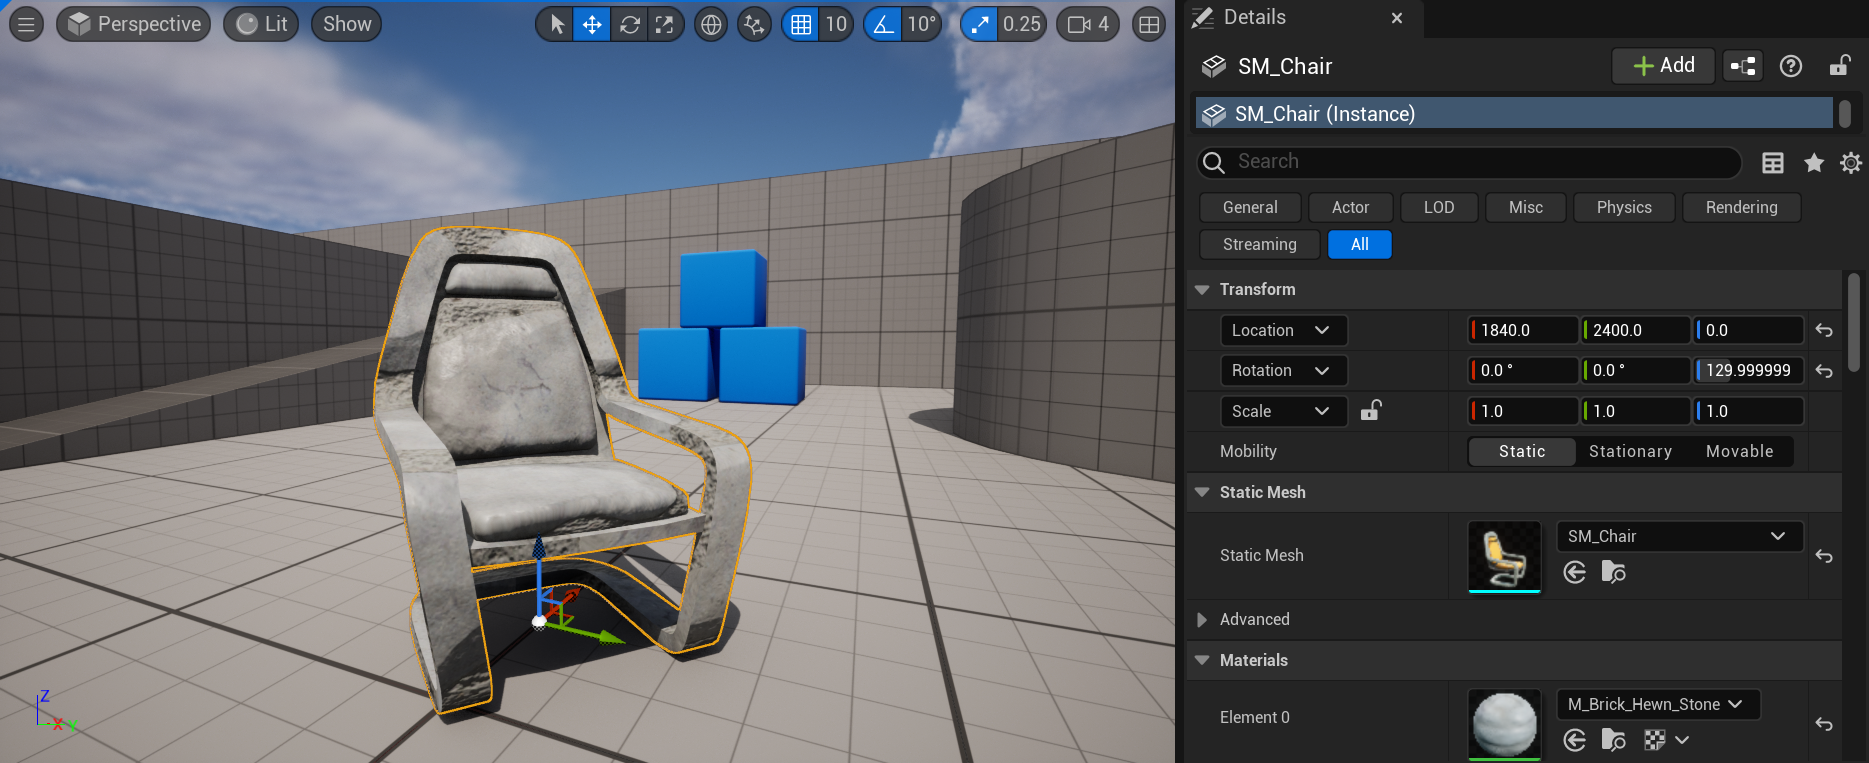
With the Static Mesh selected, go to the Details panel. There will be a Materials section with a thumbnail and a dropdown menu with the current Material name.
Click image for full size.
Selecting another Material from the dropdown menu changes the Material applied to that instance of the Static Mesh. The change is reflected in your Viewport, as demonstrated below:
 |
 |
| Normal Chair with Details | Brick Chair with Details |
Applying a Material via the Static Mesh Editor
Now you can change the Material of one instance of a Static Mesh in your Level, but what if you want to change the default Material of the Static Mesh itself? Well, you can do that from within the Static Mesh Editor.
Go back to SM_Chair within the Props folder in your Content Browser. Once you have it selected, you can access the Static Mesh Editor in two ways:
- Double-click the mesh inside the Content Browser.
- Right-click on the mesh and select Edit from the context menu.
Click image for full size.
After double-clicking the asset inside the Content Browser or selecting Edit from the right-click context menu, the Static Mesh Editor will open, as shown below.
Click image for full size.
In the Details panel, on the right-hand side of the Static Mesh Editor, find the Material Slots section. There you can see a thumbnail of the Material used on the Static Mesh and a dropdown menu beside it with the name of the Material. To learn more about the layout of the Static Mesh Editor, refer to Static Mesh Editor UI.
Click image for full size.
Click on the dropdown menu and select another Material.
You have now applied a new Material to the Static Mesh, as shown below.
Click image for full size.
Next, click Save in the Toolbar at the top of the Static Mesh Editor. The applied Material is now the default Material of the Static Mesh and any instance of the mesh placed in the Level.
Click image for full size.
To continue learning about Materials, refer to Materials documentation.
