The Unreal Editor has built-in support for source control packages. Source control is used to manage changes over time to code and data, and enables teams to coordinate their game development efforts.
Perforce and SVN are supported by default.
Activating Source Control
You can activate source control in one of two ways:
- In the Level Editor's Preferences window.
- In the Content Browser.
Activating Source Control via Editor Preferences
You can activate source control via the Editor Preferences window (Edit > Editor Preferences > Loading & Saving).
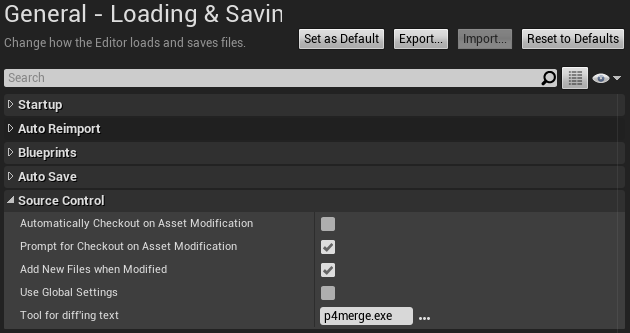
| Item | Description |
|---|---|
| Automatically Checkout on Asset Modification | When checked, this will automatically check out any asset that has been modified. |
| Prompt for Checkout on Package Modification | When checked, a prompt will appear when you make changes to a source controlled-package, asking if you would like to check out (lock) that package. |
| Add New Files when Modified | This will add new files into source control when they are modified. |
| Use Global Settings | Use global source control login settings, rather than per-project. Changing this will require you to login again. |
| Tool for diffing text | Specifies the file path to the tool to be used for diffing text files. |
Activating Source Control via the Content Browser
You can also activate Source Control in the Content Browser. To do so, right-click any asset or folder. At the bottom of the context menu, in the Source Control section, click Connect to Source Control.
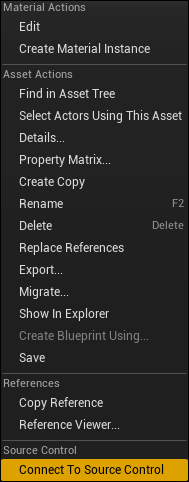
This will open a log-in screen where you can select your source-control system and enter any appropriate settings and other information.
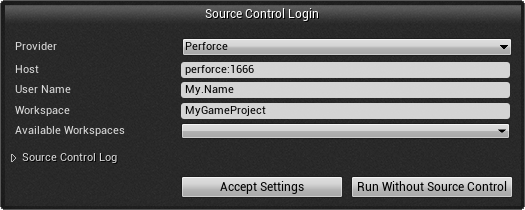
Enter the appropriate information, and click Accept Settings. After source control is activated, the display of the assets in the Content Browser will change to reflect their source-control status, and some source-control options will be included on the right-click context menu.
Status Icons
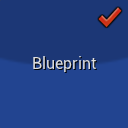
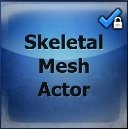
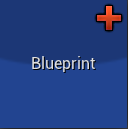
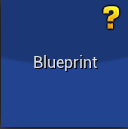
The Content Browser will display special icons on the upper-right corner of assets to give the source control status. Below are the available icons and their meanings:
 |
 |
 |
 |
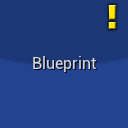 |
| Checked out by you | Checked out by another user | Marked for add | Not in depot | Newer version of file exists in source control |
Source Control Actions
While source control is active, the following context menu will be available when you right-click on an asset:
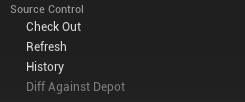
| Item | Description |
|---|---|
| Check Out | Checks out (locks) the asset for editing. This prevents other users from editing the asset at the same time. |
| Refresh | Refreshes the source control status of the asset. |
| History | Gives a revision history list of the selected asset, allowing you to see previous edits. |
| Diff Against Depot | This allows you to check the asset against the version currently stored in the source control depot. |
Checking Out and Checking In
To check out an asset for editing, simply right-click it and choose Check Out. When checking the asset back in, adhere to the following protocol:
- Right-click on the asset and choose Check In. A dialog will appear with a required changelist description for the check-in.
- Enter a description, which will be added to the asset's revision history.
- Click OK when finished.
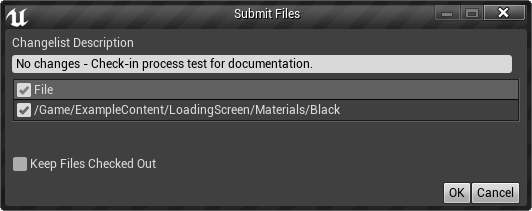
A changelist description is required, so the OK button will not be enabled until a description is entered.
Content Hot Reloading
Content Hot Reloading is a new feature that the in-editor source control uses to reload content automatically when the content has been modified by source control operations. Currently, automatic reloading only works when performing source control operations via the in-editor source control integration, and any external changes won't trigger a reload. We intend to remove this requirement in a later engine version, so that external changes will also trigger hot reloads.
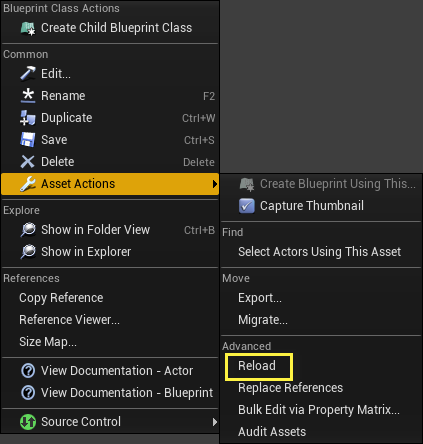
Content Hot Reloading also provides the ability to reload an asset from its last saved state on command. This can be done by right-clicking the asset in the Content Browser and selecting the Reload option under the Asset Actions group. This can be extremely useful if you have unsaved changes to an asset that you wish to discard in order to revert back to the on-disk version.
Deactivating Source Control
You may find that you want to deactivate source control after activating it.
Only use this option if you are absolutely certain that you do not want to use source control. Deactivating source control will put your content out of sync with your source-control system, and will make it impossible to check in changes.
To deactivate source control:
- In the upper-right corner of the Level Editor window, click the green double-arrow icon (
 ). This brings up the Source Control Login screen.
 - Click the Run Without Source Control button. The green icon in the Level Editor window changes to a red circle with a slash (
 ), to indicate that source control is not being used.
