As of Unreal Engine 5.0, Renderer Movie is deprecated. Instead, please use Movie Render Queue.
Once you have created your cinematic (or even during your production process as part of daily reviews), you may want to render it out as a movie file that you can share with others. The Render Movie option in Sequencer enables you to share your movie with others as an AVI file that will play with most media players.
In addition to rendering as a movie file, you can render your cinematic as an Image Sequence or render out Custom Render Passes that you can use in an external application to finalize your scene. Selecting the Render Movie button will display the Render Movie Settings window, which you can use to define how your scene will be rendered.
In the following example, we render out a sample scene and present some of the options available as part of the rendering process.
Steps
For this guide, we are using the Blueprint Third Person Template with Starter Content enabled.
-
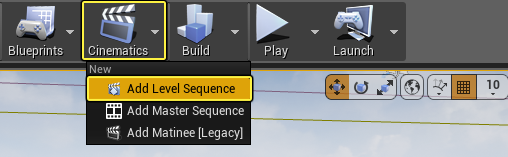
Inside your project, from the Main Toolbar, click the Cinematics button then select Add Level Sequence.
-
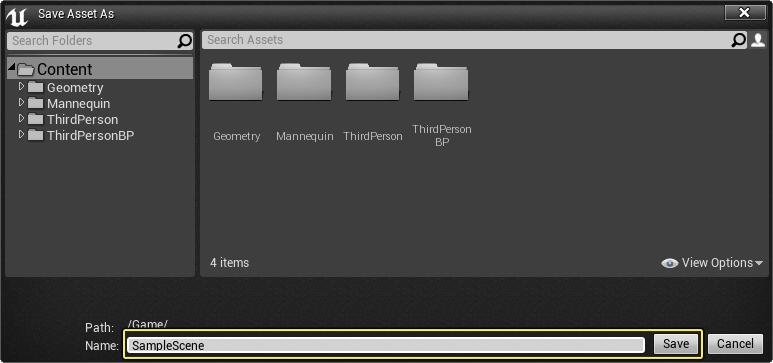
In the Save Asset As window, enter a name for your Sequence, then click Save.
-
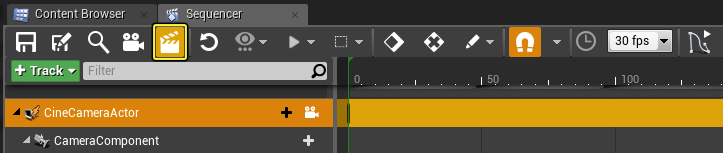
Inside the Sequencer Editor, click the Add Camera button.
-
In the Viewport, position the camera anywhere in the Level facing the Character, then press the S key to add a keyframe.
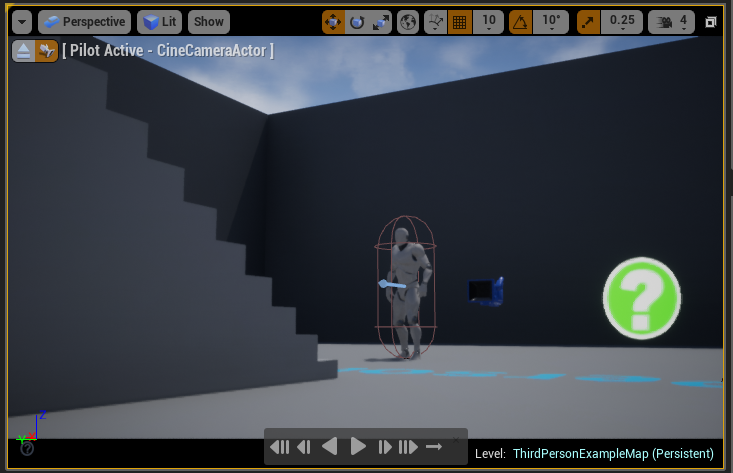
We will shoot a sample scene where the camera pushes in on our the Character in the Level for a close-up shot. -
In Sequencer move to frame 150, then move the Camera in the Level to a new location and press the S key to add a key. The camera will now move from our first keyframe to our second keyframe, pushing in on the Character.
-
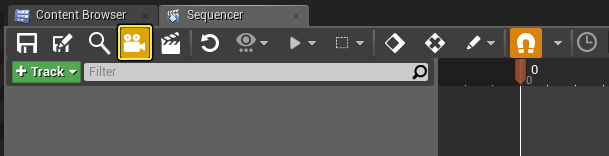
In Sequencer, click the Render Movie button.
The Render Movie Settings window will open.

Under the Capture Settings, click the Output Format option to view the options, then select Video Sequence.

In addition to rendering out a movie, you can render out an Image Sequence or use Custom Render Passes. -
Under General, choose an Output Directory to save your cinematic to, then click Capture Movie.

A preview window will appear while the rendering process occurs.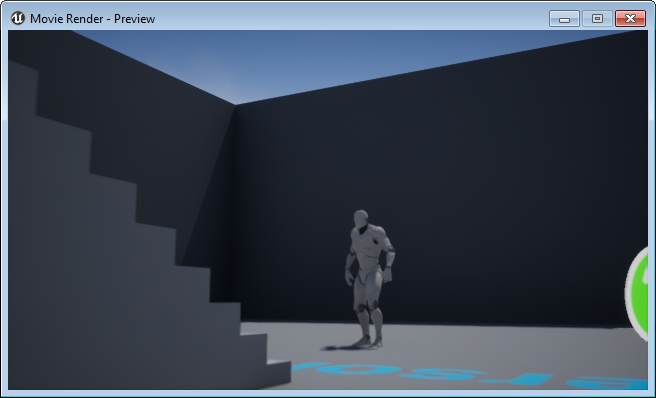
If prompted to Save, click Save or Don't Save to continue as selecting Cancel will abort the rendering process.
End Result
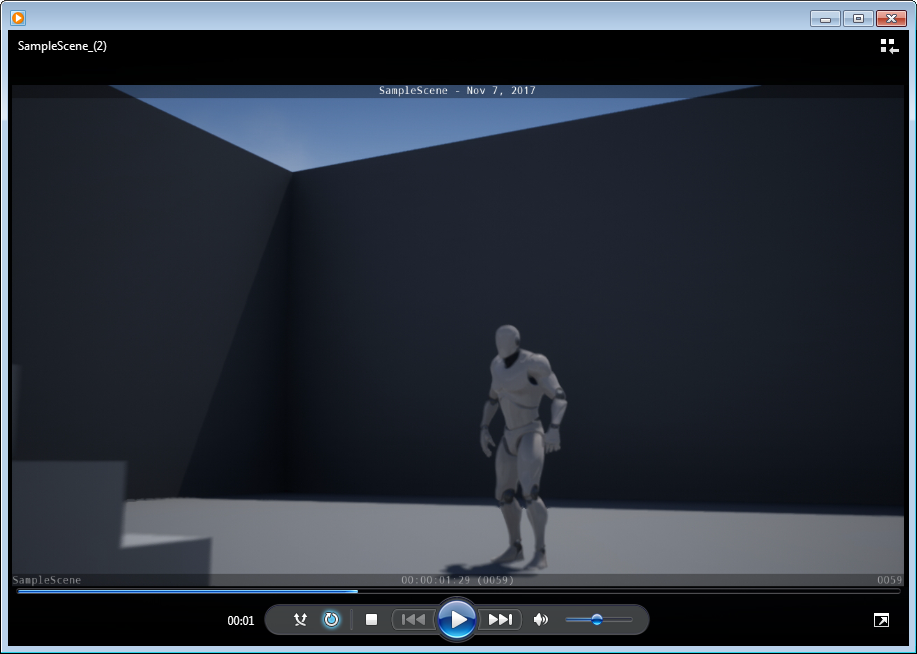
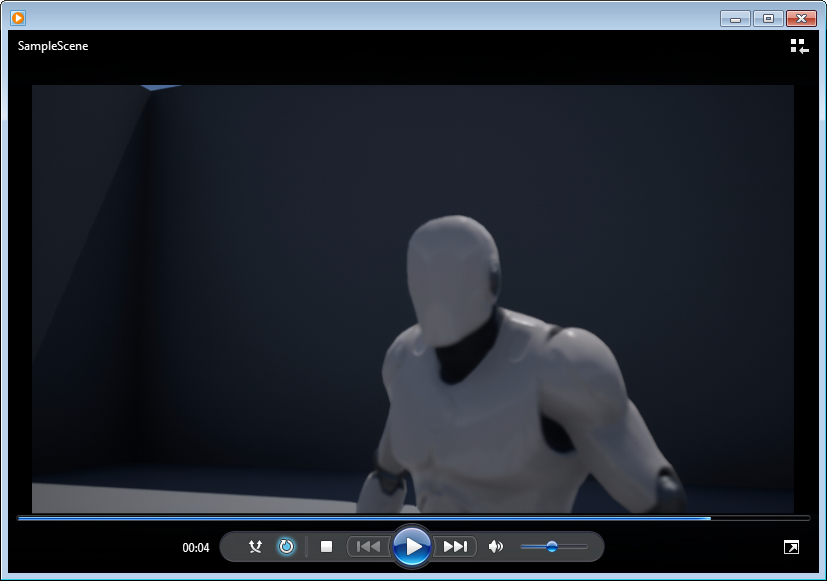
After the capture process, you will have a video file of your cinematic sequence (below is our rendered-out cinematic).
There are additional options available when rendering out video sequences. One that may be useful during production is the ability to add Burn Ins to your video. Burn ins are overlays that are embedded with your video, generally to provide internal information about the frame being shown.
You can add the default burn ins to your video, or custom burn ins that you create, by enabling the Use Burn In option.

This can be useful if you are doing reviews of a cinematic, as it will display timecode information as well as shot names and any other custom information you want to provide.