The Unreal Engine 4 (UE4) Mobile Packaging Wizard will help to reduce the size of your mobile project by packaging only the content that is needed to upload your project to the App store. The rest of the content will be download from the cloud when the user launches the game on their device for the first time. In the following document, we will take a look at how you set up your UE4 mobile project to use the Mobile Packaging Wizard.
Mobile Packaging Wizard Tool Location
To access the Mobile Packaging Wizard, you will need to do the following.
-
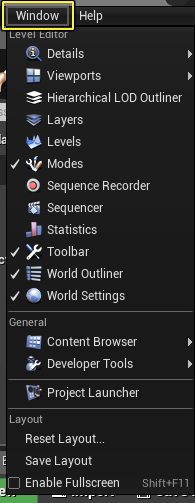
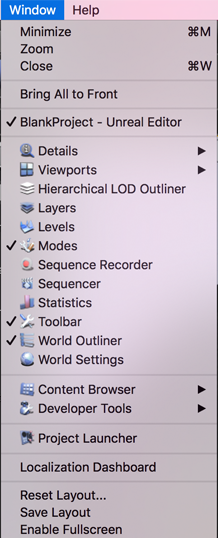
From the Main Toolbar, locate the Window option and click on it.
-
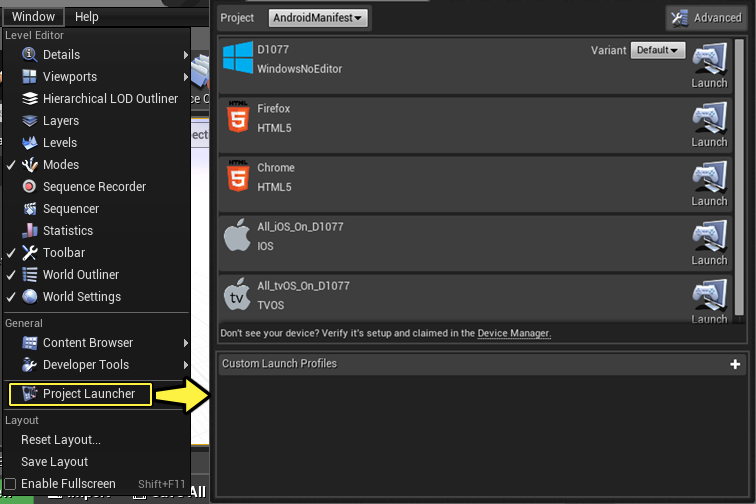
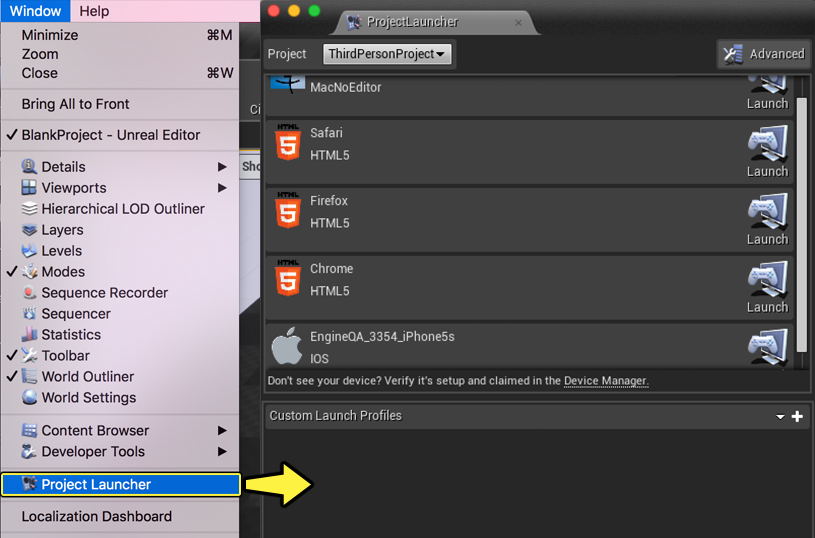
From the Windows menu that is displayed, click on the Project Launcher option to display the Project Launcher.
Setting Up a Mobile Packaging Wizard Profile
Before the Mobile Packaging Wizard can be used, a new profile that is specific to your project's needs has to be created. In the following section, we will take a look at what needs to be done to create a custom launch profile for your UE4 mobile project.
-
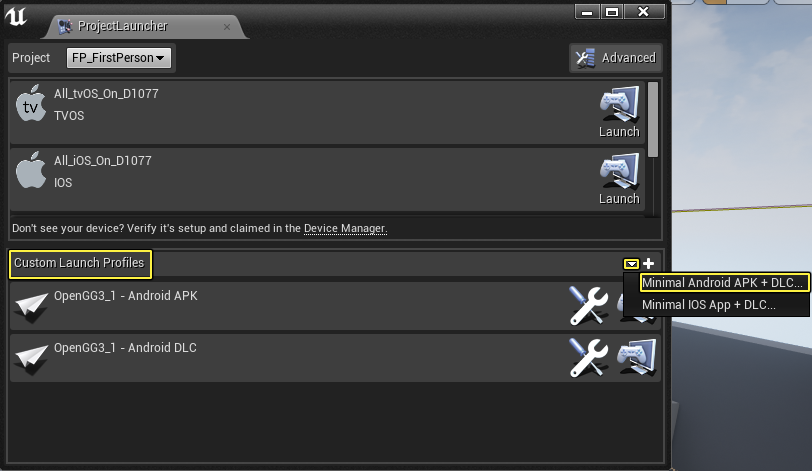
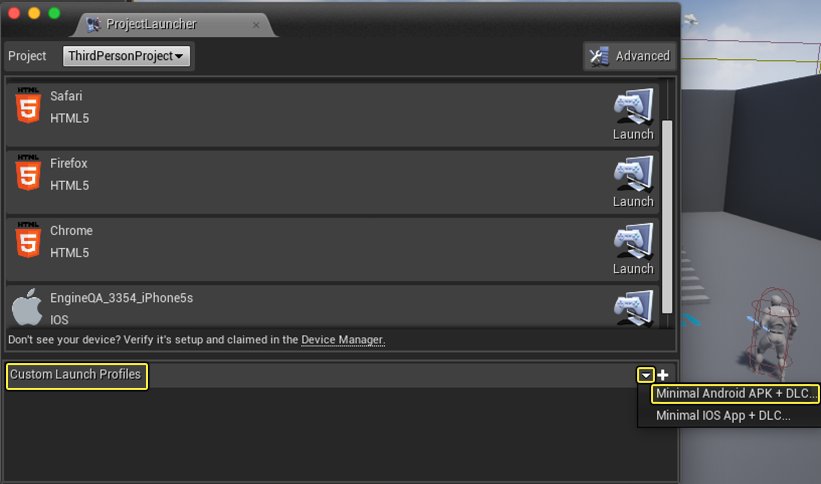
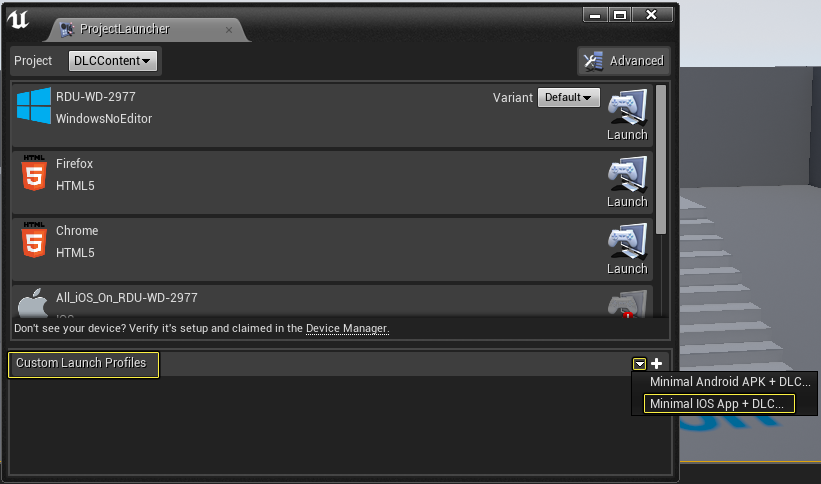
Click on the small white triangle next to Custom Launch Profiles, selecting the Minimal Android APK + DLC� option from the list.
(#bookmark1)
-
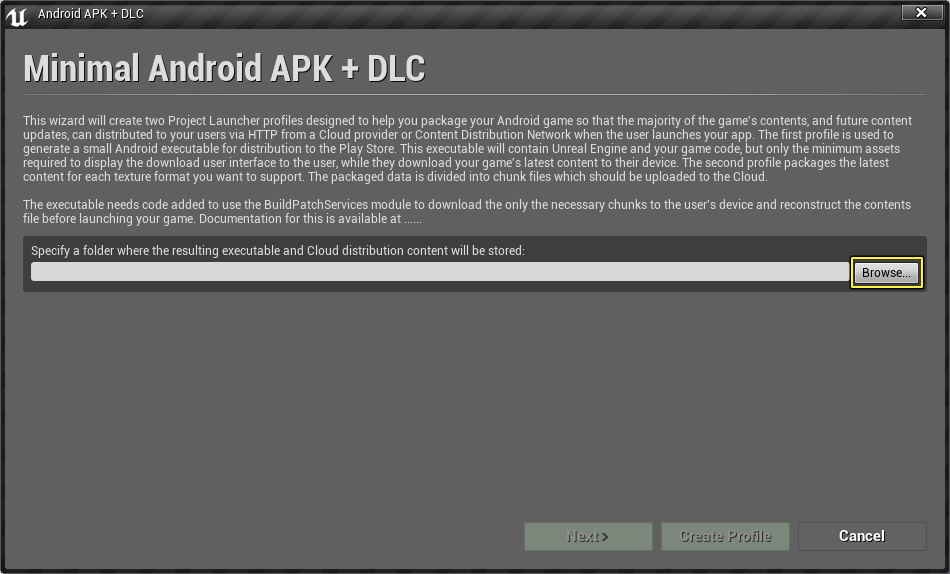
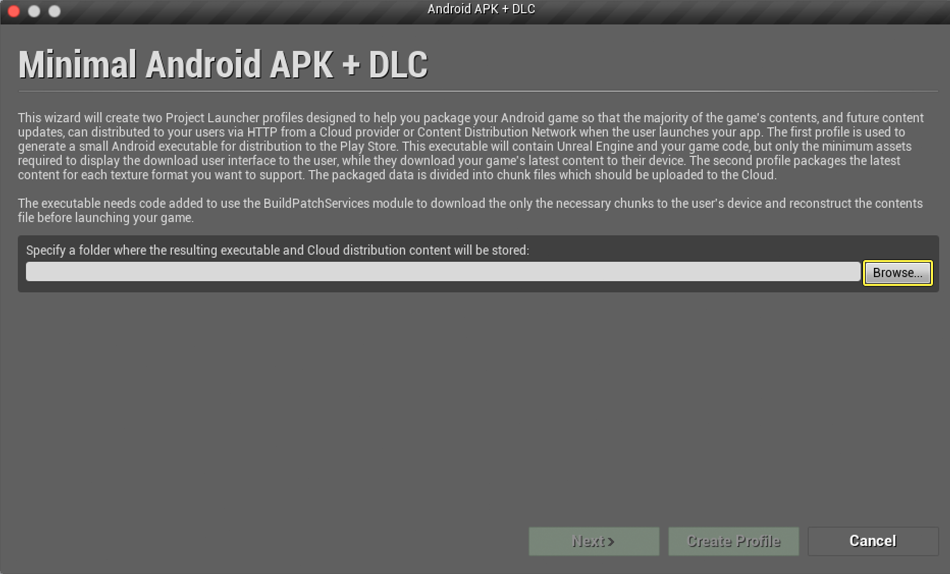
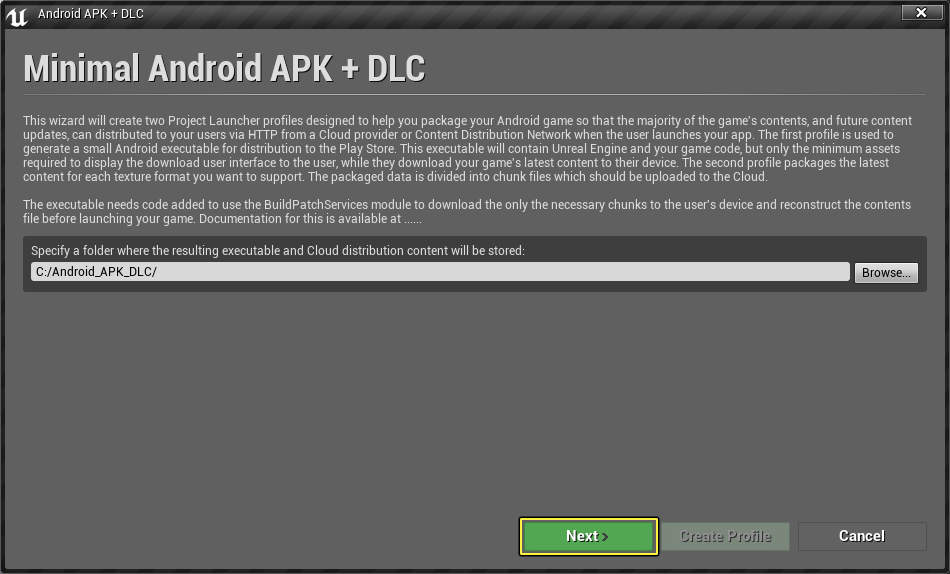
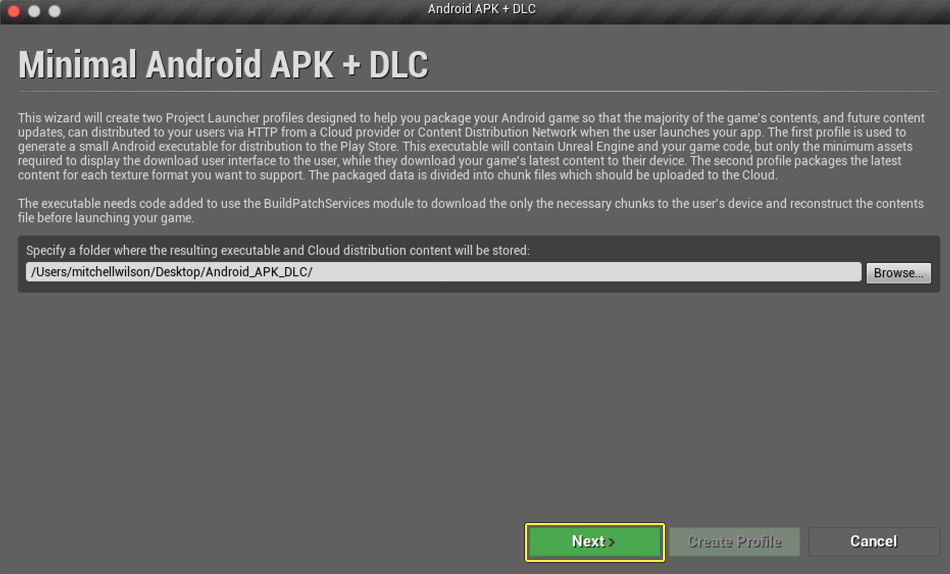
When the Minimal Android APK + DLC packaging window is displayed, click on the Browse button, and select a location for the packaged content to be placed.
-
Once you have selected a location for the packaged content to be placed, press the Next button to continue the packaging process.
-
In the Distributable APK menu, set the Build Configuration to Development and then select the map you want to use, pressing the Next button when finished.
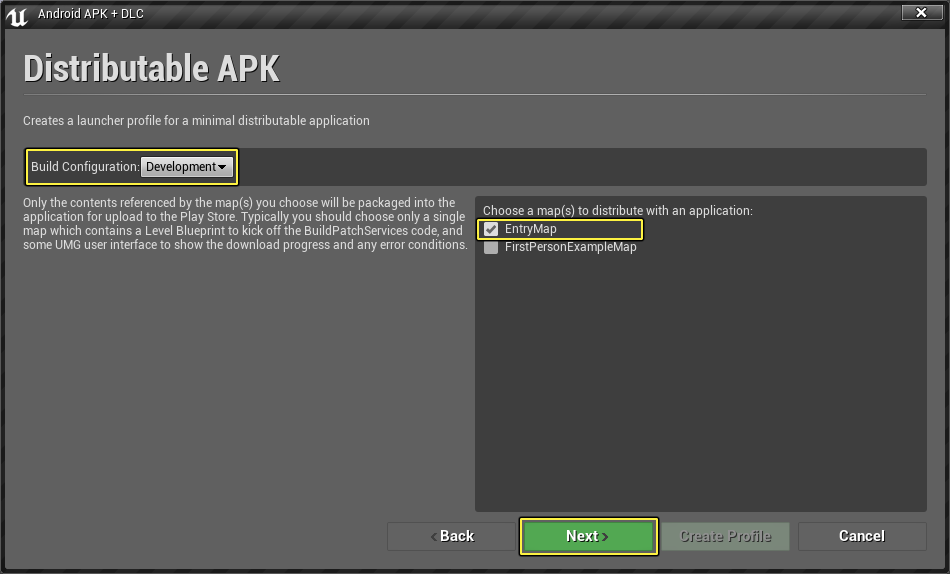
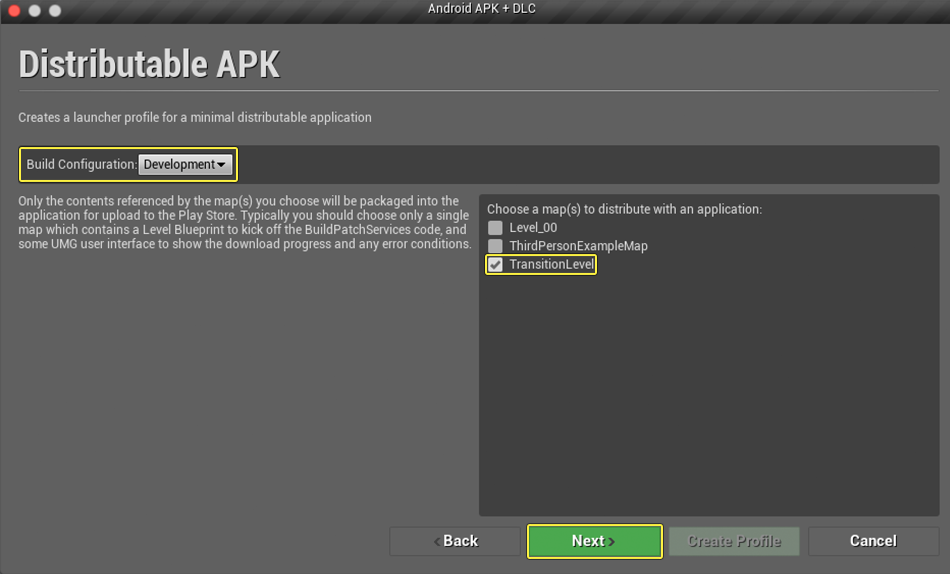
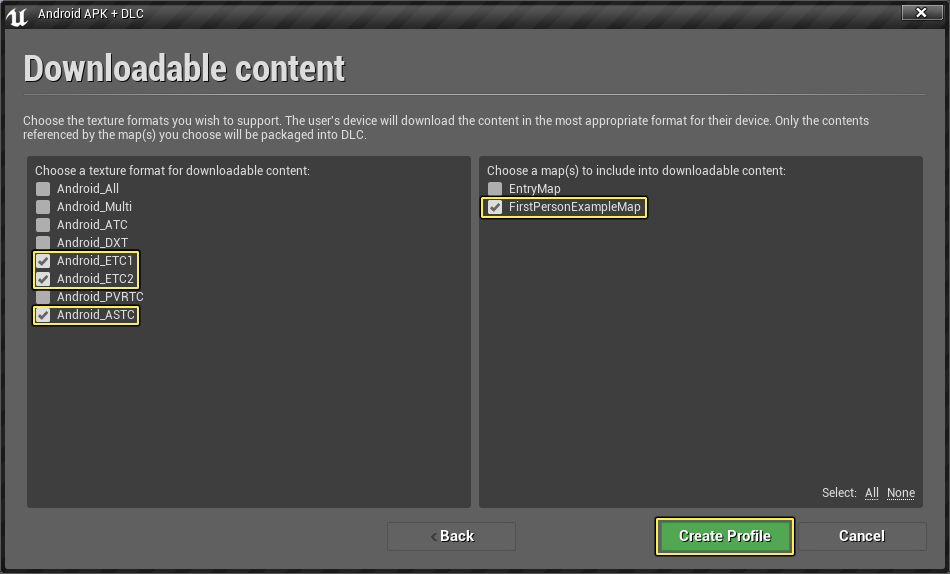
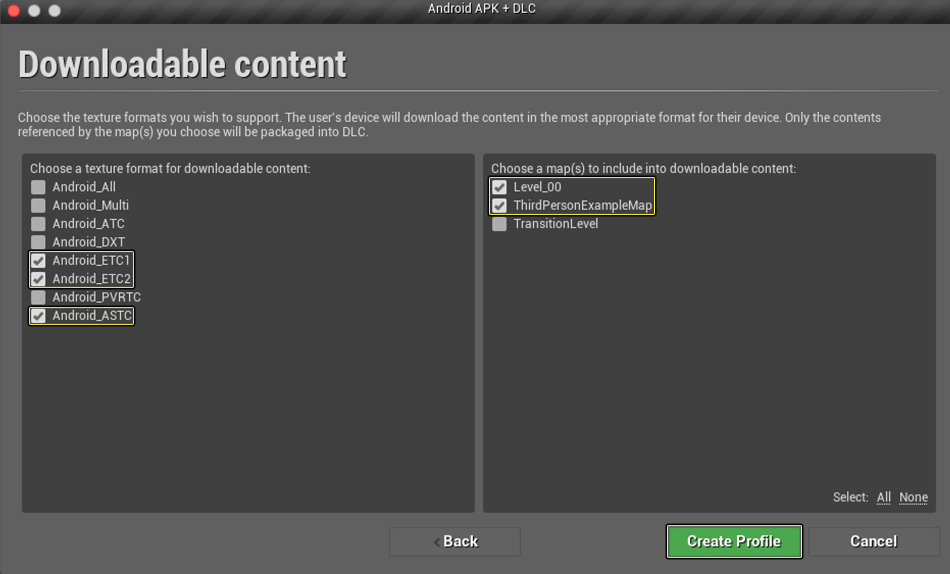
Only the contents referenced by the map(s) you choose will be packaged into the application for upload to the Play Store. Typically, you should choose only a single map that contains a Level Blueprint to kick off the BuildPatchServices code with a UMG user interface to show the download progress (showing any applicable error conditions).
-
In the Downloadable Content menu, select the Android texture formats your application will support with the maps that will need to be downloaded. When that has been completed, press the Create Profile button to create a new Custom Launch Profile.
Building the Application
Now that all of the options for the Mobile Packing Wizard have been set up and saved into a Custom Launch Profile, it is time to run that profile and package your project. In the following section, we will take a look at what needs to be done for the Mobile Packing Wizard to successfully package your UE4 project.
-
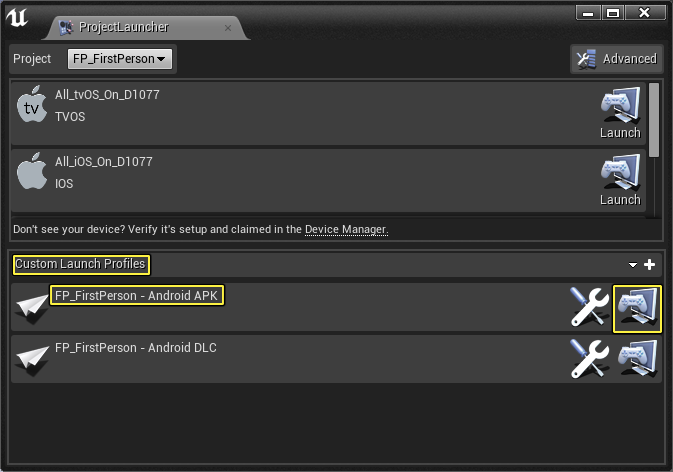
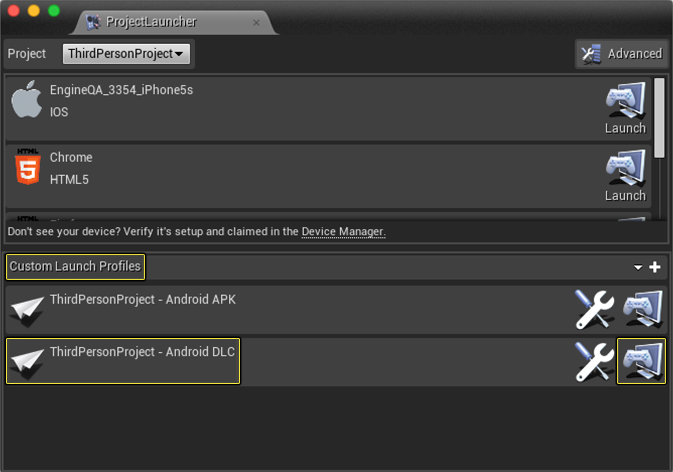
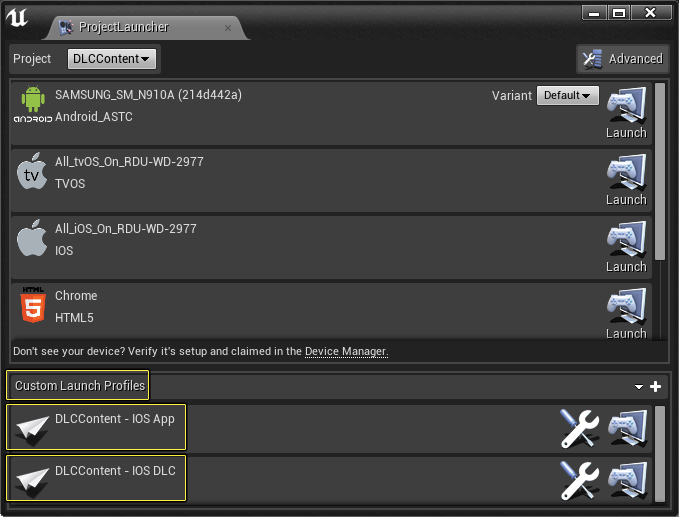
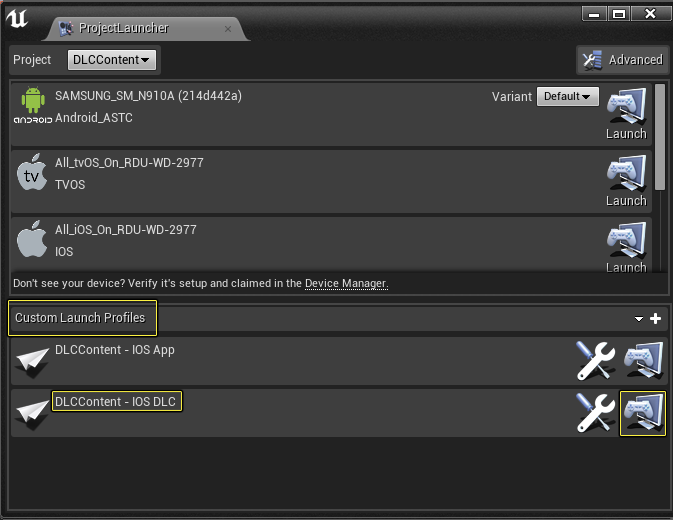
If the Project Launcher is not already open, open it up and then look at the bottom of the Project Launcher in the Custom Launch Profile section. In this section, you should have two profiles that start with your project name and are followed by either Android APK or Android DLC.
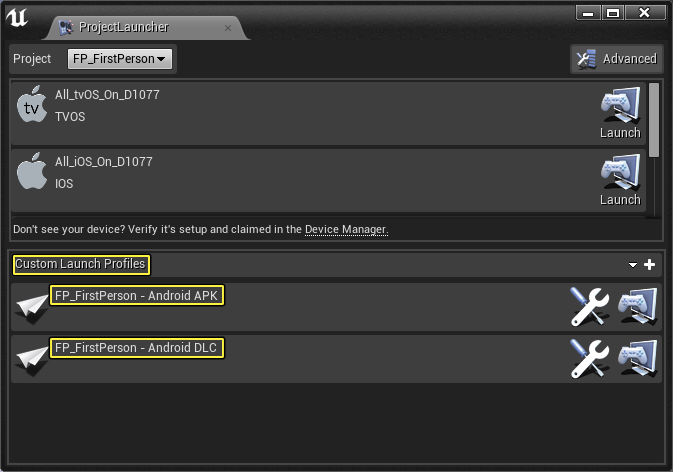
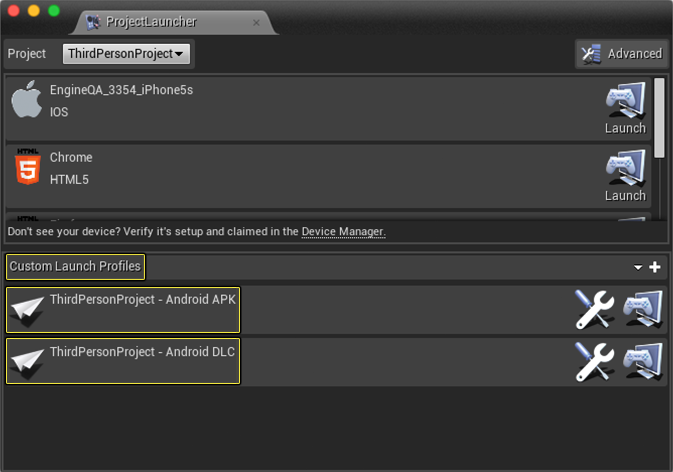
When you first open up the Project Launcher, the Custom Launch Profiles section could have a few items in it by default. To remove these items, right-click on the item you want to remove, and then select the Delete option to remove it.
-
Locate the APK Profile option and then click on the Launch this Profile button to begin the packaging process.
You must package your project's files before you build the DLC.
-
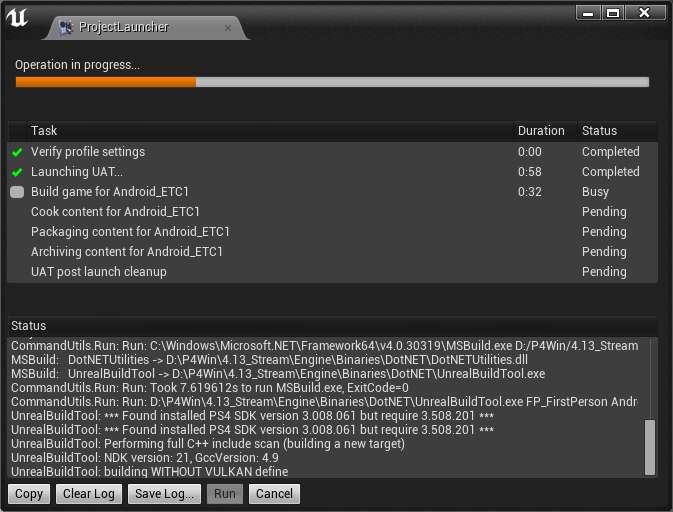
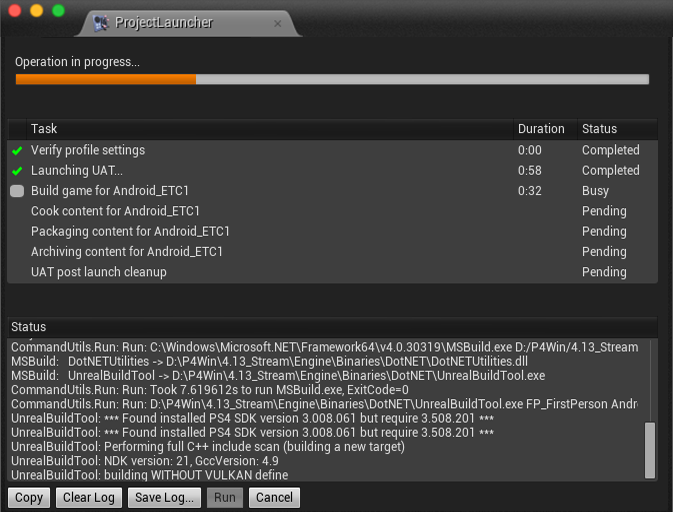
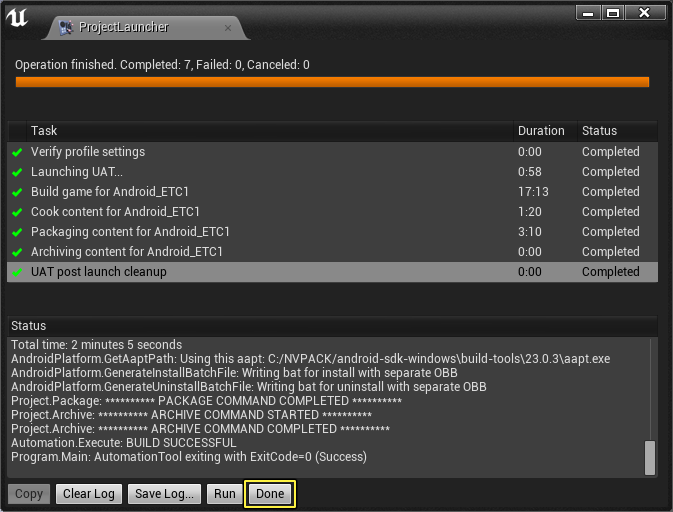
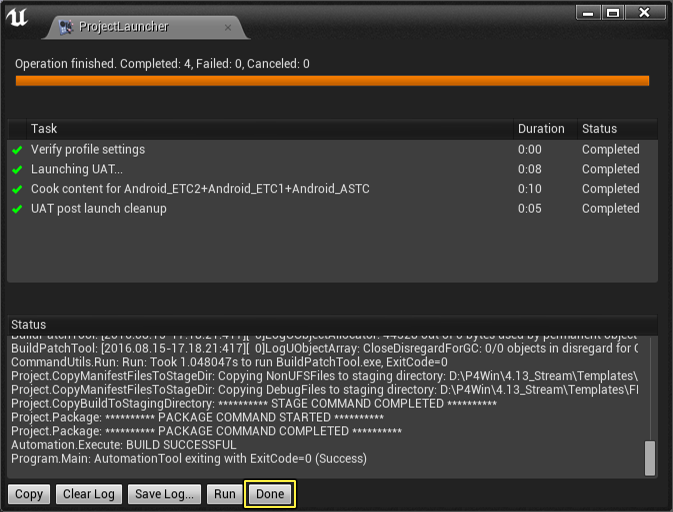
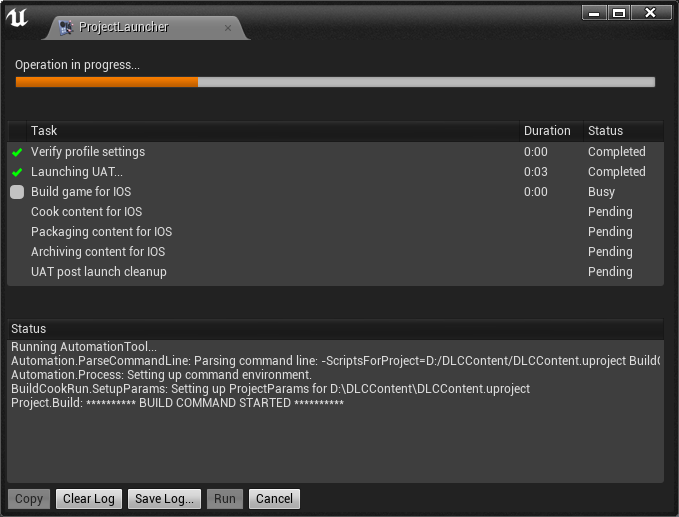
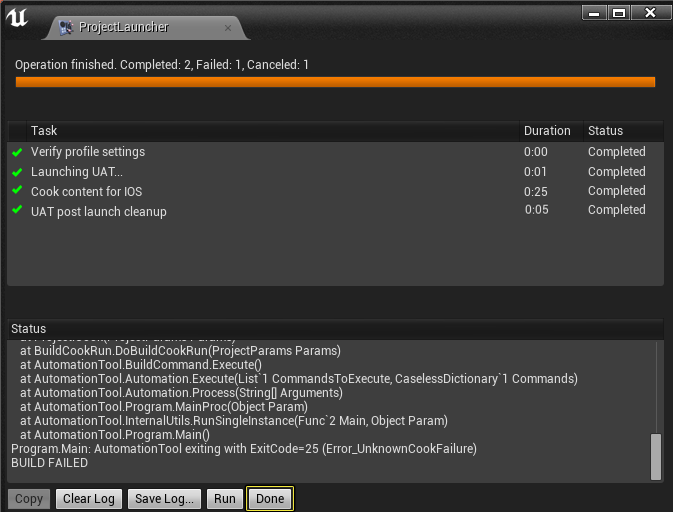
Once the Launch this Profile button has been pressed, the Project Launcher will begin the packaging process. You can see the progress of the packaging process in the Project Launcher window.
-
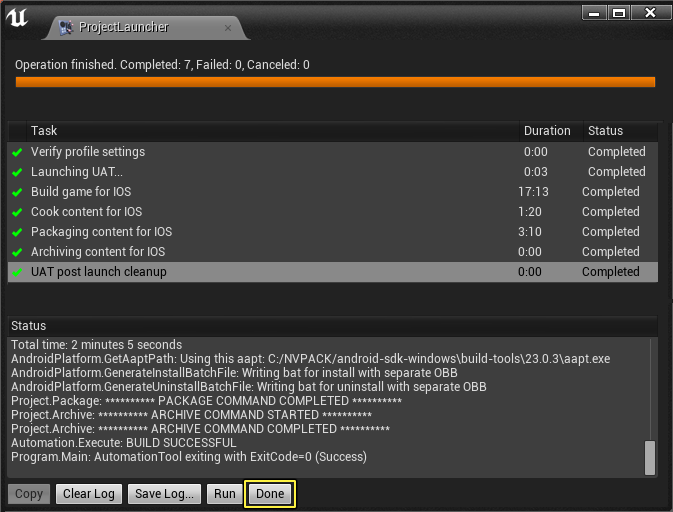
When the packaging has completed, click on the Done button to load the Project Launcher.
Building the DLC
Once your project has finished the cooking process for the initial download from the App store, it is now time to cook the content that is to be downloaded from the cloud after your App has been installed on a mobile device.
-
From the Project Launcher, go to the Custom Launch Profiles section and look for your project's DLC option. When the DLC option for your project has been located, click on the Launch this Profile button to begin the DLC packaging process.
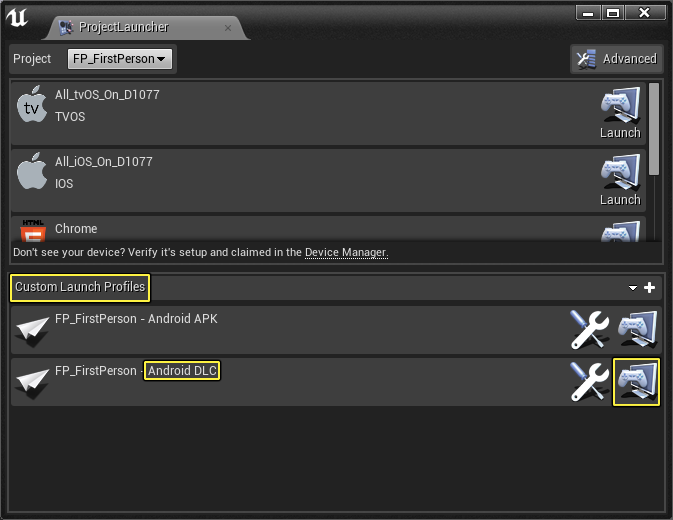
-
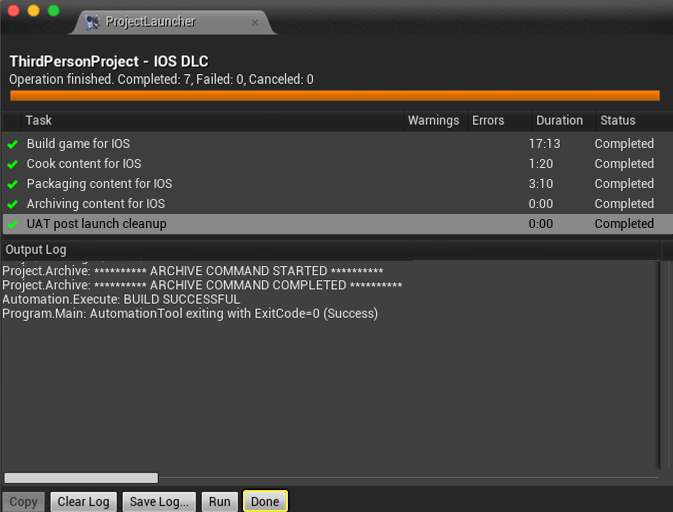
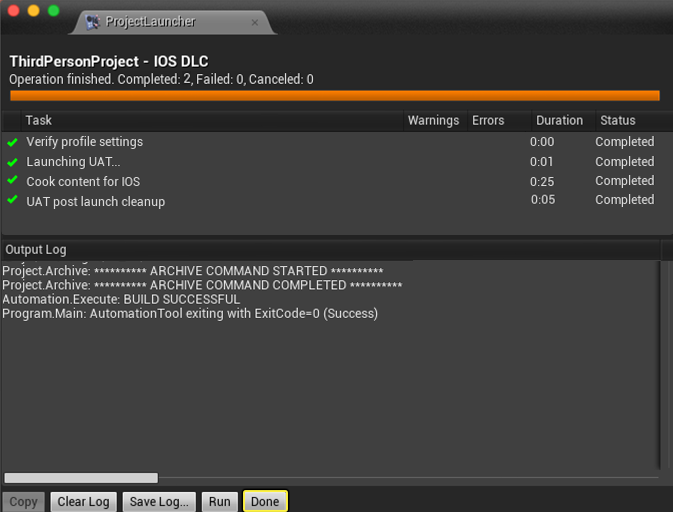
After pressing the Launch this Profile button, the Project Launcher will begin to build the DLC for your project. When the DLC has finished being built, click on the Done button to continue.
Packaging Results
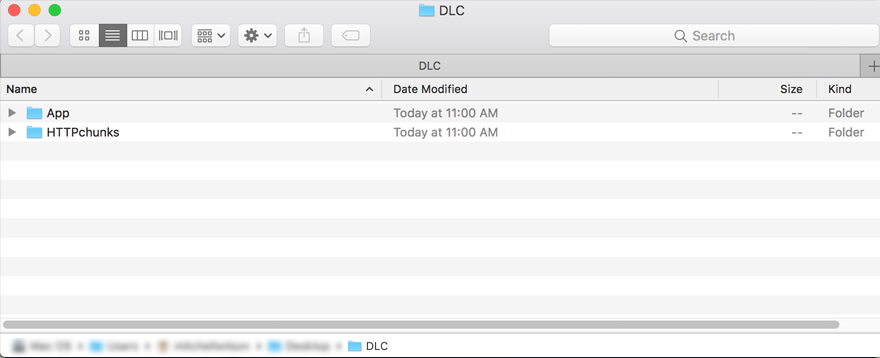
Once everything has finished building, open up the folder that was specified in the second step of the "Setting Up a Mobile Packaging Wizard Profile" section. You'll see the following two folders:


Inside of the folders, you will find the various pieces of your project that have been set up to be downloaded after the users have downloaded and installed the application on their mobile device.
Setting Up a Mobile Packaging Wizard Profile
Before the Mobile Packaging Wizard can be used, a new profile that is specific to your project's needs has to be created. In the following section, we will take a look at what needs to be done to create a custom launch profile for your UE4 mobile project.
-
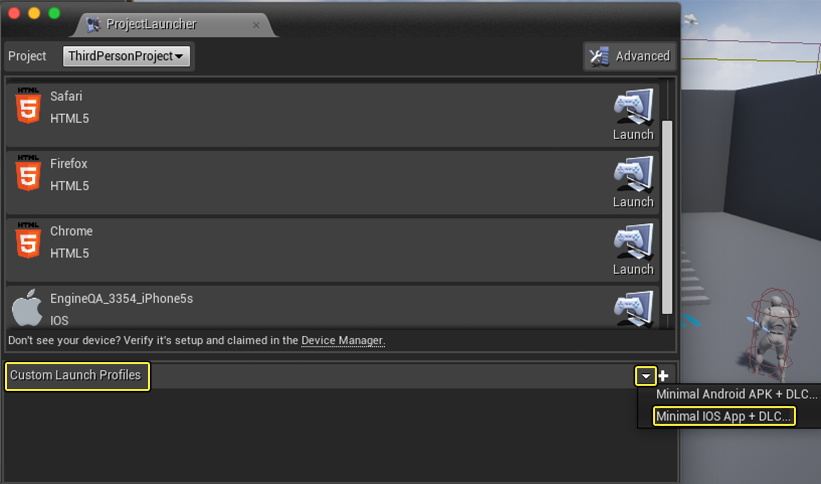
Click on the small white triangle next to Custom Launch Profiles, selecting the Minimal IOS App + DLC� option from the list.
(#bookmark1)
-
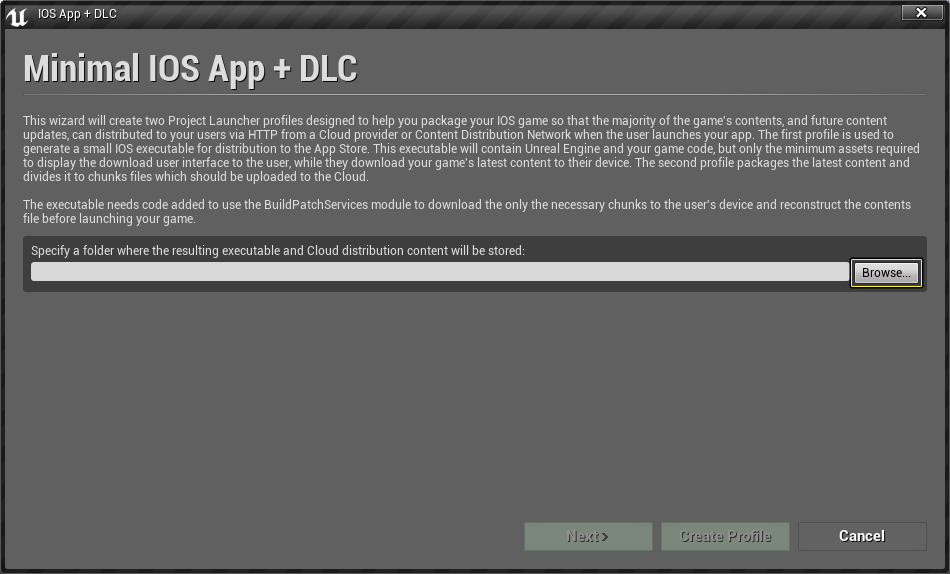
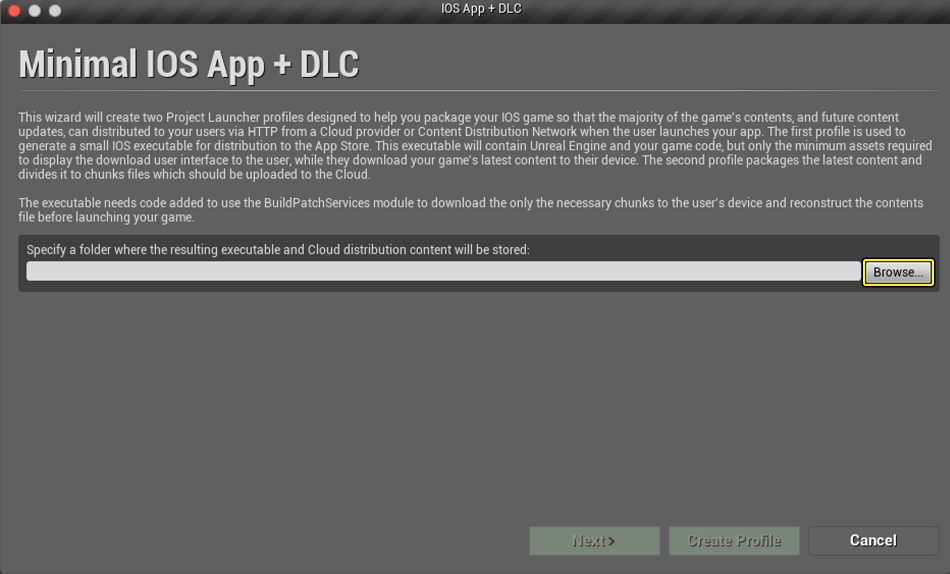
When the Minimal IOS App + DLC packaging window is displayed, click on the Browse button and select a location for the packaged content to be placed.
-
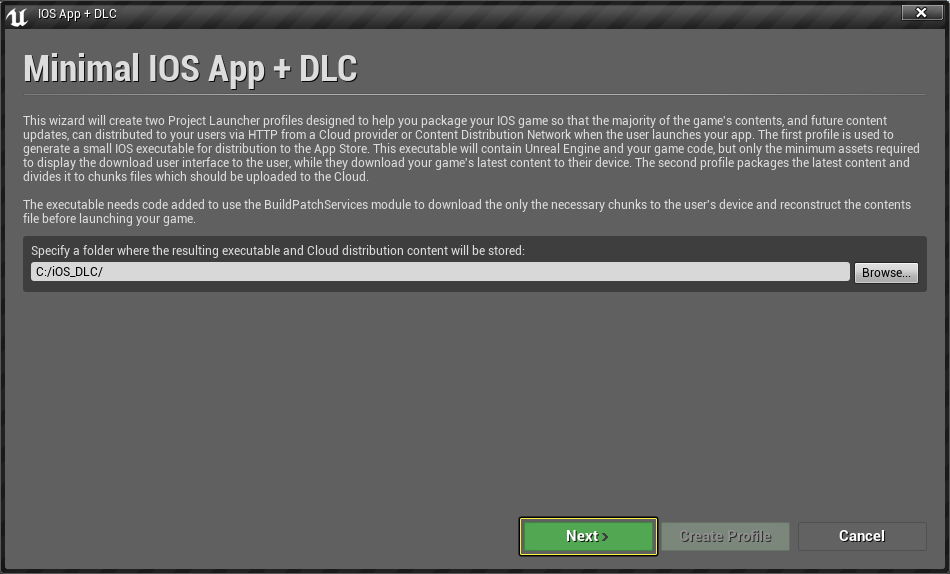
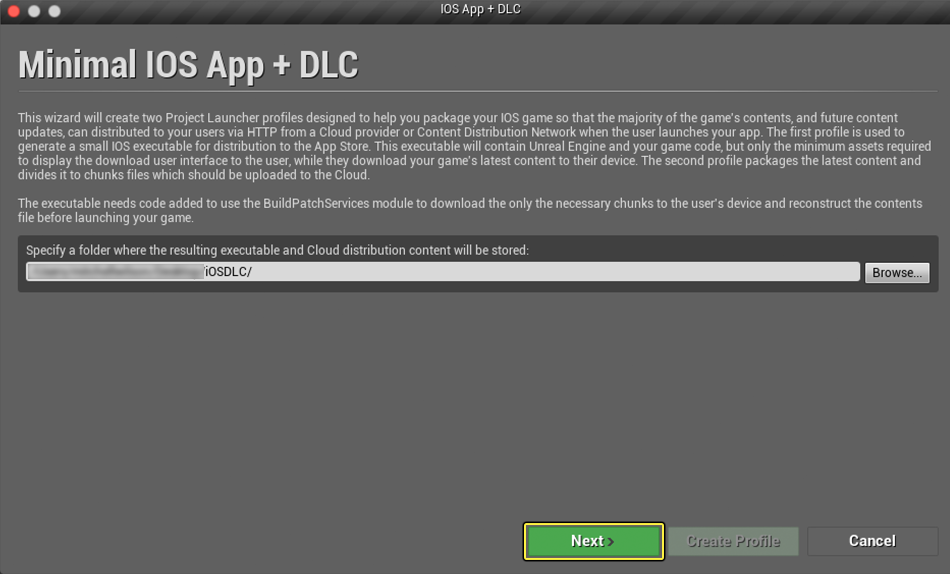
Once you have selected a location for the packaged content to be placed, press the Next button to continue the packaging process.
-
In the Distributable Application menu, set the Build Configuration to Development and then select the map you want to use, pressing the Next button when finished.
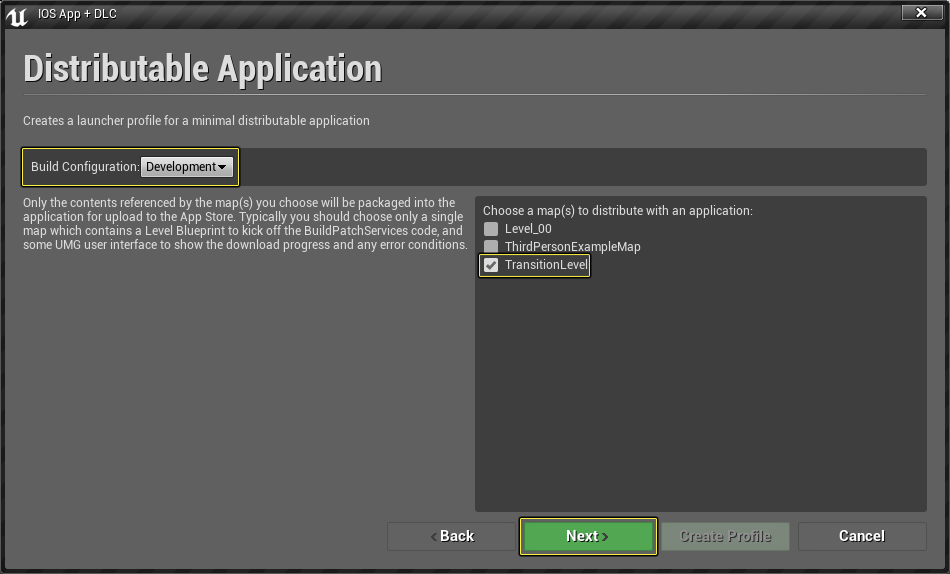
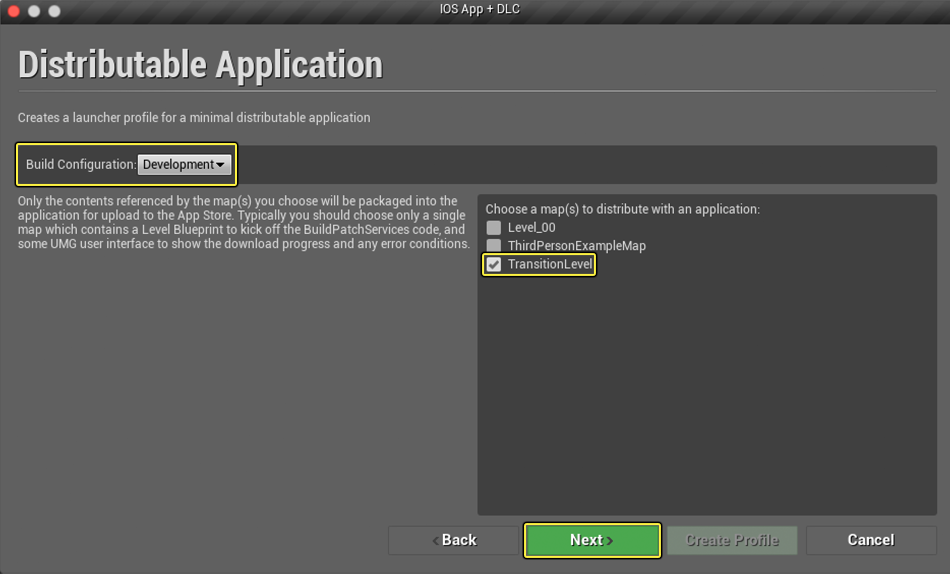
Only the contents referenced by the map(s) you choose will be packaged into the application for upload to the App Store. Typically, you should choose only a single map that contains a Level Blueprint to kick off the BuildPatchServices code with a UMG user interface to show the download progress (showing any applicable error conditions).
-
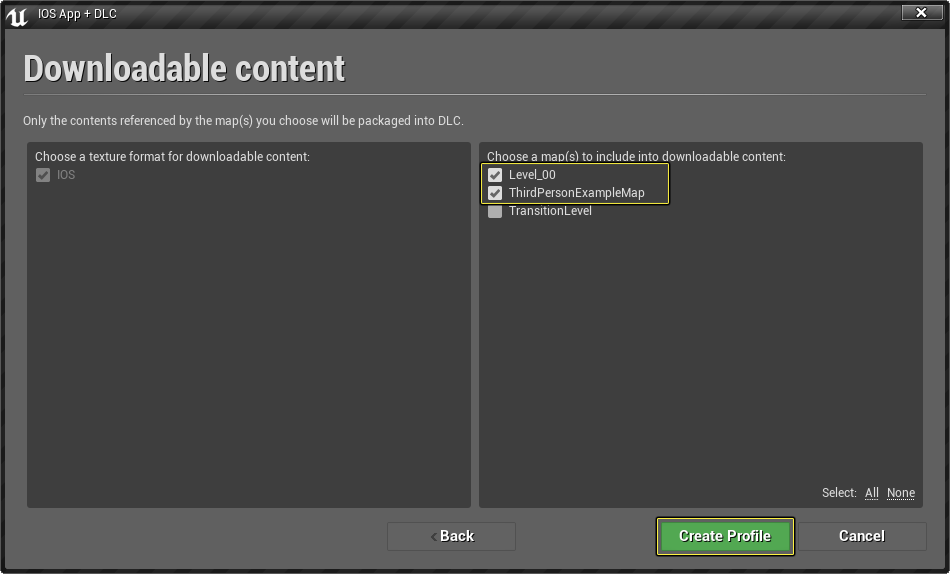
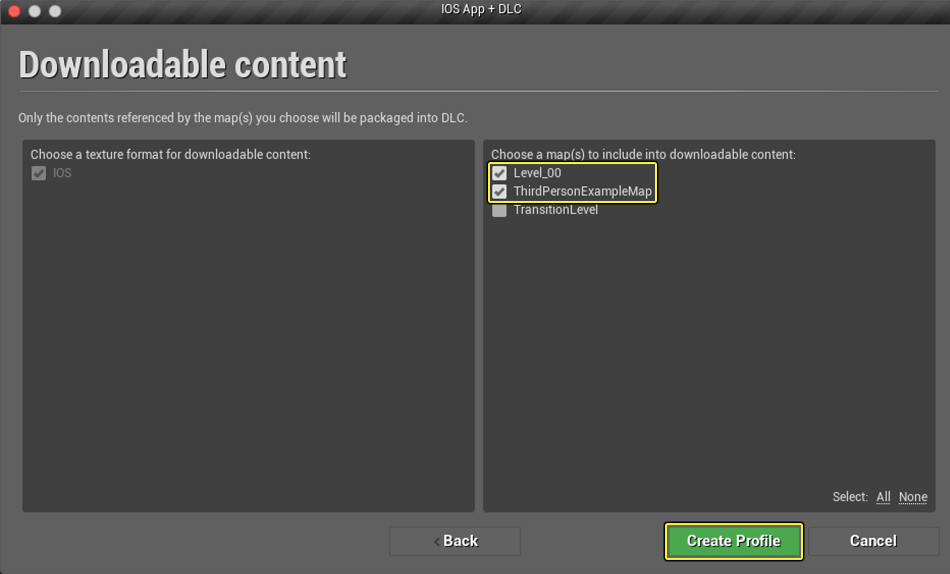
In the Downloadable Content menu, select the maps that should be downloaded and then press the Create Profile button to create a new Custom Launch Profile.
Building the Application
Now that all of the options for the Mobile Packing Wizard have been set up and saved into a Custom Launch Profile, it is time to run that profile and package your project. In the following section, we will take a look at what needs to be done for the Mobile Packing Wizard to successfully package your UE4 project.
-
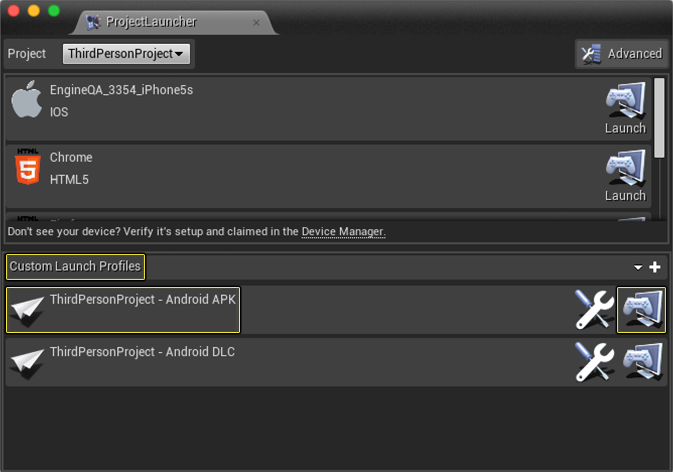
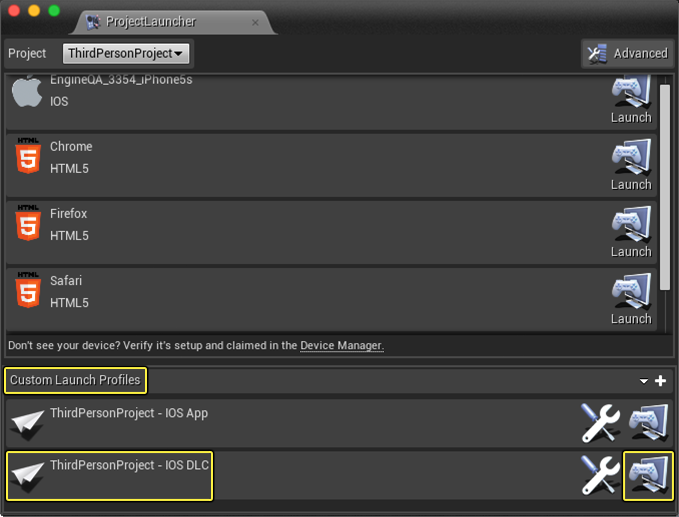
If the Project Launcher is not already open, open it up and then look at the bottom of the Project Launcher in the Custom Launch Profile section. In this section, you should have two profiles that start with your project name and are followed by either IOS App or IOS DLC.
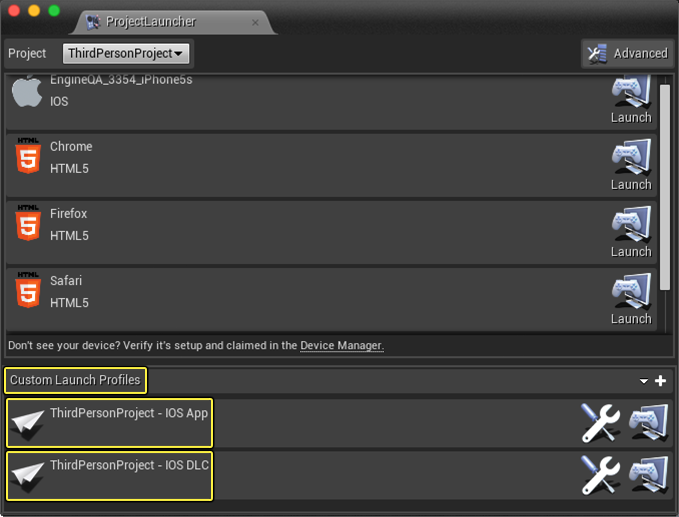
When you first open up the Project Launcher, the Custom Launch Profiles section could have a few items in it by default. To remove these items, right-click on the item you want to remove, and then select the Delete option to remove it.
-
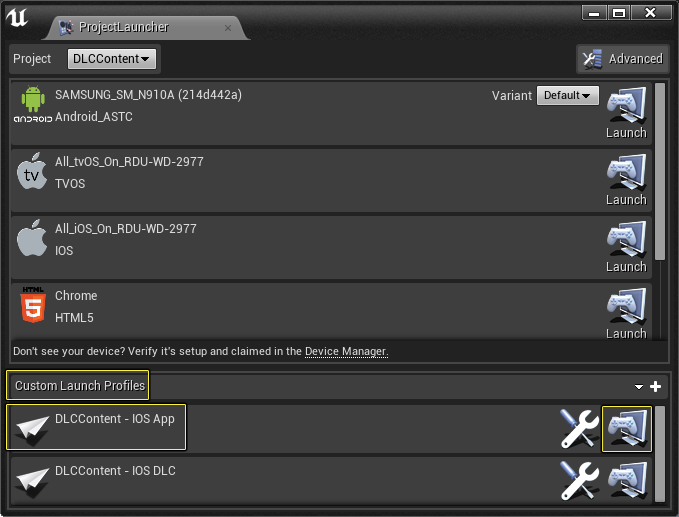
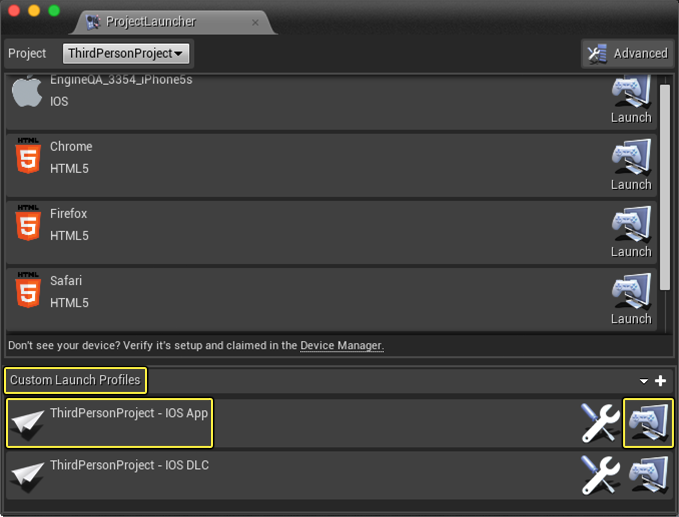
Locate the IOS App Profile option and then click on the Launch this Profile button to begin the packaging process.
You must package your project's files before you build the DLC.
-
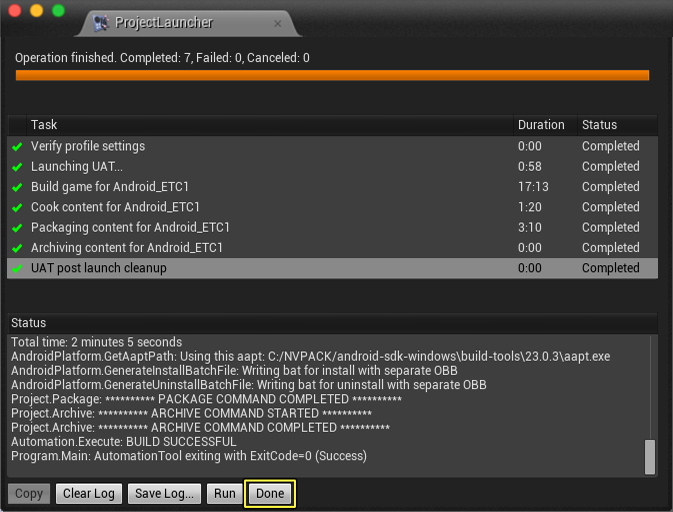
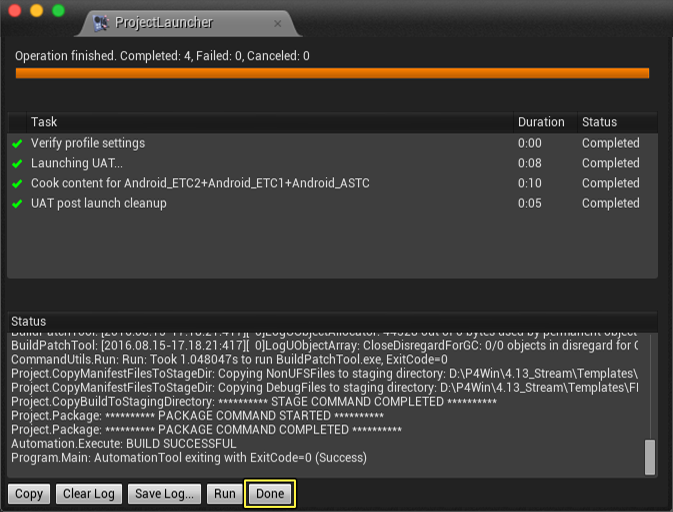
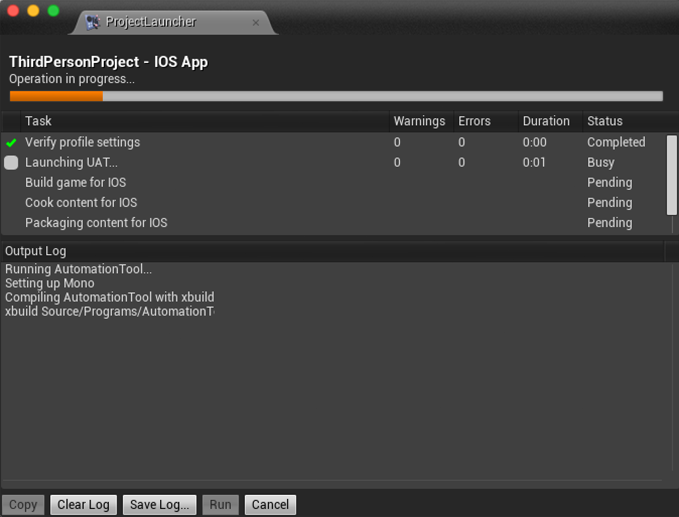
Once the Launch this Profile button has been pressed, the Project Launcher will begin the packaging process. You can see the progress of the packaging process in the Project Launcher window.
-
When the packaging has completed, click on the Done button to load the Project Launcher.
Building the DLC
Once your project has finished the cooking process for the initial download from the App store, it is now time to cook the content that is to be downloaded from the cloud after your App has been installed on a mobile device.
-
From the Project Launcher, go to the Custom Launch Profiles section and look for your project's DLC option. When the DLC option for your project has been located, click on the Launch this Profile button to begin the DLC packaging process.
-
After pressing the Launch this Profile button, the Project Launcher will begin to build the DLC for your project. When the DLC has finished being built, click on the Done button to continue.
Packaging Results
Once everything has finished building, open up the folder that was specified in the second step of the "Setting Up a Mobile Packaging Wizard Profile" section. You'll see the following two folders:

Inside of the folders, you will find the various pieces of your project that have been set up to be downloaded after the users have downloaded and installed the application on their mobile device.