
Real-time rendering technology is an increasingly important tool in the filmmaking process, from previsualization to the final render, as it enables filmmakers to review and iterate on digital scenes and effects very quickly. The Meerkat Demo by Weta Digital is a short film rendered entirely in Unreal Engine, built to explore the highest level of quality possible while maintaining as fast a rendering speed as possible. With the right graphics card the Meerkat short will run at real time. This document will guide you through the process of outputting a high-quality render of the Meerkat short yourself using the Movie Render Queue plugin.
This sample is available for Unreal Engine 4.26 and later. Be aware that it is an especially graphically intensive scene, and needs a powerful video card to run at a stable framerate.
Required Setup
To set up a project with the Meerkat sample, follow these steps:
-
Open the Epic Games Launcher, click the Unreal Engine section, then open the Learn tab.
The Learn tab is located in the Unreal Engine section of the Epic Games launcher, at the top of the screen. Click image to enlarge.
-
Scroll down the page to Engine Feature Samples, click the entry for the Meerkat Demo sample, then click Free to add the sample to your Vault.
The Meerkat Demo in the Engine Feature Samples section. Click image to enlarge.
-
Click Create Project and follow the on-screen instructions to download the Meerkat Demo sample content and start a new project.
The Create project button in the content page for the Meerkat demo. Click image to enlarge.
-
Open your new project in the Unreal Editor.
-
Open the Edit > Plugins window and navigate to the Built-In > Rendering section. Make sure that the Movie Render Queue plugin is enabled and, if necessary, restart the editor.
Enabling the Movie Render Queue plugin. Click image to enlarge.
Viewing the Meerkat Sequence
Once you have loaded Unreal Editor and opened the Meerkat Demo project, go to the Content Browser and double click Master_SEQ.
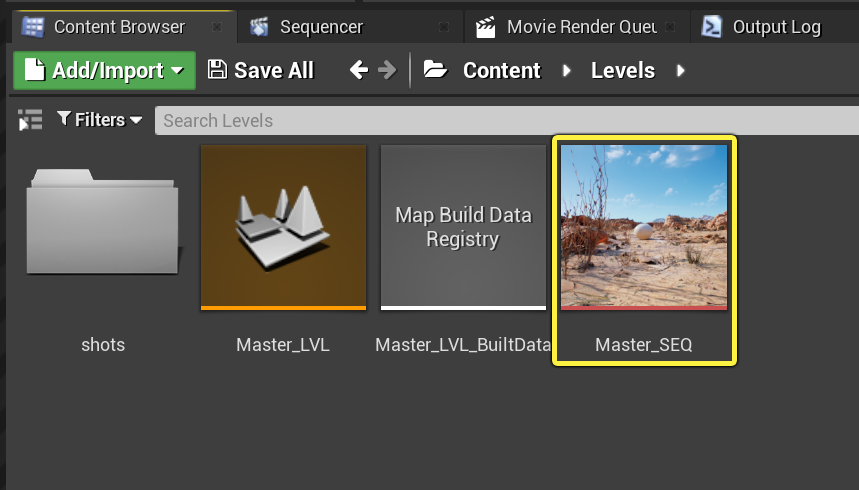
This will open Sequencer and load the Master_SEQ level sequence.
The Master_SEQ level sequence loaded in the Sequencer tab. Click image to enlarge.
You can scrub the timeline through the different shots by clicking in the timeline.
The timeline for the Master_SEQ level sequence. Click image to enlarge.
If you want to be able to see the shots through the cinematic cameras set up in the scene, you can click on the camera icon for Shots. Your viewport will then look through the camera corresponding to the position of the timeline.
The toggle button for Cinematic camera mode as it appears in the Sequencer tab. Click image to enlarge.
You can also change your viewport mode from Perspective to Cinematic Viewport.
Changing to Cinematic Viewport Mode using the Viewport controls. click image to enlarge.
For more information about working with Sequencer, refer to the Sequencer Editor section.
Optimization Settings
To improve performance, the Meerkat demo uses low-resolution settings by default. If you want the highest-quality visual, there are several optimization settings you can change.
Toggling High-Resolution Environment Meshes
In the World Outliner, click the VisualSettings_BP Blueprint. In the Details tab, under Default, you will find the Highres Env Meshes setting. Your scene will have improved fidelity with it turned on, but it will run slightly faster with it turned off.
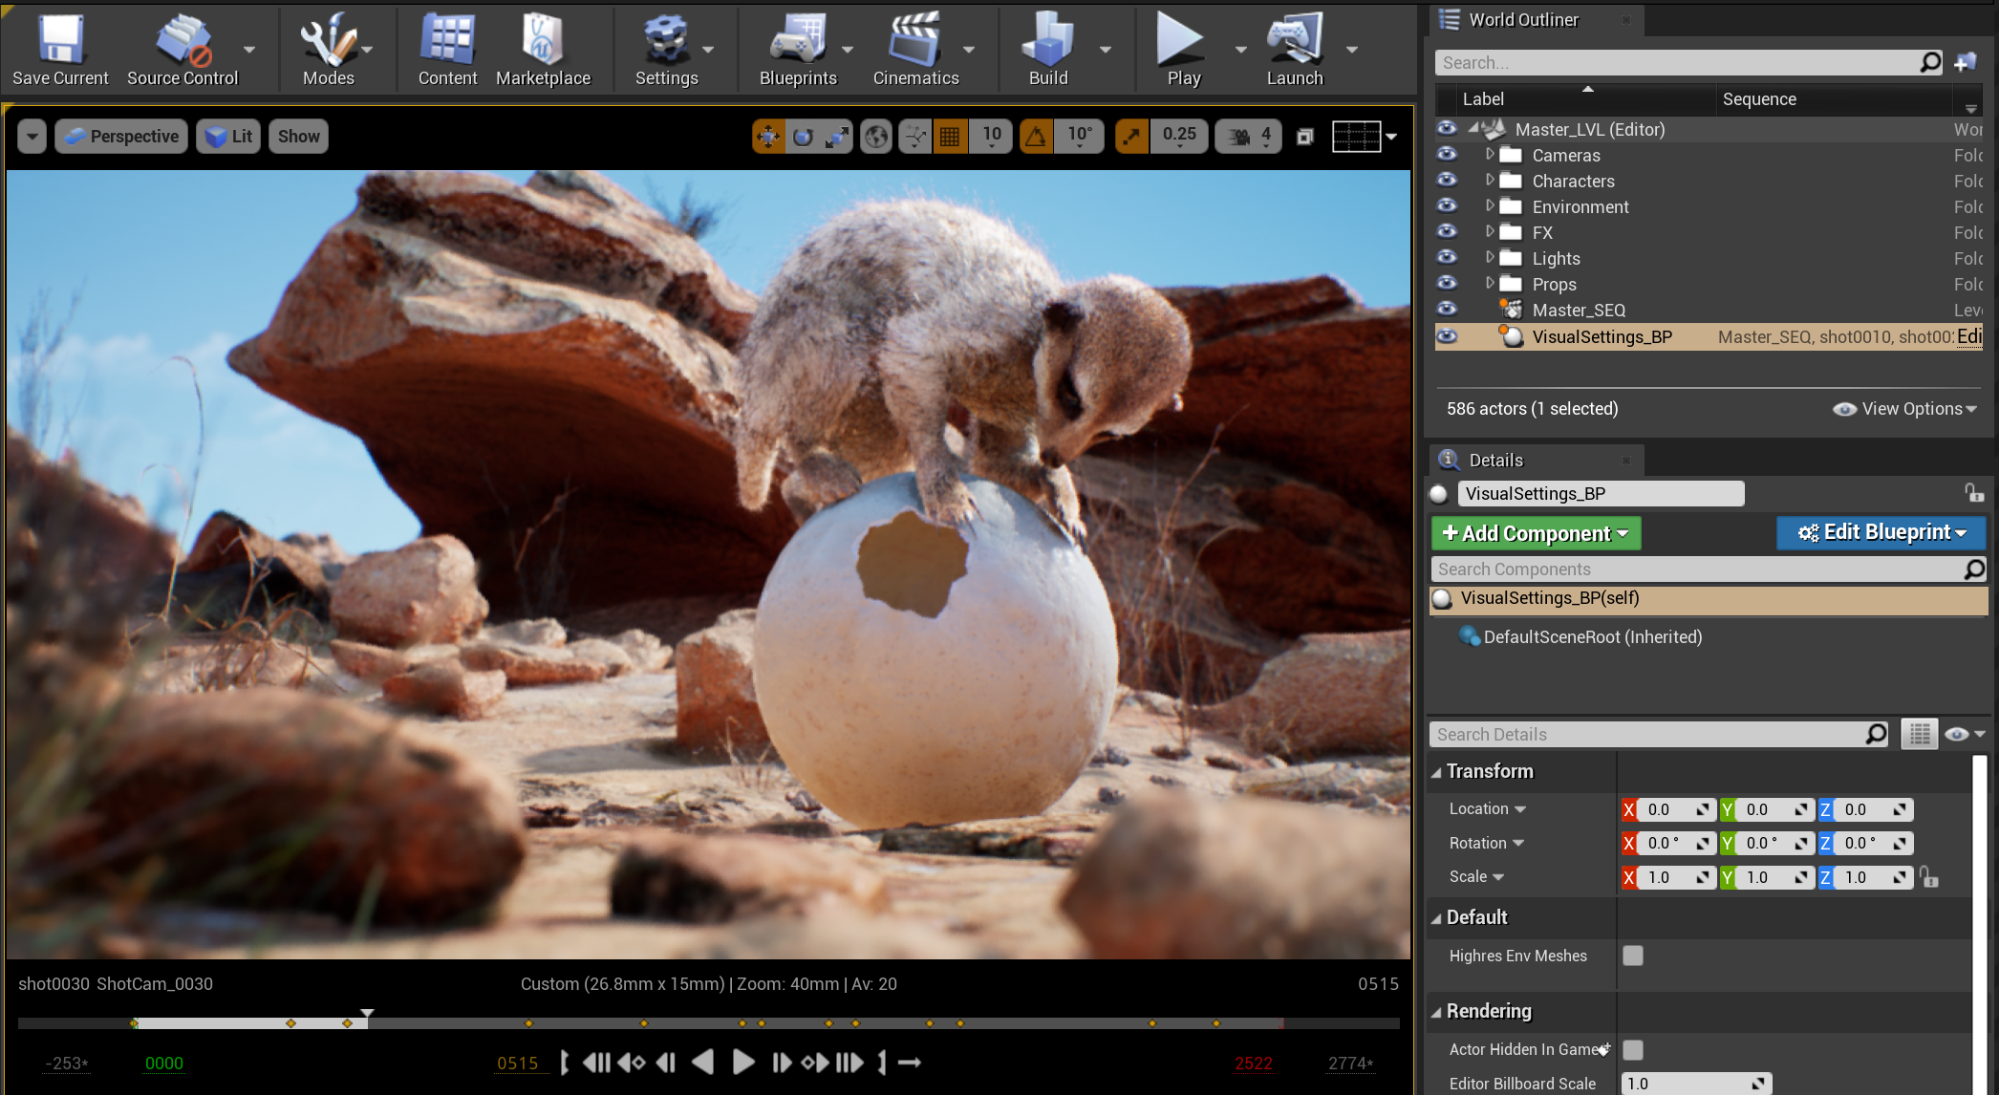
Move the slider to compare the scene without high-resolution environment meshes versus with them turned on.
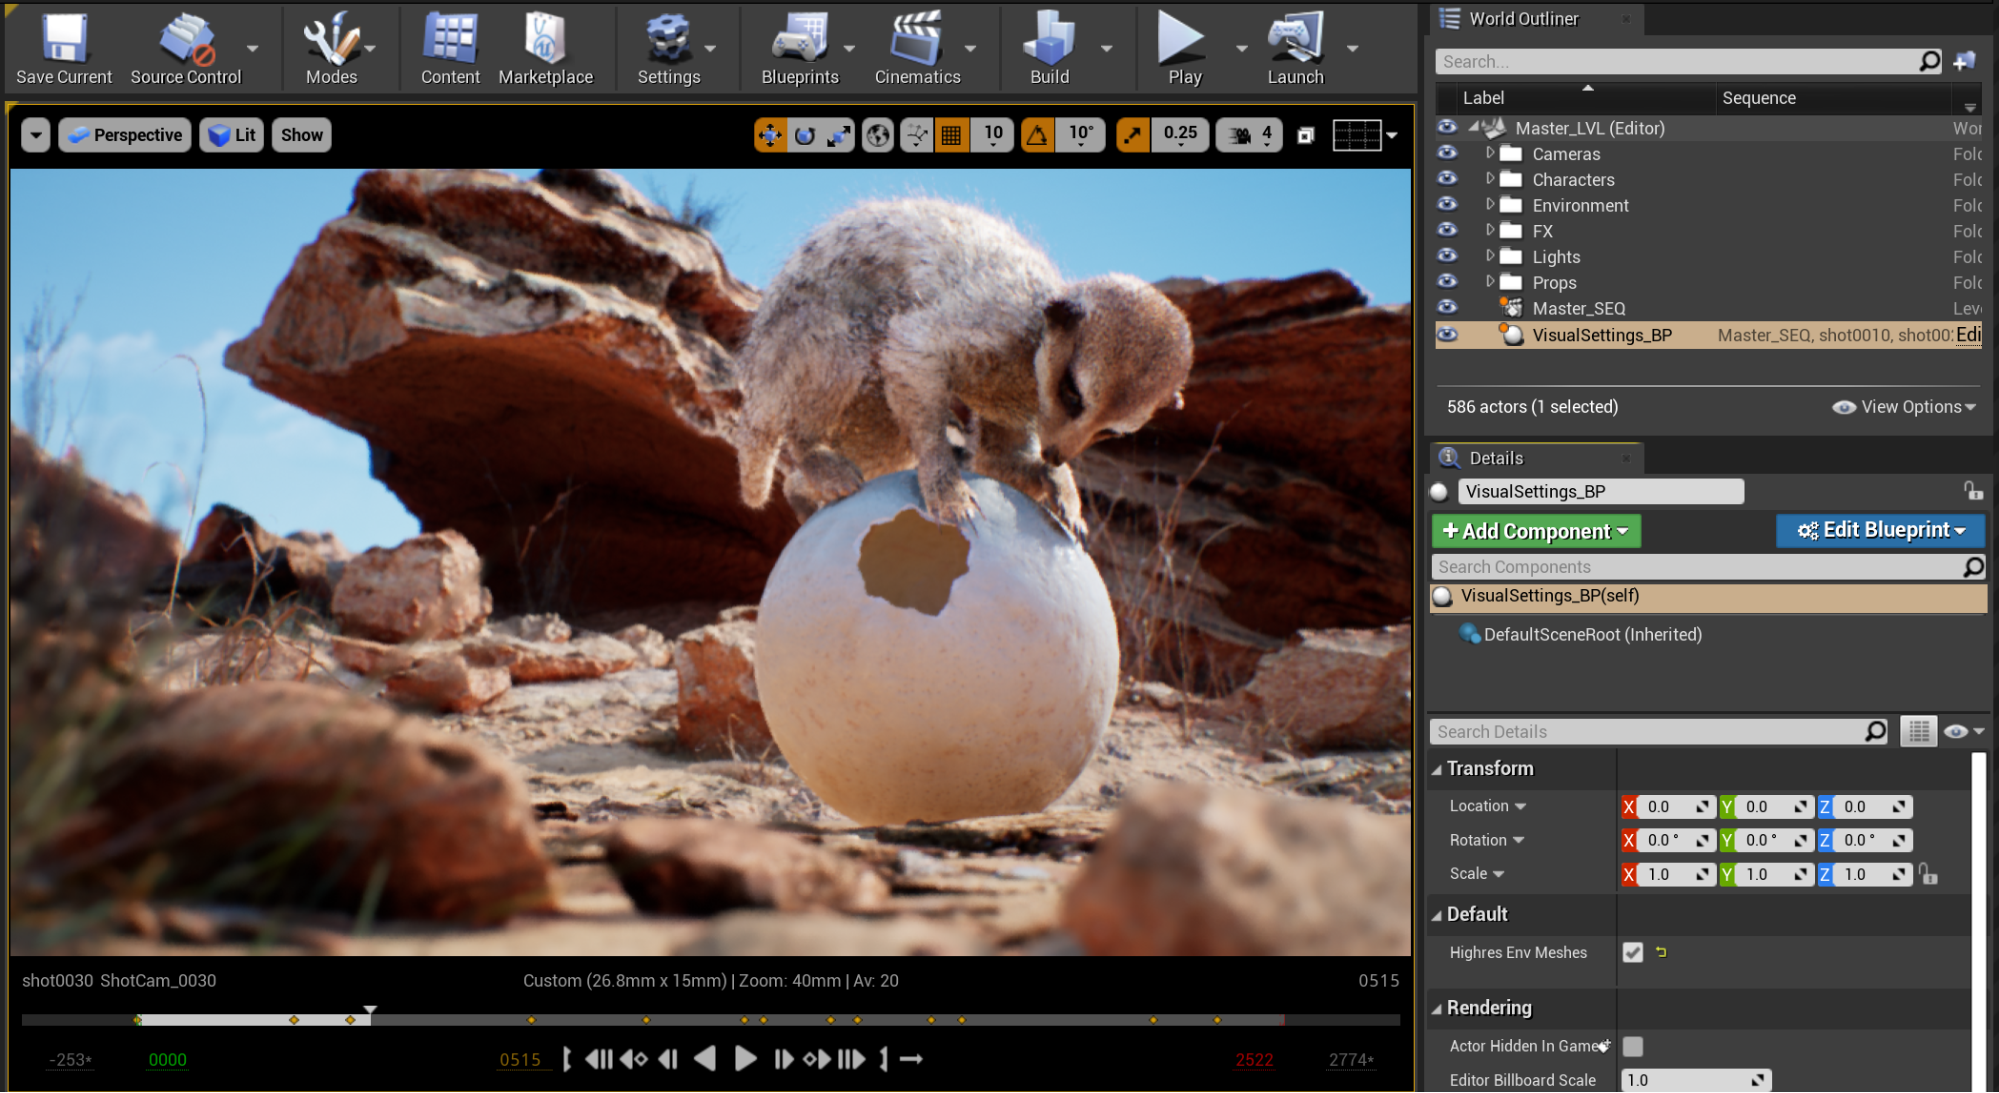
Changing the Eagle's Groom Resolution
The Eagle in the Meerkat demo uses a Groom hair asset to represent its feathers. By default, it uses a low-resolution groom to improve performance, but you can change this to a high-resolution asset instead.
-
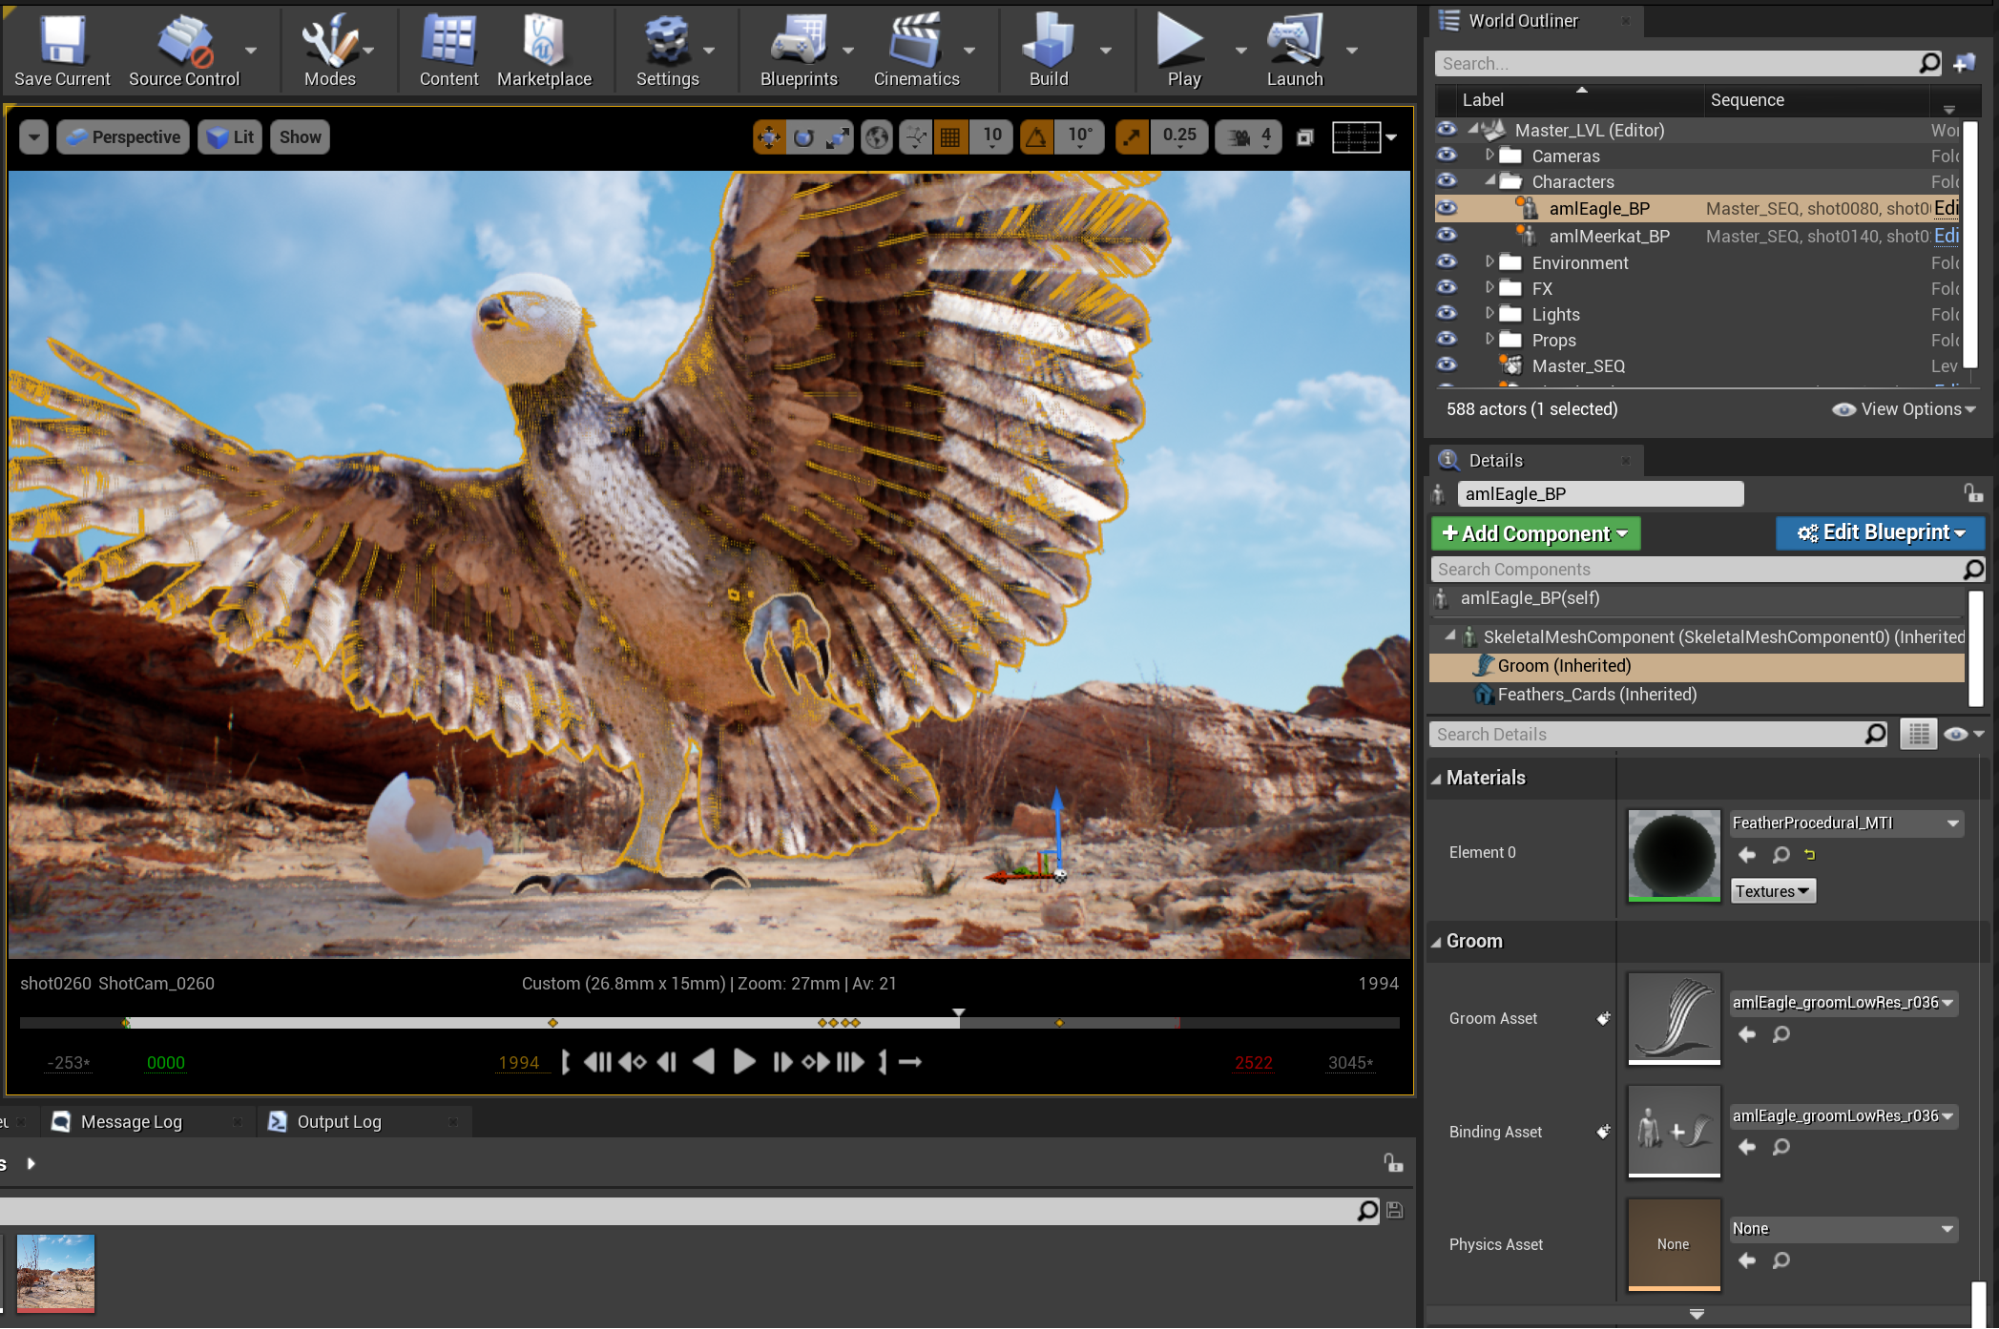
In the World Outliner, click the Characters group, then select amlEagle_BP and look at its Details tab.
-
Select the Groom property, which is listed under amlEagle_BP(self) in the Details tab.
The Groom properties can be accessed from the Details tab. Click image to enlarge.
-
There are both a Groom Asset and Binding Asset, and each has a dropdown menu to the right of the icon.
- Click the Groom Asset menu, then change the groom from amlEagle_groomLowRes_r036_GRO to amlEagle_highRes_GRO.
- Click the Binding Asset, then change it from amlEagle_groomLowRes_r036_GRB to amlEagle_highRes_GRB.
Move the slider to compare the Eagle with low-resolution groom assets versus high-resolution assets. Note the finer detail in the feathers.
For more information about working with Groom assets, refer to the Groom Asset Editor User Guide.
Rendering the Meerkat Demo With Movie Render Queue
To render the Meerkat Demo, you need the Movie Render Queue, which is used for outputting high-quality renders of Sequencer movies. Review the steps in Required Setup to ensure that you have the Movie Render Queue plugin enabled, then follow the steps below to set up a rendering job:
-
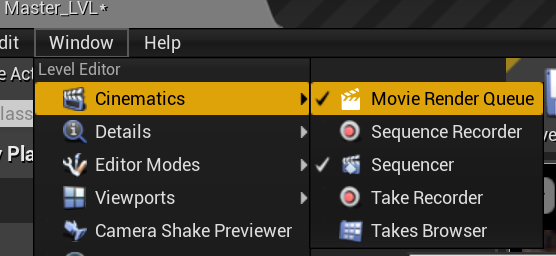
Launch the Movie Render Queue by selecting Window > Cinematics > Movie Render Queue.
-
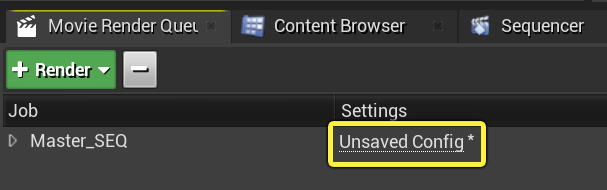
In the top-left corner of the Movie Render Queue window, click the + Render button. Select Master_SEQ from the dropdown menu.
Accessing Master_SEQ from the + Render dropdown. Click image to enlarge.
This will add an entry to the Movie Render Queue’s list of jobs to render.
-
In the entry for Master_SEQ, click Unsaved Config under the Settings column to open the Settings Window.
-
In the Settings Window, click the Presets dropdown in the top right corner and select the MoviePipelineConfig_Temporal preset.
Selecting the MoviePipelineConfig_Temporal preset and applying it to the shot. Click image to enlarge.
You now have the settings needed for rendering the Meerkat demo. In the Settings window, you will see a list along the left side of the window that represents items that have been set specifically for this project. You can edit these settings to change the output directory for the rendered images, change the type of image that will be saved, or edit post-processing settings. Click the Accept button on the bottom right corner to close the window.
The Settings window with the applied settings from MoviePipelineConfig_Temporal. Click image to enlarge.
Note: The image above displays a warning icon in the Settings window. If you click it, you can see the warning details. The TAA samples in the project are set to 16, but the warning will appear anyway. You can ignore this warning.
To launch the render, click the Render (Local) button in the lower-right corner of the Movie Render Queue window.
Finalized settings in the Movie Render Queue window. Click image to enlarge.
A Render Preview window will appear, showing information related to the render.
The Movie Render Queue preview window displays information about rendering progress. Click image to enlarge.
For more information about how to use Movie Render Queue, refer to the Movie Render Queue section of the Sequencer workflow guides.
Adding the Meerkat Control Rig to a Shot
This project includes a control rig for the Meerkat, which you can use to explore some keyframe animation inside Unreal Editor. To use this control rig, you need to add the amlMeerkat_BP into a shot in Sequencer. The easiest way to do this is to create a new level sequence.
-
Select Cinematics > Add Level Sequence.
-
In the Save Asset As window, navigate to the Levels folder, name the level sequence MeerkatAnim_SEQ, then click Save. The level sequence you just saved will become the active sequence in Sequencer.
Saving the new sequence to use with the Meerkat control rig. Click image to enlarge.
You can return to the original sequence by locating Master_SEQ in the Content Browser and double-clicking it.
-
In the Content Browser, open the Content > Assets > meerkat > Blueprints folder and locate the amlMeerkat_BP asset.
The Meerkcat control rig asset in the Content Browser. Click image to enlarge.
-
Click and drag the amlMeerkat_BP asset into MeerkatAnim_SEQ.
Clicking and dragging the Meerkat control rig Blueprint into the sequence. Click image to enlarge.
You now have a copy of the Meerkat asset with a control rig that you can use in your level sequence.
Keyframing the Meerkat control rig in the Sequencer timeline. Click image to enlarge.
You can edit its parameters in the timeline or manipulate the control rig directly in the viewport.
Manipulating the control rig in the level viewport. Click image to enlarge.
If you are trying to use the Meerkat control rig and you do not have a high-end graphics card, you can turn the visibility of the groom component off to hide the fur, which will improve performance.
To do this, click on the Meerkat in your viewport to display its information in the details panel. Under SkeletalMeshComponent click on Groom(Inherited), scroll down to Rendering and turn off the Visible flag.
The location of the Groom component's visibility checkbox. Click image to enlarge.