
This Niagara Lightweight Emitters Quick Start is designed to introduce you to lightweight emitters, a type of emitter that can help you optimize the performance of your Niagara systems across platforms. The examples in this guide are simple, in order to clearly demonstrate the process and illustrate the advantages of using lightweight emitters.
To learn more about lightweight emitters, read the Lightweight Emitters Overview.
Objectives
Through this guide, you will:
-
Create a system with a regular emitter, and one with a lightweight emitter.
-
Create a new testing level, and place a large number of your systems.
-
Use Niagara Debugger to test the performance of the systems and compare the two.
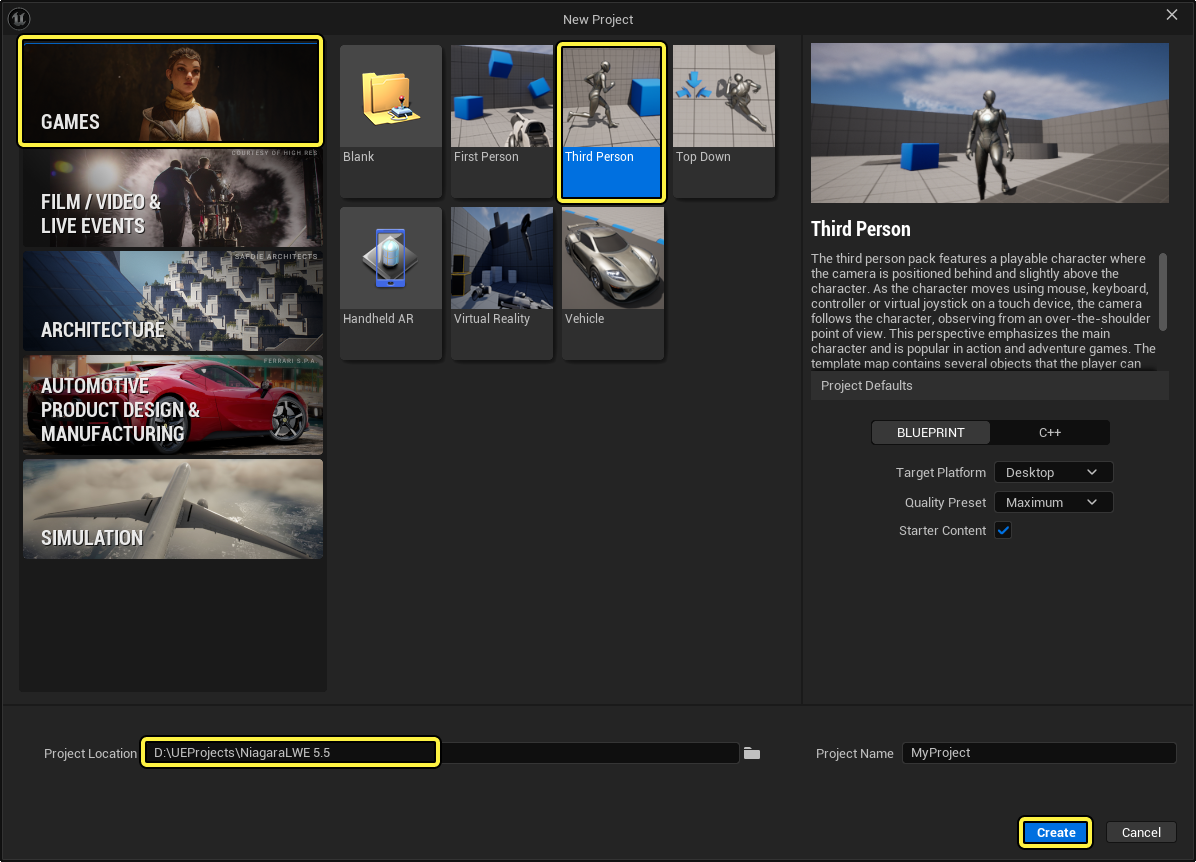
This guide uses the Third Person template project in the Games category.
Create Two Niagara Systems for Testing
This section covers how to create a Niagara system and add a regular emitter to it, then create a second system with a lightweight emitter.
Create the Regular Emitter Niagara System
Follow these steps to create a new Niagara system for the regular emitter.
-
Open a project in Unreal Engine, or create a new one.
-
Open the Content Browser. Right-click in the Content Browser and select Niagara System.

-
In the Asset Browser, select the Default System, and click Create.

-
Name the new system NS_Fountain. Double-click the system to open it in the Niagara Editor.
Add a Regular Fountain Emitter to the First System
Follow these steps to add a regular emitter to the NS_Fountain system.
-
Make sure the NS_Fountain system is open in the Niagara Editor. Right-click in the workspace, and select Add Emitter.

-
In the Asset Browser, select the Fountain emitter. Then click Add to add a regular emitter to the NS_Fountain system. For this example, leave the default values as they are.

-
In the Niagara Editor, click to select the fountain emitter. In the Details panel, click the Gear icon to open a menu.

-
Select Rename. Name the emitter Fountain-R (to indicate a regular emitter).
You can also rename the emitter by double-clicking the name of the emitter and typing in the new name.
Create the Lightweight Emitter Niagara System
Follow these steps to create a second system.
-
Right-click in the Content Browser, and select Niagara System.
-
In the Asset Browser, select the FountainLightweight system, and click Create.

-
Next open the NS_Fountain_LW system in the Niagara Editor. This system template includes a lightweight emitter for a fountain effect.
Modifying the Lightweight Emitter System
The system you created in the last section already has a lightweight fountain emitter. This section explains how to make some modifications to the emitter, so it matches the fountain emitter in the first system. This will make it easier to compare the performance of each type of emitter.
Follow these steps to modify the lightweight emitter.
-
Double-click the name of the lightweight emitter to edit the field. Rename the emitter Fountain-LW.

-
Select the emitter, then click Spawn Rate. Change the Rate setting to 300.

-
In the emitter, leave the default settings for the following modules:
- Initialize Particle
- Shape Location
- Add Velocity
- Drag
- Gravity Force
-
Click the Scale Color module. Change the color to red, so you can distinguish more easily between the regular and lightweight systems when testing. Then click OK.

Create a Testing Level
This section covers how to create a testing level in your project, so you can place multiple instances of your system.
Create a Testing Level
Follow these steps to create a new level.
-
From the menu bar, click File > New Level. In the New Level window, select the Basic template, and then click Create.

-
From the menu bar, click File > Save Current Level As. The Save Level As window opens.
-
Select a folder for the new level. Name the new level NiagaraLWTest, and click Save.

Place Systems in the Testing Level
In order to really see the difference in performance between regular and lightweight emitters, you must place a large number of instances of your systems into the test level. You can use whatever method you choose to place your systems for testing. In the illustrations for the next section, the systems are placed in a 20 x 20 array.
-
Place the NS_Fountain system into the test level, and duplicate it until you have a large number of instances in the level. In the illustration below, there is a 20 x 20 array of instances of the NS_Fountain system.

-
Place the NS_Fountain_LW system into the test level, duplicating it the same way you did with the NS_Fountain system. In the illustration below, the system is placed in the same 20 x 20 array as the NS_Fountain system was.

Use the Niagara Debugger to Test Performance
This section shows how to use the Niagara Debugger to compare the performance of the regular emitter and the lightweight emitter.
Set up the Niagara Debugger
Follow these steps to open the Niagara Debugger and set it up to measure performance.
-
Make sure you have the NS_Fountain system in the viewport.
-
From the menu bar, click Tools > Debug > Niagara Debugger. This opens the Niagara Debugger, docked in a tab next to the Details panel.

-
In the Niagara Debugger, click the three dots on the HUD button, and check the box for Show Overview. An overlay of statistics displays in the viewport.

-
In the Debug Overview section, click the first dropdown and select Performance. The statistics overlay in the viewport changes to track performance.

Compare Regular and Lightweight Emitter Performance Overlay
Follow these steps to compare the metrics in the Performance overlay for the NS_Fountain and NS_Fountain_LW systems.
-
The Performance overlay displays several statistics for the two systems. One important metric for performance is the Game Thread Average, highlighted in the illustration below.

-
Select the NS_Fountain system in the Outliner to see the overlay's metrics for the regular emitter.
-
Select the NS_Fountain_LW system in the Outliner to see the overlay's metrics for the lightweight emitter.
Compare Regular and Lightweight Emitter Stat Unit Display
Follow these steps to compare the Stat Unit list of metrics for both regular and lightweight emitters.
-
The Stat Unit list displays in the upper right corner of the viewport. The Performance overlay will overlap that area, making it difficult to read. To turn off the overlay, click the HUD button, and uncheck the box for Show Overview to turn off the overlay.

-
Press the tilde (~) key to open the console. Type
stat UNIT, and press Enter. This displays a list of statistics in the upper right corner of the viewport.
-
This list displays many metrics, but two important ones are the Frame (frame rate) and Draw (draw count) for the regular emitter.

-
Select the NS_Fountain system in the Outliner to see the metrics for the regular emitter.
-
Select the NS_Fountain_LW system in the Outliner to see the metrics for the lightweight emitter.
End Result
You should see improvement in the Game Thread Average of Niagara effects when you use lightweight emitters.
| NS_Fountain | NS_Fountain_LW |
|---|---|
Click image for full size. |
Click image for full size. |
You should also see improvements in the Frame and Draw metrics when using lightweight emitters.
| NS_Fountain | NS_Fountain_LW |
|---|---|
 |
 |