This page provides a beginner's overview of creating camera animations in Sequencer and is intended for those who are new to Cinematics and Unreal Engine.
Prerequisites
-
You have read through the Sequencer Basics page and have already created and opened a Level Sequence in your level.
-
You have a basic understanding of Viewport navigation and controls.
Creating a Camera
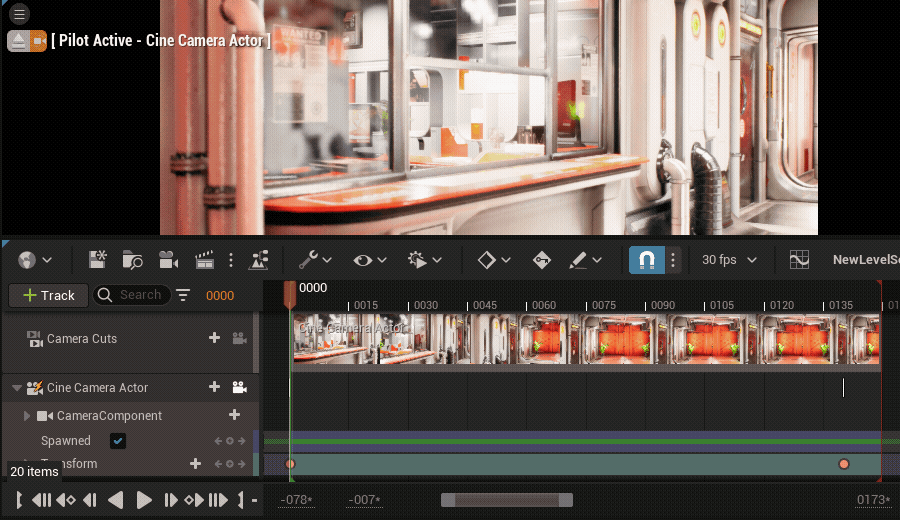
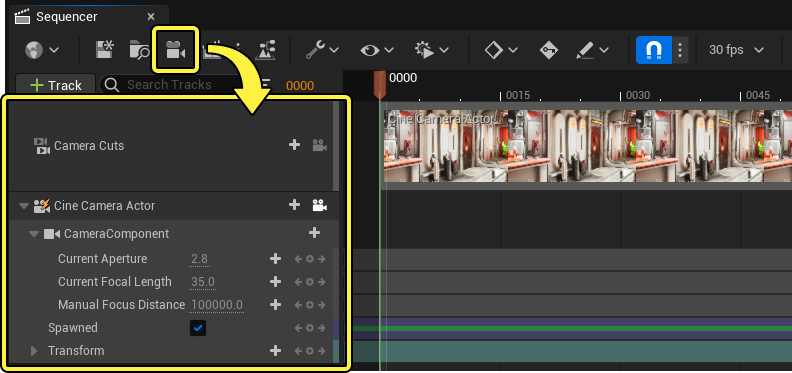
Start by creating a Cine Camera Actor in your sequence. The quickest way to do this is by clicking Create New Camera in the Sequencer toolbar. This will create a Cine Camera Actor as a spawnable for this sequence and automatically update your viewport's perspective to the Camera Actor's (this is referred to as Piloting).
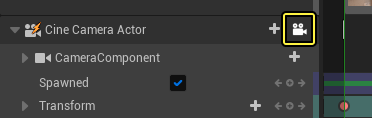
To ensure that you are correctly piloting the camera, make sure Lock Cine Camera is enabled on the camera you want to control.
Creating Transform Keyframes
Next, you can start setting up your camera animation. From the viewport, align your camera to the initial position and framing you want to use. Then, navigate to the camera's Transform Track, select it, and press Enter. This will set an initial transform keyframe for the camera.
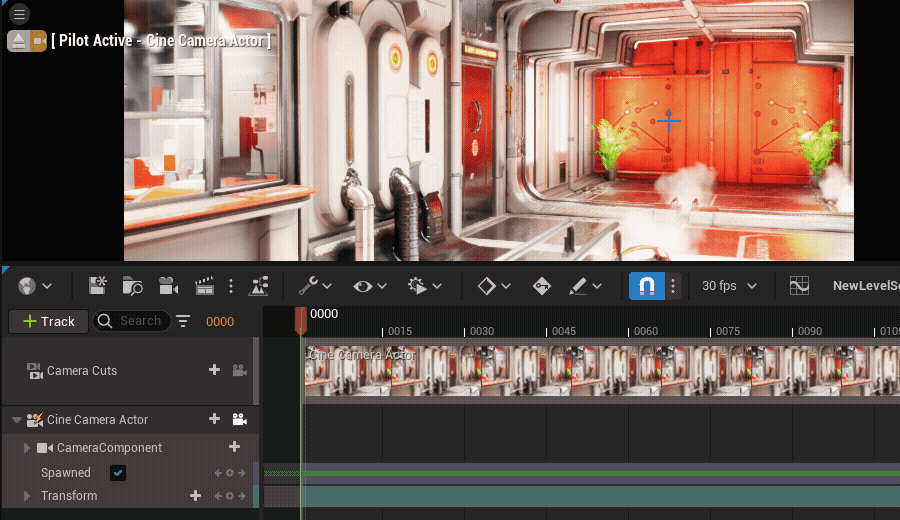
Next, move the playhead marker to a later point in the sequence by dragging it along the timeline.
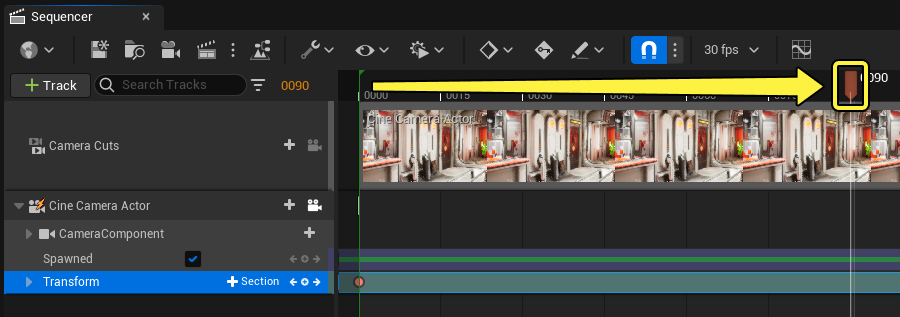
Lastly, move the camera in the viewport to a new position. Once done, return to the Transform track, select it, and press the Enter key to place another transform keyframe.
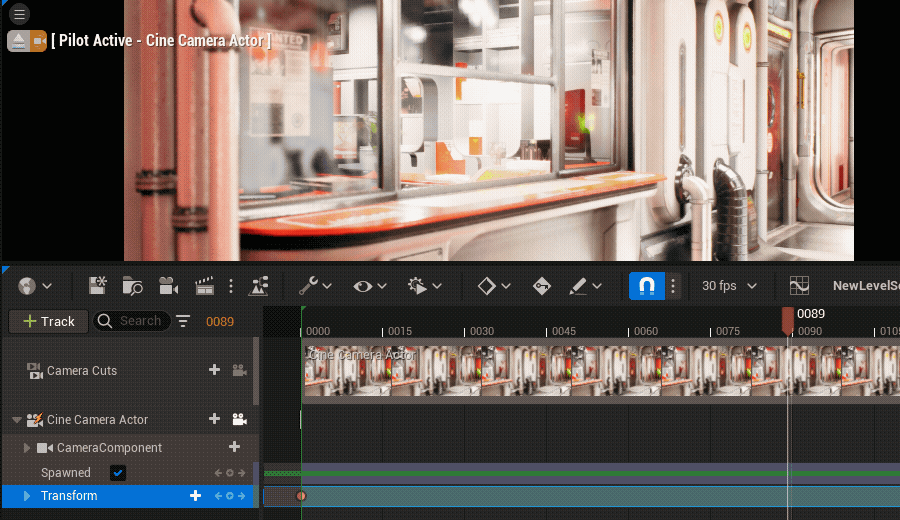
Previewing your Results
To preview your camera animation, click Play in the Sequencer playback controls. You may now also continue to further refine your camera animation by adding more keyframes to your sequence.