This page provides a beginner's overview of how to animate Skeletal Meshes in Sequencer, and is intended for those who are new to Sequencer and Unreal Engine.
Prerequisites
- You have read through the Sequencer Basics page and have already created and opened a Level Sequence in your Level.
- Your project contains a Skeletal Mesh and Animation Sequence. If not, you can create a project using the Third Person template, which provides sample Skeletal Meshes and animations.
Adding a Character to Sequencer
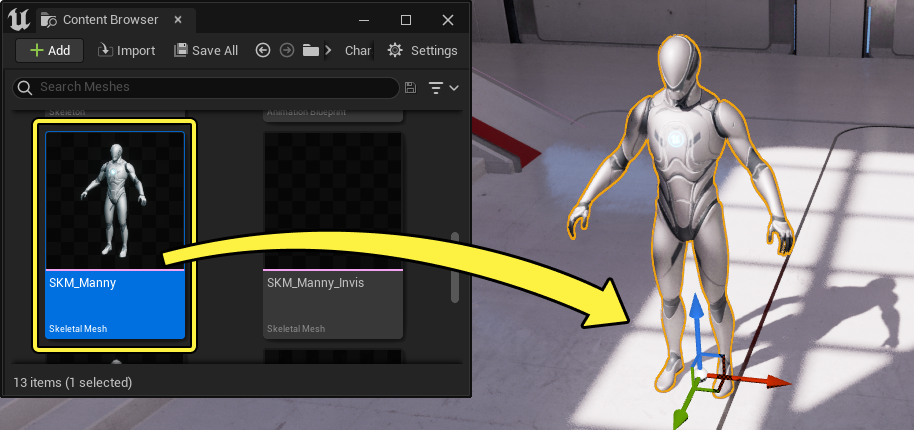
Start by adding a character to your Level. Do this from the Content Browser by navigating to your asset and dragging it into your Level.
Next, with your sequence open and the character selected, click Add Track (+) and select Actor to Sequencer > Add 'SKM_Manny2'. This will add a track referencing the character into your sequence.
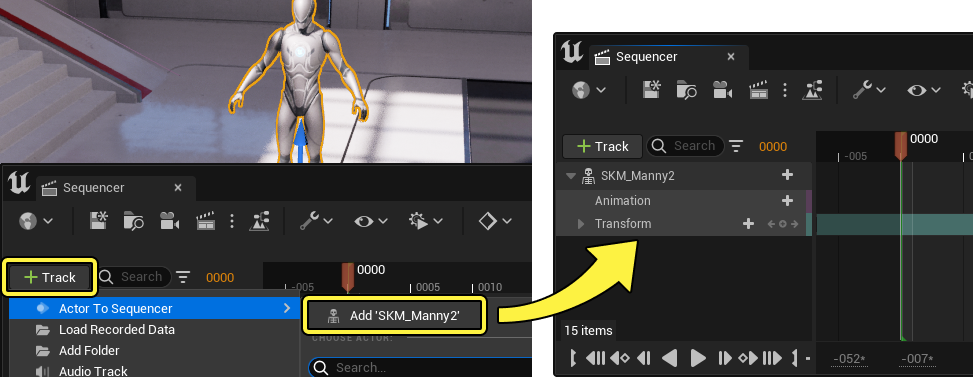
When the Skeletal Mesh track is added to the sequence, it automatically adds commonly used tracks for this Actor. In this example, Animation and Transform tracks are automatically created.
Applying Animation to a Character
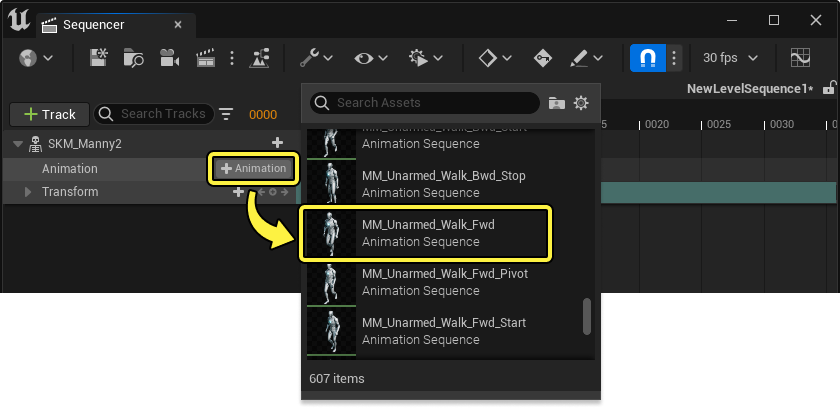
Click Add Animation (+) on the Animation track. This will list all available animations that are compatible with your character's skeleton. Select one of these animations to add it to your sequence.
Once the animation is added, click Play to preview the sequence. If the animation is intended to continue past the current endpoint, you can drag the edge of the clip to extend it.