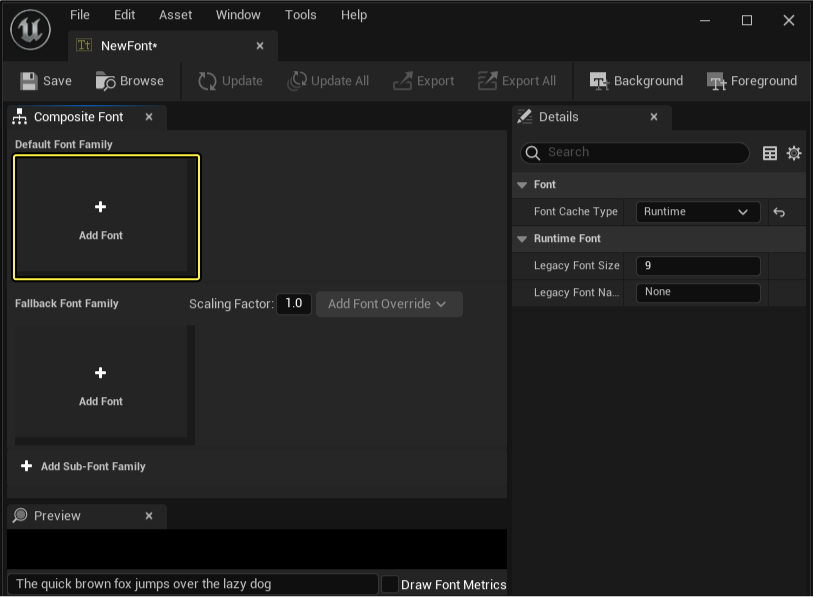
In this guide, you'll learn how to create an empty Font asset to which you can then assign a Font Face asset or import a new TTF or OTF font file directly using the Font Editor.

Steps
Follow the steps below to create your own Font asset and then learn how to assign one of your Font Face assets using the Font Editor.
For this how-to guide, we are using the Blank Template project, using no Starter Content, with default Target Hardware and Project Settings.
Creating a Font Asset
-
Click the Add button inside the Content Browser, then select User Interface > Font.

-
A new Composite Font asset will be created, prompting you to give it a Name.

-
Once you enter a name, you will notice an asterisk appears on the asset, this indicates that the asset has not be saved. Click the Save All button to save your asset, then confirm the save in the pop-up menu that appears.

Assign a Font Face Asset
-
Now that you've created your empty Font asset, you will have to assign your Font Face(s) to be used. To do this, double-click to open your Font in the Font Editor.

-
In the Font Editor, click on the Add Font button to add a new Font slot.

-
Name added Font slot in the Font Editor.

-
Now, use the dropdown selection under the Font Name to select an existing Font Face asset that was already imported into your project.

If you do not have any Font Face assets, you can use the Folder icon next to the dropdown selection box to navigate and import your own TrueType Font (TTF) or OpenType Font (OTF) font file.
End Result
Now that you've seen how to create your own Font assets and assign an already imported Font Face asset using the Font Editor, you should be able to create your own Font assets that can be used with the UMG UI Designer.
