
Animation blending, as a concept, simply means making a smooth transition between two or more animations on a single character or Skeletal Mesh. In Unreal Engine, there are various ways in which such blending can be applied. In this document, we will overview each one and how they can be applied to your characters.
Blend Spaces
One of the most common ways to blend together animations is with Blend Spaces.
For more information on Blend Spaces, please see the Blend Spaces documentation.
Blending with Blueprints
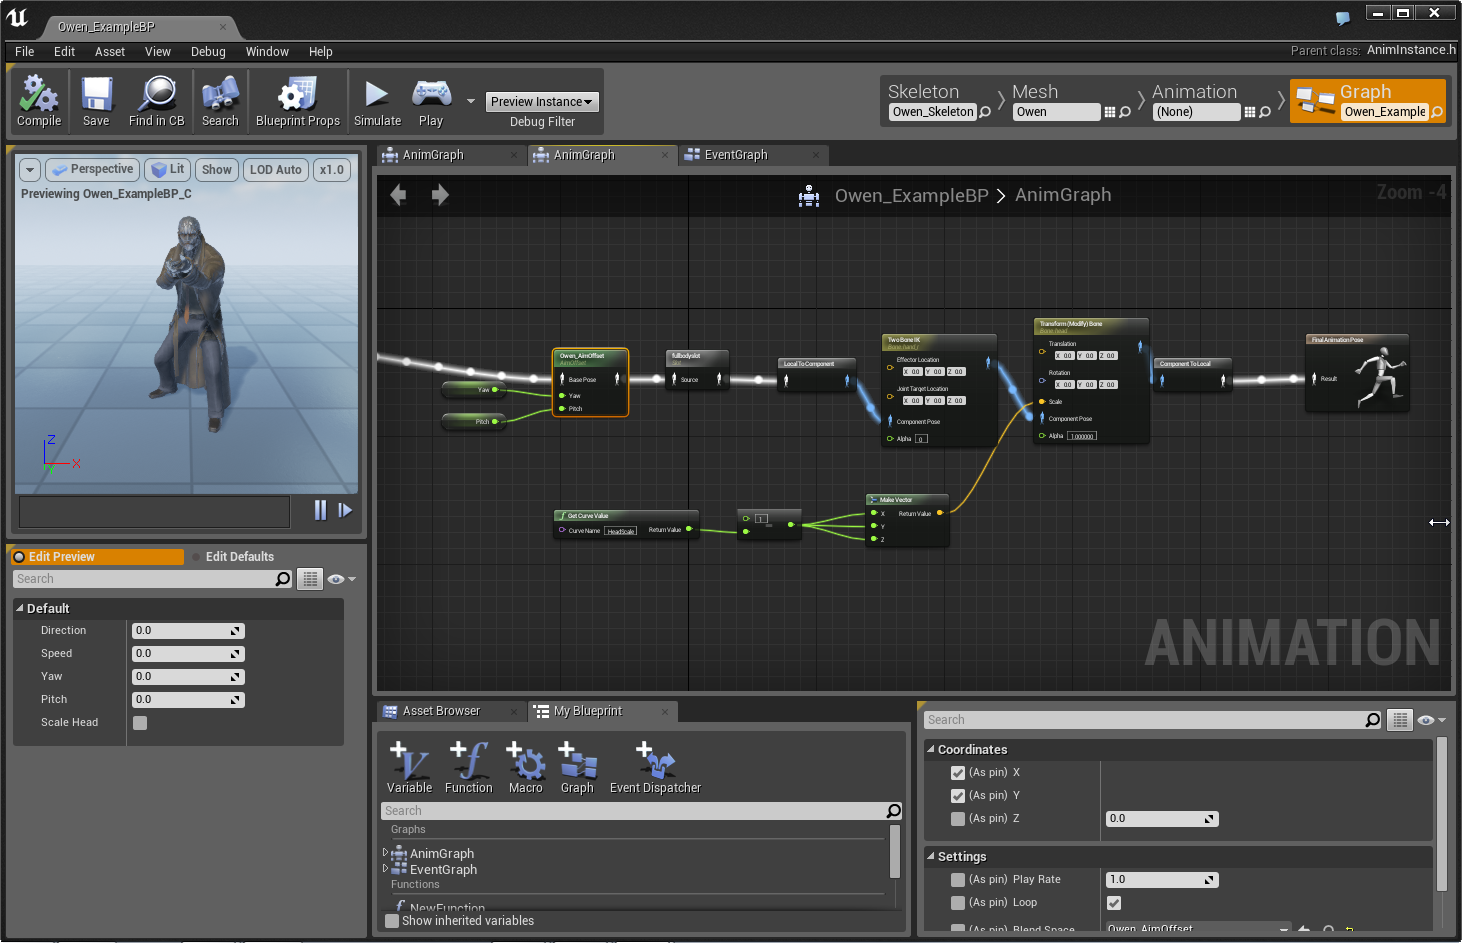
Animation blending can also be handled directly by way of the AnimGraph within an Animation Blueprint. The AnimGraph charts the flow of animation pose data through a series of different nodes, each node contributing in some way to the final look of the pose or motion. There are a variety of nodes specially designed to aid in blending multiple poses together in some way. These can be additive, literally combining two animations based on a weighted bias or alpha value, or can be direct overrides of the existing pose. You can also send animation directly to a specific bone in the Skeleton and all of its children. For instance, you can start with an animation in which the character is running, but then selectively apply a waving animation just to the right arm. The final result will be the character running and waving.
For an understanding of how animation blending can be handled with Blueprints, please see Animation Blueprints and Blend Nodes.