Navigation Links in Unreal Engine
Navigation Links are a way to connect two navigable areas in the level that do not have a direct connection. Some examples include an elevated platform and the ground, or two platforms without a direct connection.
Developers can manually add Navigation Links by placing NavLink Proxy actors in the level and defining the connection points between the navigable areas.
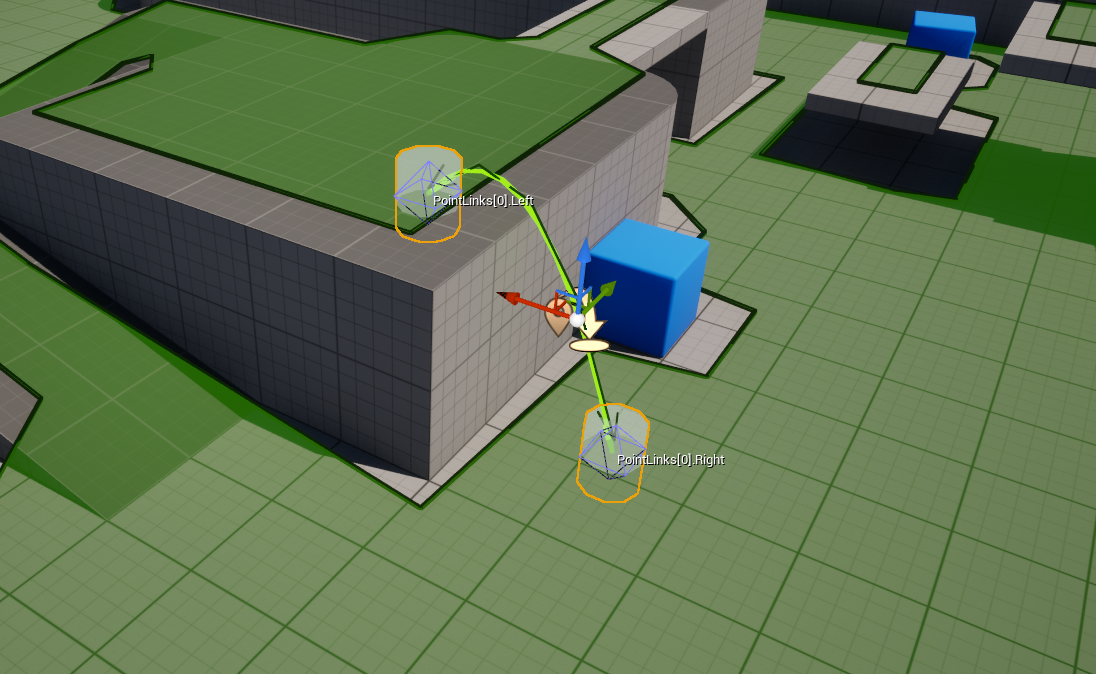
You can learn more about NavLink Proxy actors by reading the How to Modify the Navigation Mesh documentation.
Automatic Navigation Link Generation
Unreal Engine 5.5 introduces automatic generation of Navigation Links within the Navigation Mesh settings.
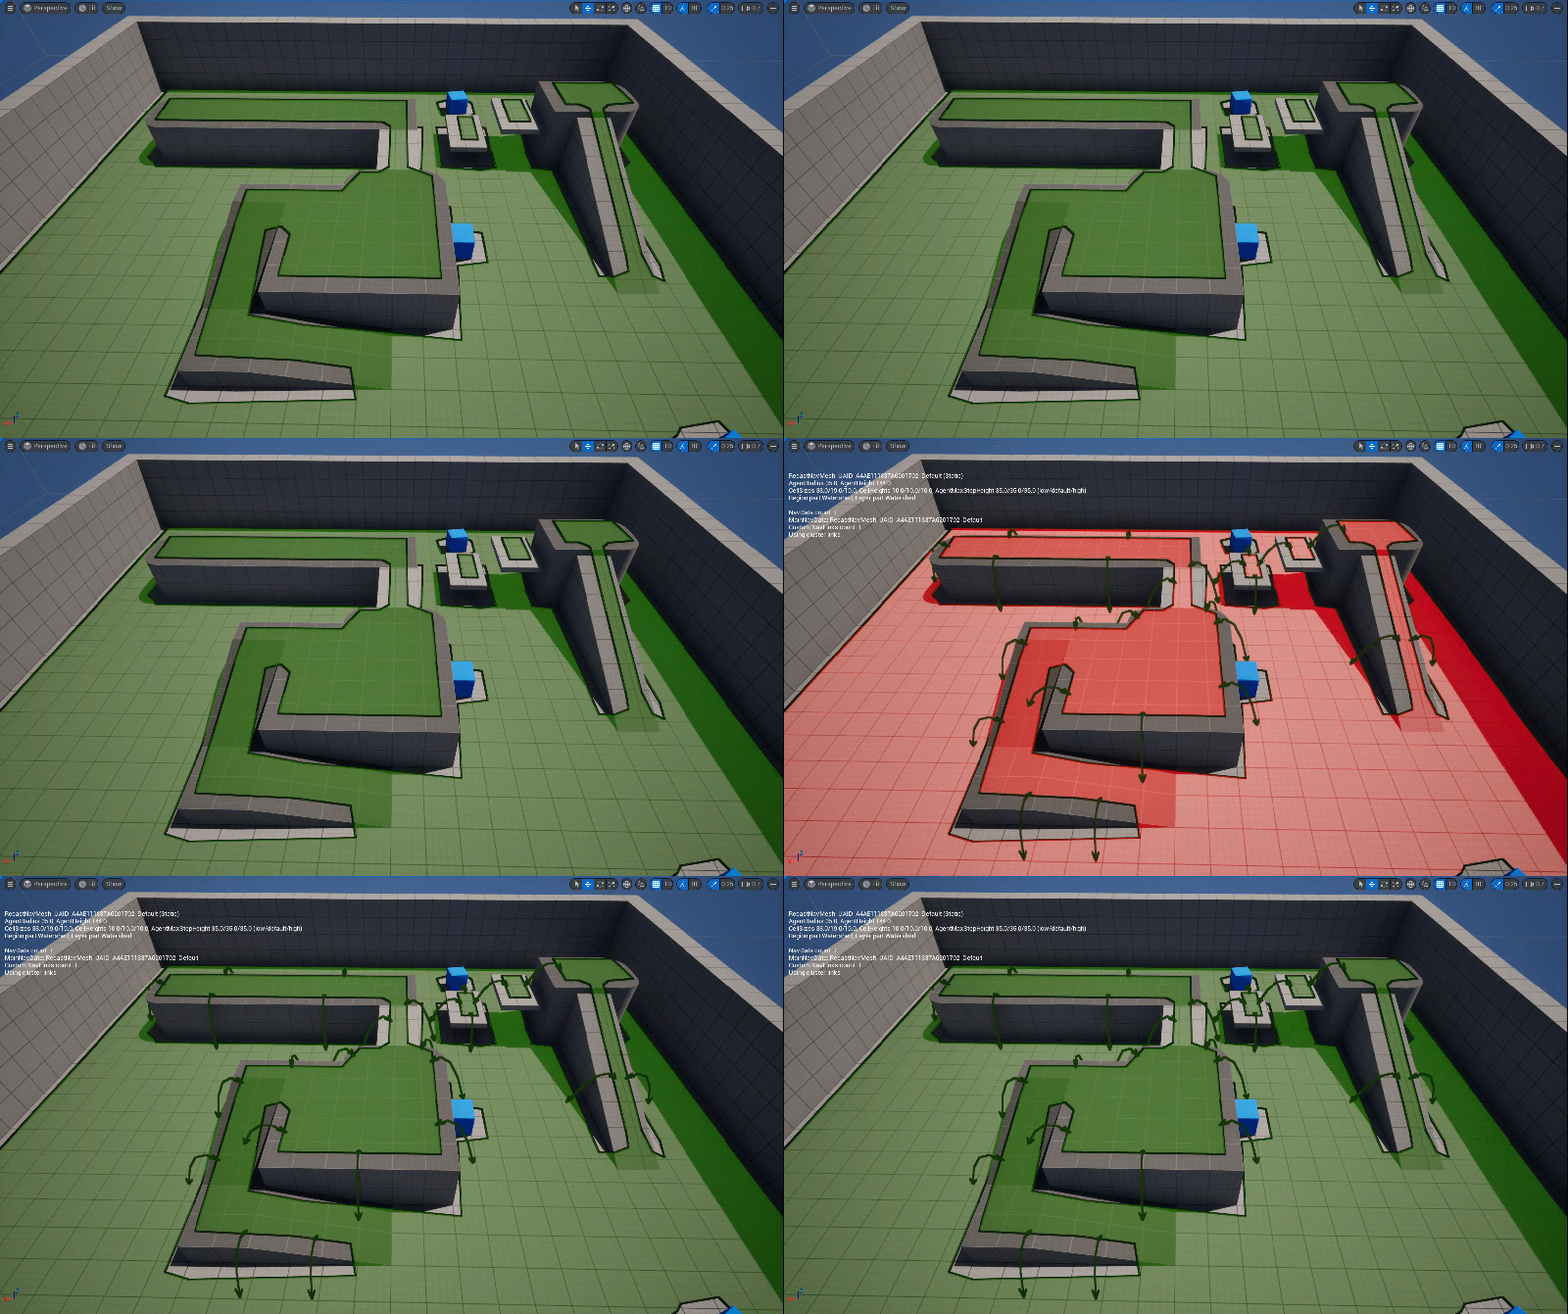
To enable automatic generation, follow these steps:
-
Place the Navigation Mesh Bounds Volume actor in your level and scale it as needed.
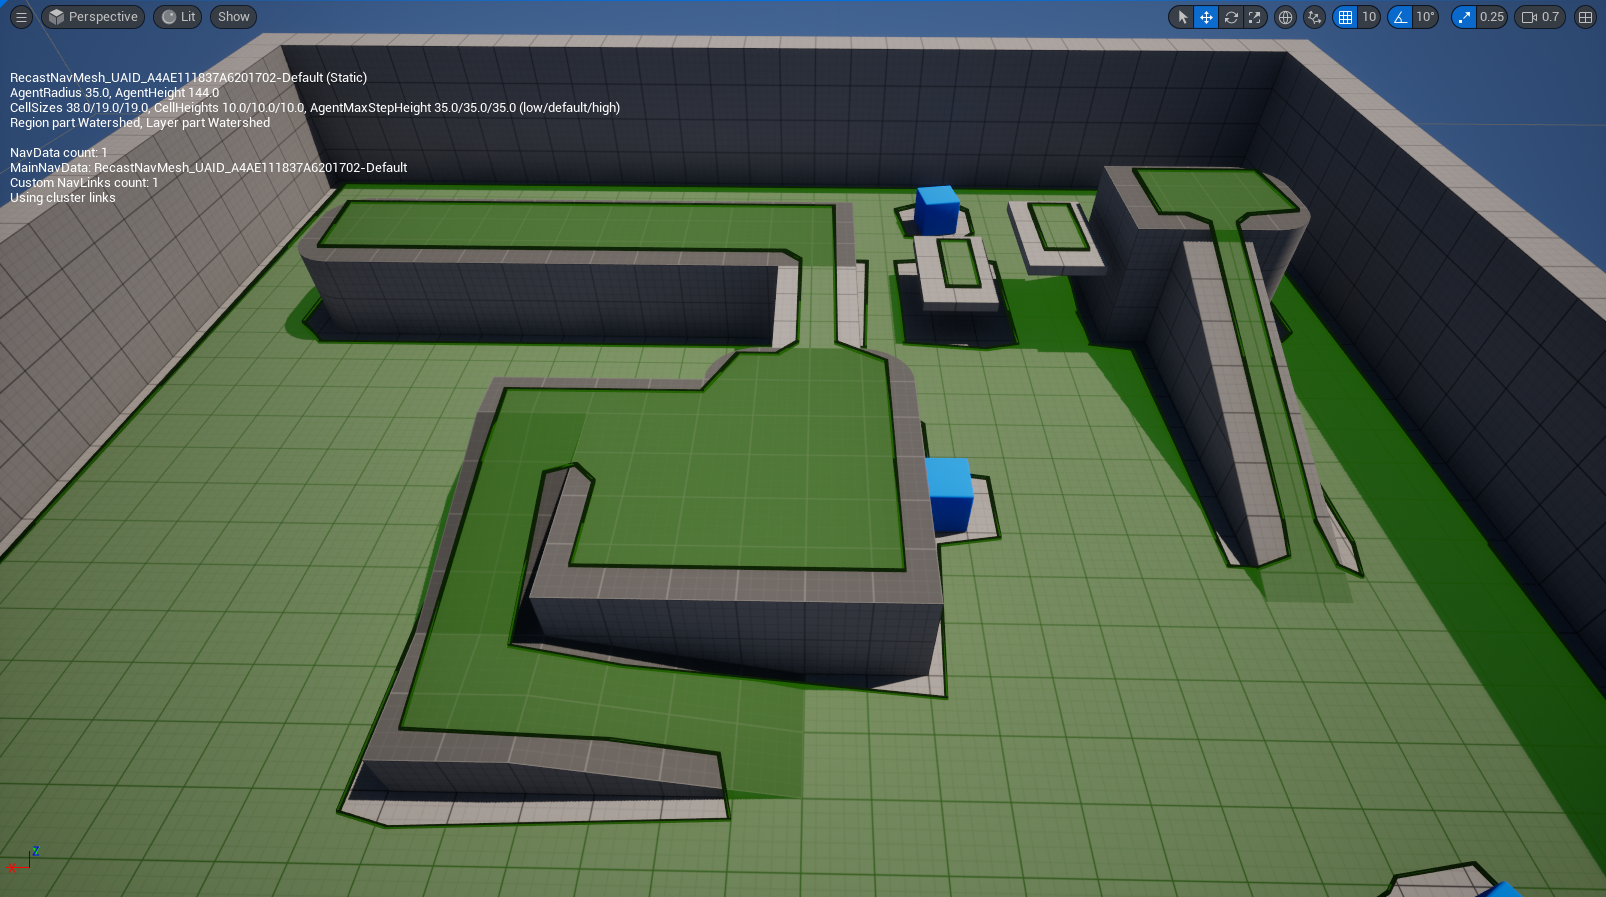
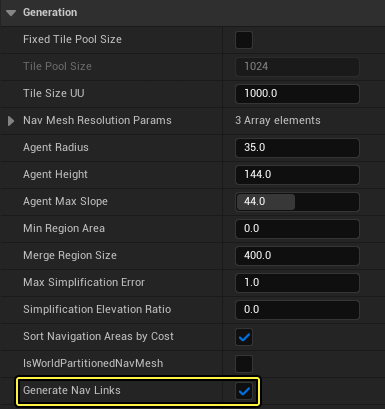
- Select the RecastNavMesh-Default actor in the Outliner.
- Go to the Details panel, scroll down to the Generation section and enable the Generate Nav Links checkbox.

-
Unreal Engine will generate Navigation Links automatically.
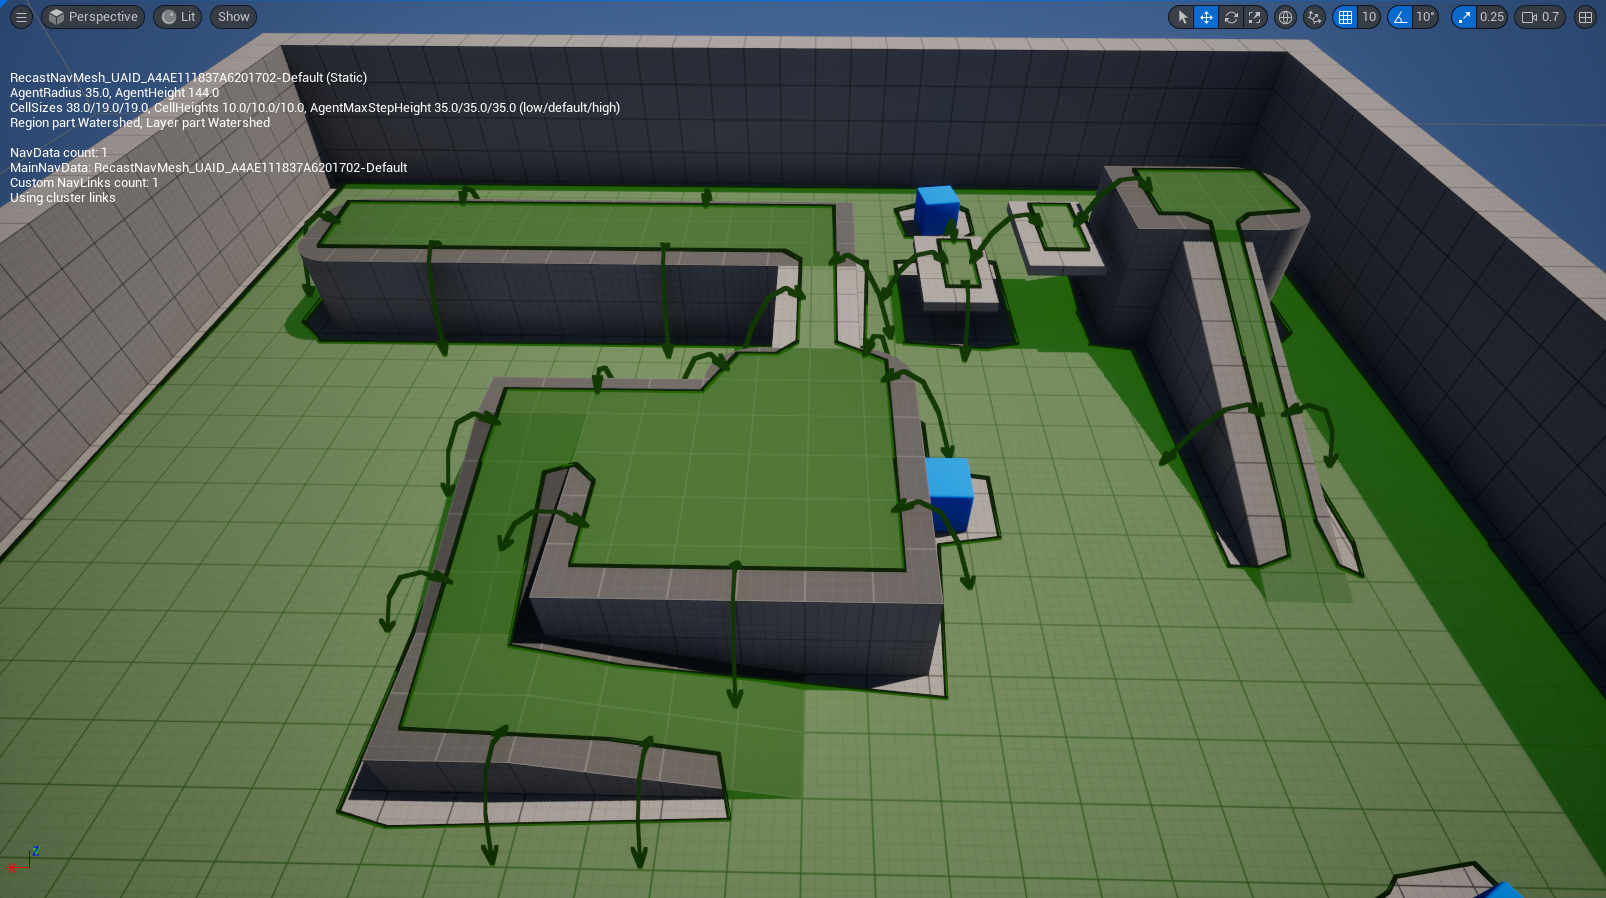
Configuring the Navigation Link Generation
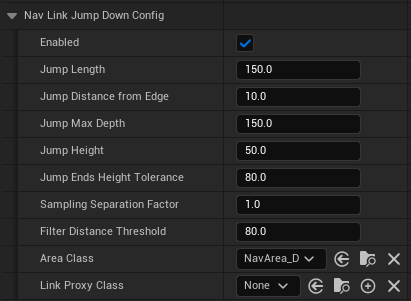
Unreal Engine generates Navigation Links based on the Nav Link Jump Down Config settings. These links are primarily used to enable jumping or falling for AI Agents (NPCs).
The settings are as follows:
| Setting | Description |
|---|---|
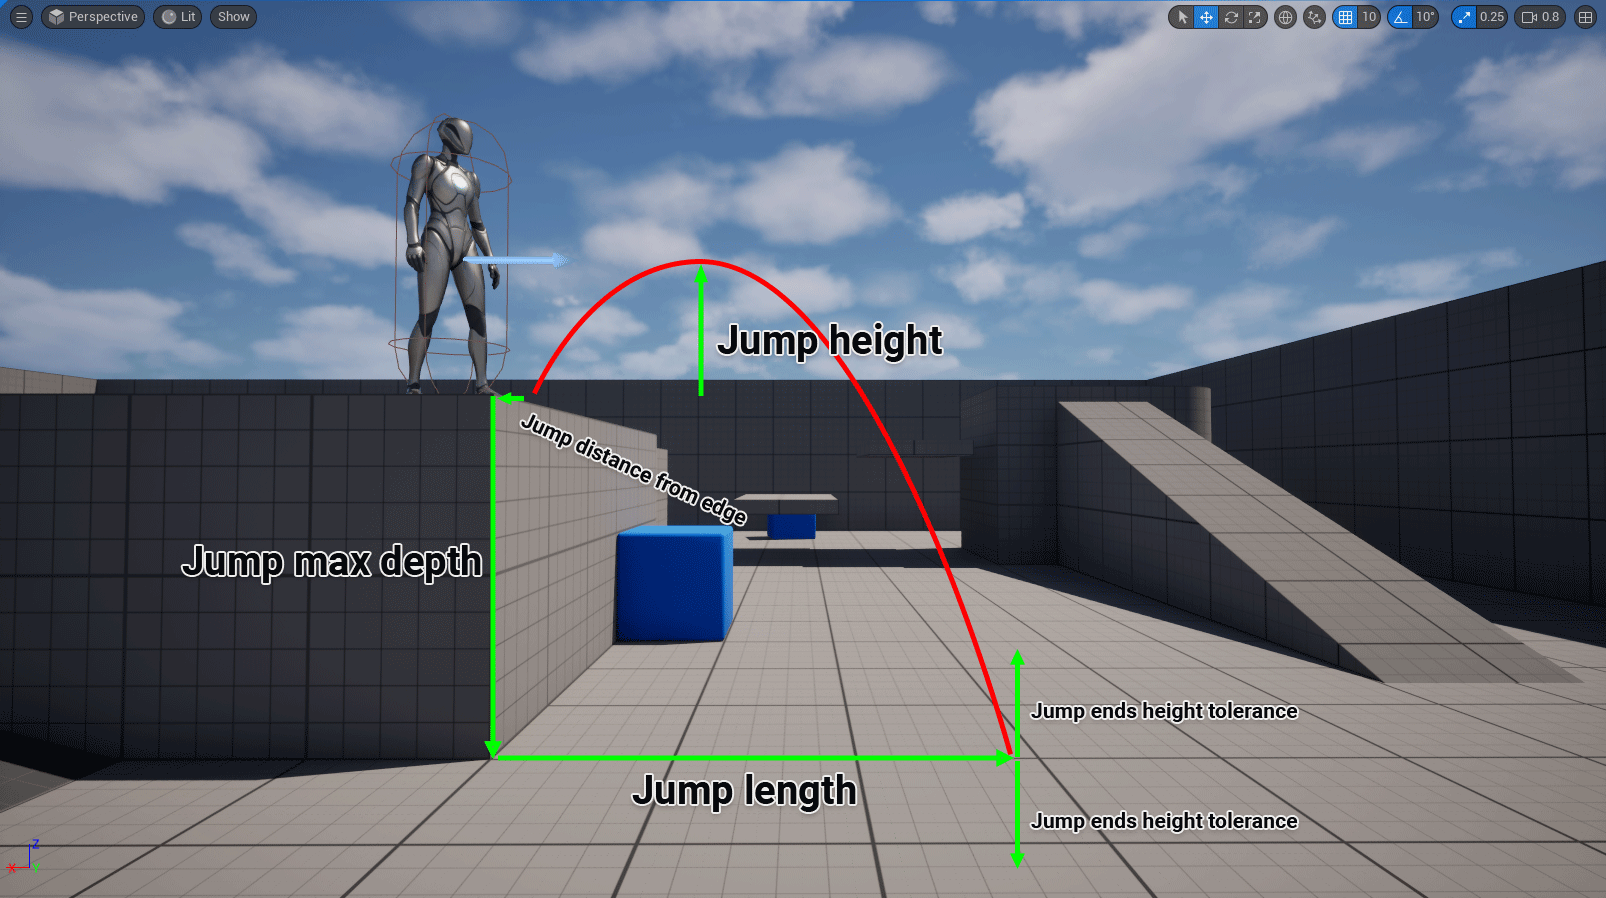
| Jump Length | Horizontal length of the jump. |
| Jump Distance from Edge | How far from the NavMesh edge is the jump started. |
| Jump Max Depth | How far below the starting height we want to look for the landing ground. |
| Jump Height | Peak height relative to the height of the starting point. |
| Jump Ends Height Tolerance | Tolerance at both ends of the jump to find ground. |
| Sampling Separation Factor | This value is multiplied by the cell size to find the distance between sampling trajectories. Default is 1. Larger values improve generation speed but might introduce sampling errors. |
| Filter Distance Threshold | When filtering similar links, it's the distance used to compare between segment endpoints to match similar links. |
| Area Class | Area class for links generated by this configuration. |
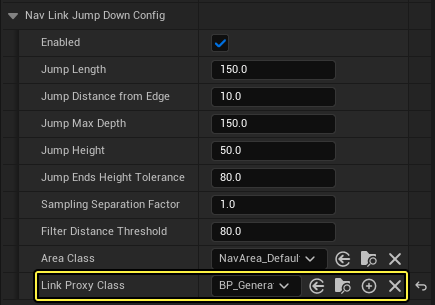
| Link Proxy Class | The class used to handle links made by this configuration. This allows the developer to implement custom behavior when using Navigation Links. |
Here you can see an illustration of the settings:
Performance Considerations
The process of generating and validating the Navigation Links during tile generation costs additional CPU cycles which can affect tile generation times. You can minimize this cost by following the recommendations below.
Jump Length
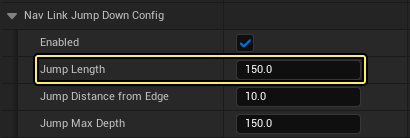
This value will have the most impact on generation cost. If the length is large enough, it could increase the rasterization size of the Navigation Mesh tiles. Keep the Jump Length to a reasonable value to improve performance.
Sampling Separation Factor

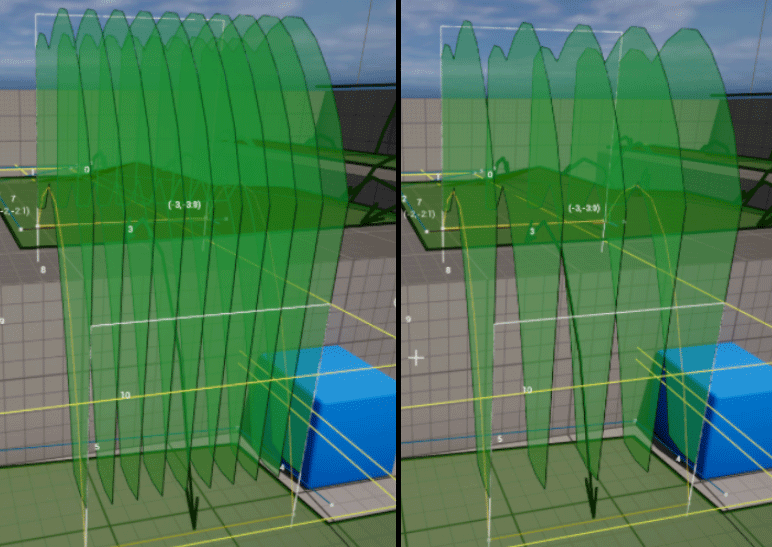
This value defaults to 1 (no effect) but can be increased to higher values to increase the distance between vertical trajectory sampling. This provides an easy optimization opportunity but it could lead to some Navigation Links having collisions because of decreased sampling precision.
Number of NavMesh Edges
The Navigation Link generation and validation process executes for each Navigation Mesh border edge. This means that it will cost more to generate Navigation Links on more complex Navigation Mesh tiles.
Navigation Link generation time
You can see how your adjustments affect the Navigation Link generation time by following these steps:
-
Select the RecastNavMesh-Default actor in the Outliner and go to the Details panel.

-
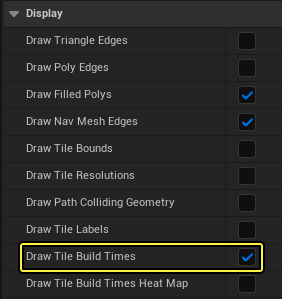
Scroll down to the Display section and enable the Draw Tile Build Times checkbox.
-
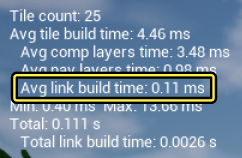
The average link build time is now displayed on the screen.
Adding Custom Behaviors to the Navigation Links
The generated Navigation Links are the same as the Navigation Link Proxy actors you can manually add to your level. This means that you can add custom behavior by assigning a Link Proxy Class to the links.
Follow these steps to add the ability to jump to the Navigation Links:
- Right click in the Content Browser and select Blueprint Class to open the Pick Parent Class window.
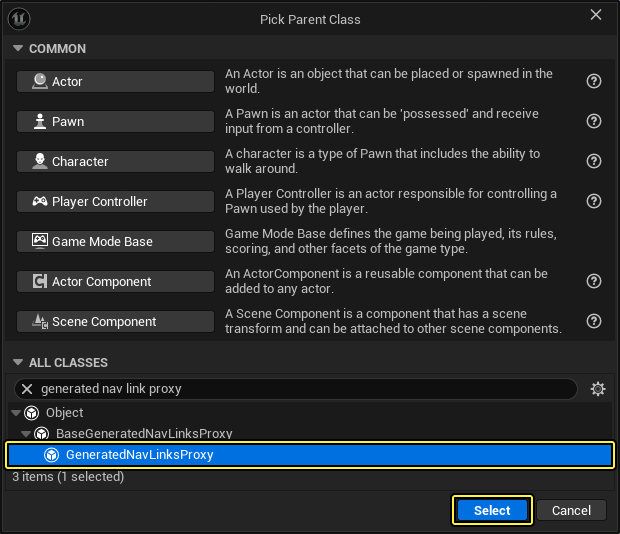
- Expand the All Classes category and search for then select GeneratedNavLinksProxy.
- Click Select and name the asset.
- Double click the asset in the Content Browser to open it.
- Add the Blueprint code shown below.
- Compile and Save.

- Select the RecastNavMesh-Default actor in the Outliner.
- Go to the Details panel, scroll down to the Nav Link Jump Down Config section and add the Link Proxy Class you created from the dropdown.

Testing the Navigation Link Behavior
To test your custom behavior, you will create an AI Agent that will go to random destination by using the Navigation Links.
This guide will show you the setup, but will not explain it step by step. To learn more about creating an AI Agent, read the Artificial Intelligence documentation.
Follow these steps to create your AI Agent:
-
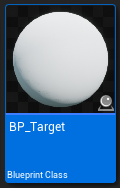
Create a new Blueprint of type Actor to serve as the destination for the AI Agent, and name it BP_Target. In the example below, a Static Mesh component with a Sphere mesh was added as visual representation.
-
Duplicate the BP_ThirdPersonCharacter Blueprint that comes with the Unreal Engine third person template and name it BP_NPC.

Alternatively, you can click on Add+ > Add Feature or Content Pack and select the Third Person template to add it to your project.
- Remove all the existing code from the Event Graph and add the code from the image below.
- Compile and Save.

-
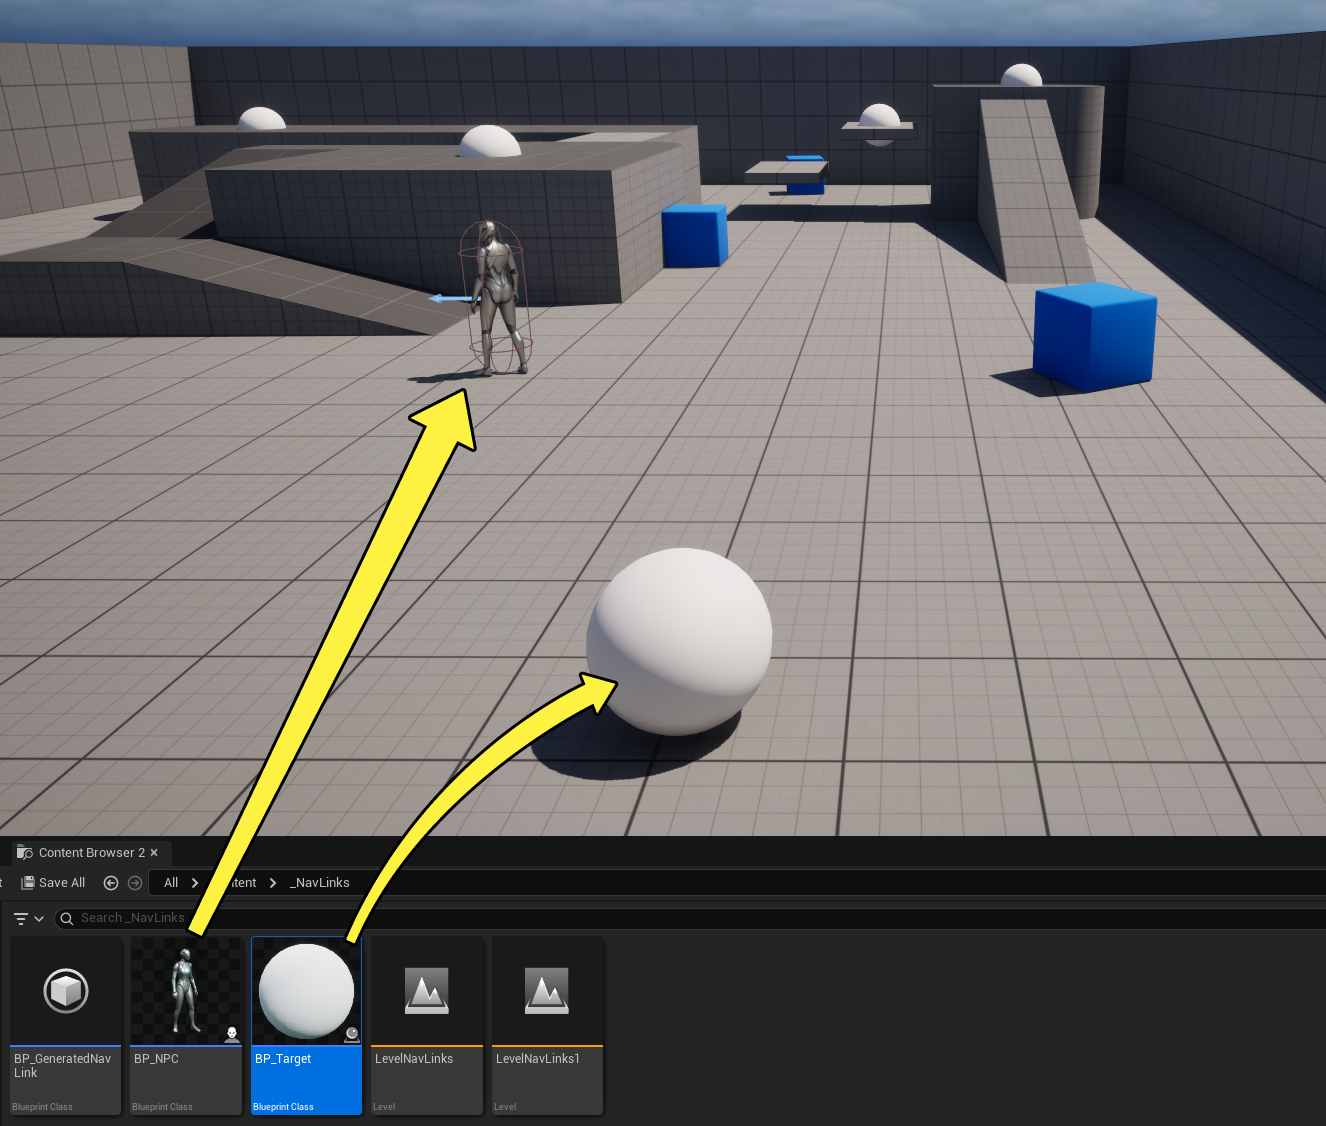
Place your AI Agent and several BP_Target actors to your level.
-
Press Simulate to see the AI Agent go between destinations.
- The example below shows multiple AI Agents going to random destinations.
