
An Aim Offset is a type of Blend Space in which the animation samples are additive. Typically Aim Offsets are used to create a multi-directional weapon aiming blend structure, which then apply additively to a default aiming pose.
Prerequisites
- Your project has a Skeletal Mesh character with the necessary imported animations and poses to use as samples in the Aim Offset graph.
- You have an understanding of Blend Spaces; Aim Offsets are a type of Blend Space.
Overview
The main concept with Aim Offsets is that they are designed to be additively applied to an existing base animation. In weapon aiming examples, this base animation would typically be an "aiming forward" neutral animation.

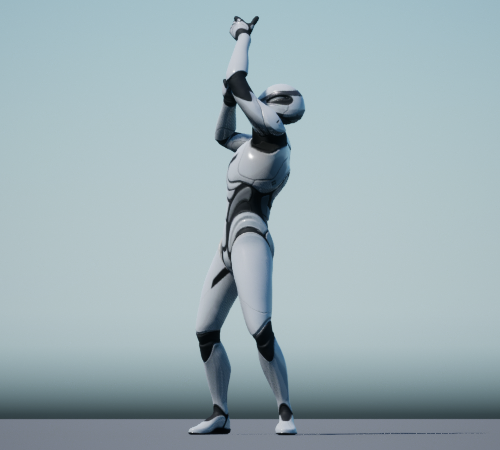
From this base, you can then implement the full range of additive poses within your Aim Offset graph. The number of poses you will need is dependent on the motions your character will need to do. A typical aim-space sample system might look like this:
 |
 |
 |
 |
 |
| Up Right Behind | Up Right | Up | Up Left | Up Left Behind |
 |
 |
 |
 |
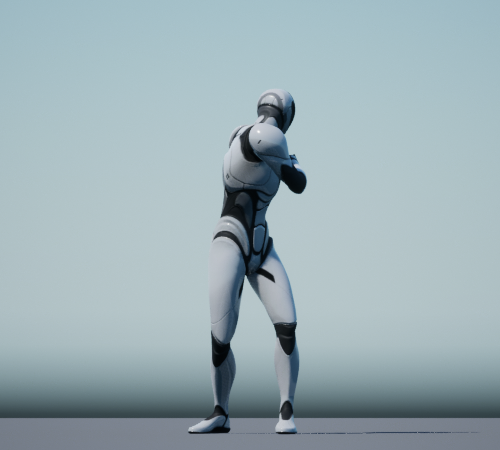 |
| Right Behind | Right | Base | Left | Left Behind |
 |
 |
 |
 |
 |
| Down Right Behind | Down Right | Down | Down Left | Down Left Behind |
Creation and Setup
To create an Aim Offset in the Content Browser, click Add (+) and select Animation > Aim Offset or Aim Offset 1D from the context menu. When creating a new Aim Offset, you have to designate a Skeleton asset. Be sure to choose the same one used by the Skeletal Mesh you want to use with the Aim Offset.

Open the newly created Aim Offset to continue setup.
Base Pose Setup
Because Aim Offsets are meant to be used with additive animation samples, you should set a base animation to play in order to preview the additive behavior correctly. To do this, navigate to the Preview Base Pose property in the Asset Details panel and specify an animation asset to play.

Referencing Aim Poses
Like Blend Spaces, Aim Offsets are created by referencing animation samples within a blending graph. The easiest way to do this is by dragging the animations from the Asset Browser panel into the graph.

When creating your Aim Offset system, you should be mindful about how you allow the yaw (side-to-side) motion to animate. For example, the example poses you see above will look fine when the character is standing still. However it may produce issues if you allow it to play during other animation states, such as running or walking.
To alleviate this, you can use Animation Blueprints to limit the incoming data for the Aim Offset so that the side-to-side extremes are only in use when the character is stationary. Alternatively, you can change your Aim Offset to just aim the character up and down, allowing the rotation of the actual character to deal with side-to-side motion.
Mesh Space Additive
For your animation samples to work with an Aim Offset, ensure your animations are additive, and that the Additive Anim Type is set to Mesh Space. This is required because Aim Offsets only accept animations that are additive.
To do this, open all of the Animation Sequences being used in your Aim Offset. In their Asset Details panels, locate and set the following properties:
- Set Additive Anim Type to Mesh Space.
- Set Base Pose Type to Selected animation frame.
- Set Base Pose Animation to use the same base animation as the Base Pose Setup.
- Set Ref Frame Index to 0.

The reason Mesh Space must be selected instead of Local Space is because Mesh Space applies its additive effect in the space of the Skeletal Mesh Component. This causes rotations to move in the same direction, regardless of the orientation of the preceding Bone in the Skeletal Mesh. This is important for Aim Offsets because in some cases, you may want the rotations coming from the Blend Space to be applied consistently, regardless of the current base pose of the character.
For example, if your character has the ability to lean sideways while aiming, this can cause the Bones' overall local space to shift towards the lean direction. If your additive type is set to Local Space, then it can cause the upward-aiming pose to be skewed, and not correctly face up. Using Mesh Space as your additive type corrects this by applying the rotation offsets from the Blend Space in the expected way.

- Base pose with leaning.
- Leaning and aiming up when using Local Space additive.
- Leaning and aiming up when using Mesh Space additive.
Animation Blueprint Setup
Once your Aim Offset is created, you can reference it within your Animation Blueprint. Similar to Blend Spaces, you can reference it as a player, which references the Aim Offset asset directly, or as a graph, where you can diverge the logic within your Anim Graph.
To reference an Aim Offset Player in the Anim Graph, right-click in the graph and select your Aim Offset Player Asset from the Blend Spaces category. Connect the output to the Output Pose node.

You must also connect a Base Pose to the Aim Offset node, typically this would be the same animation defined in the Base Pose step earlier, or a State Machine that uses a similar base pose.

Finally, you must create logic to drive the Yaw and Pitch values on the Aim Offset. Depending on your player controls, this logic can be created in several different ways. For this example, you can use property access to output data from the pawn's base aim rotation.
