You can use the following document to learn about how to set up and use Mutable Characters in Blueprints.
Creating a Customizable Character
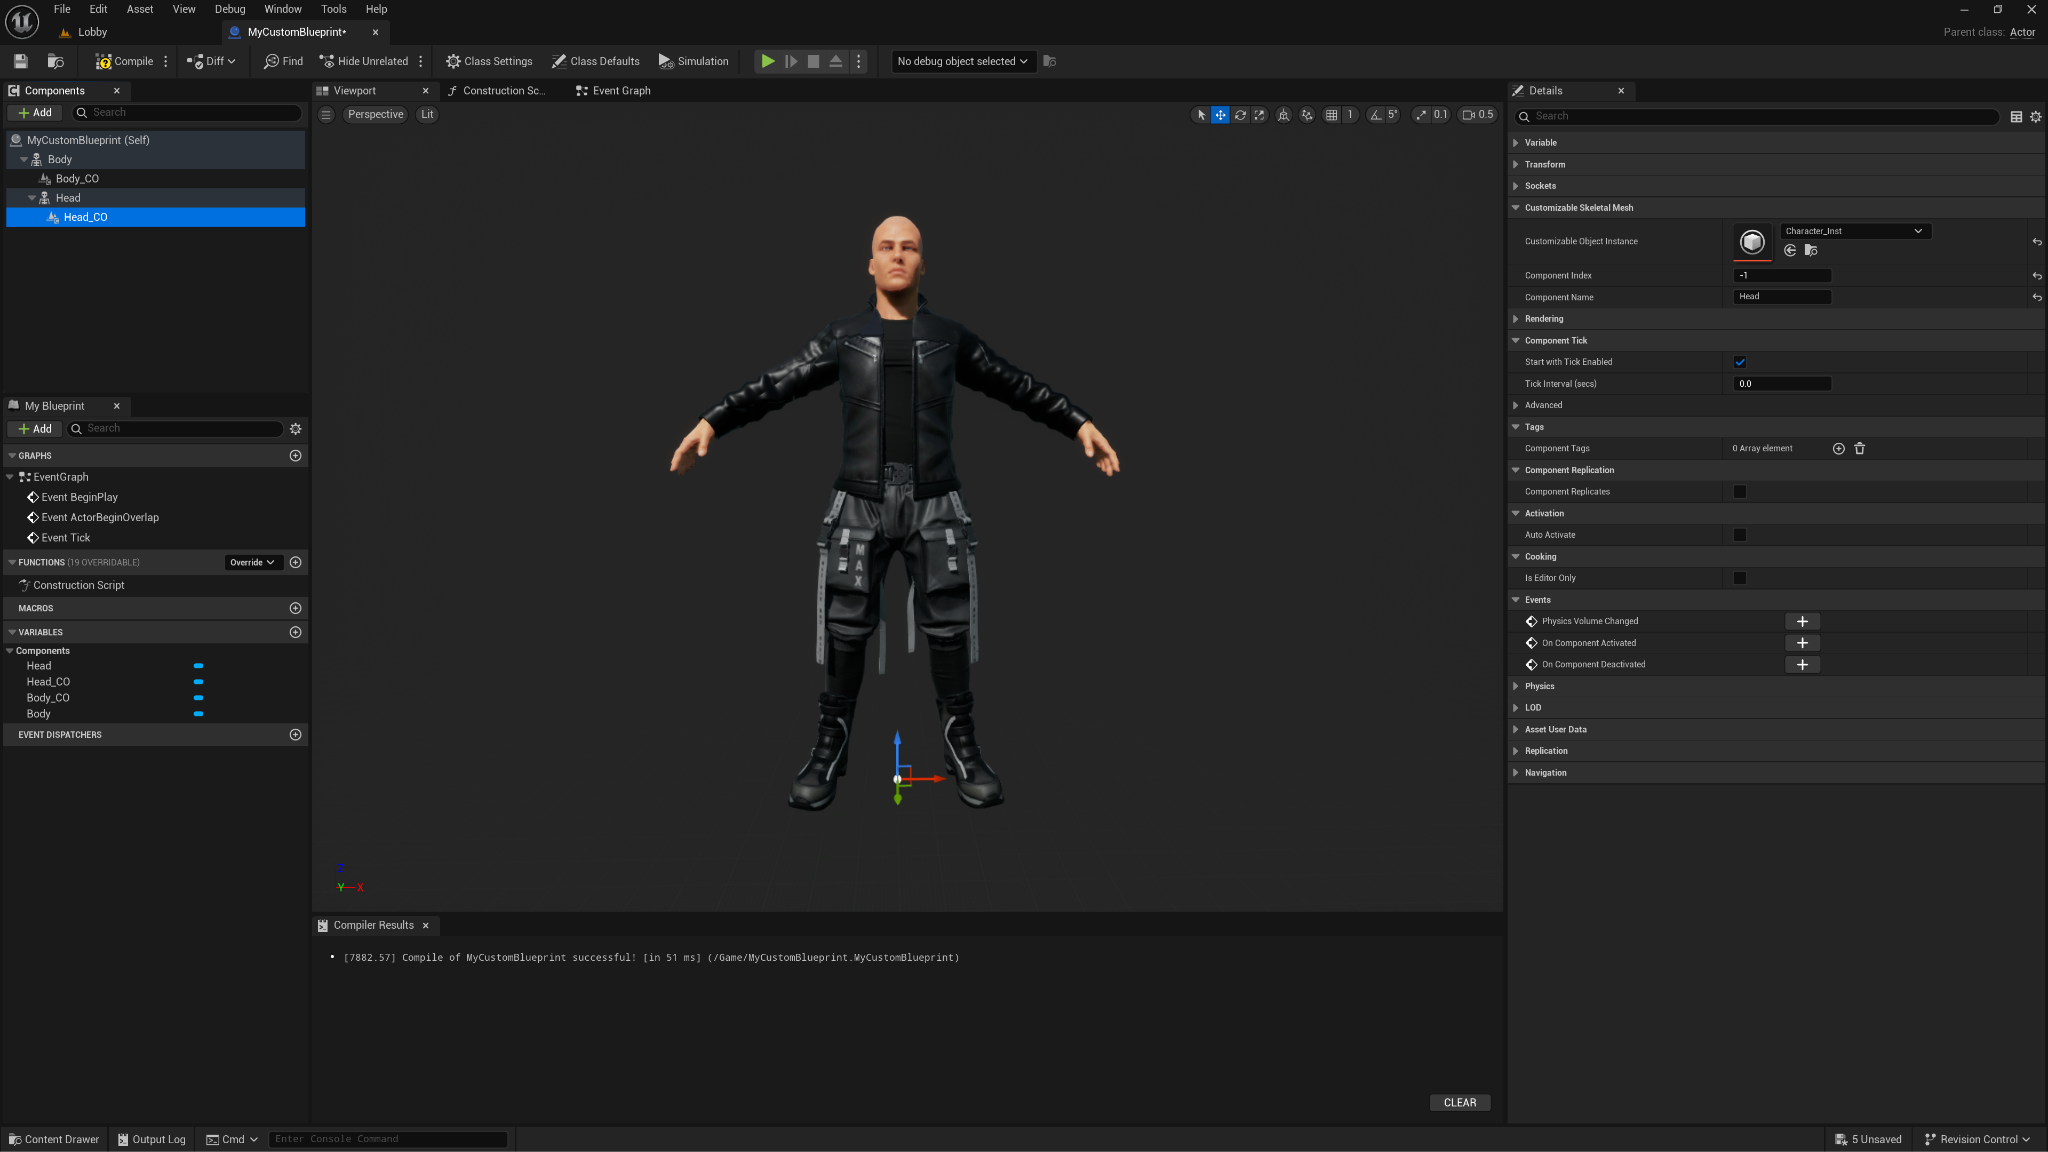
You can use the following steps to create a new Mutable Character in a Blueprint.
-
Create a new **Actor Blueprint. After creating the blueprint, name and open the asset.
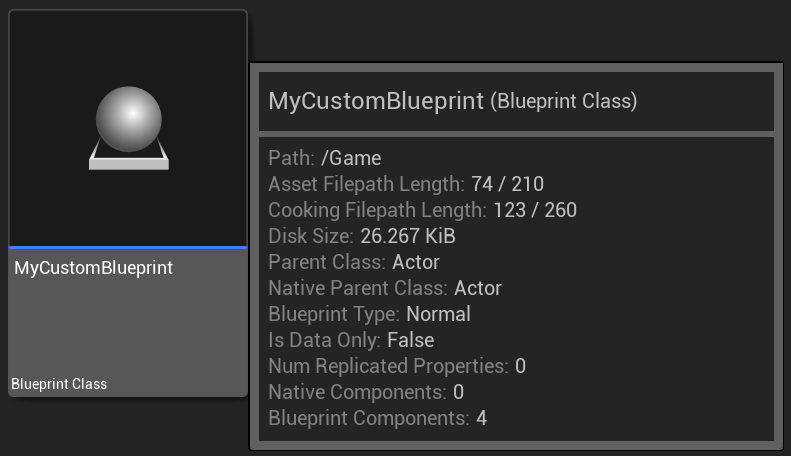
Alternatively, you can use a class/BP that has a skeletal mesh component.
-
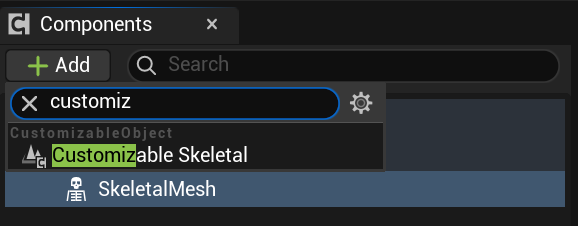
In the blueprint editor, in the Components panel, select the Skeletal Mesh component and add a new Customizable Skeletal component as a child.
-
Name the Skeletal Mesh and the Customizable Skeletal components
BodyandBody_COrespectively.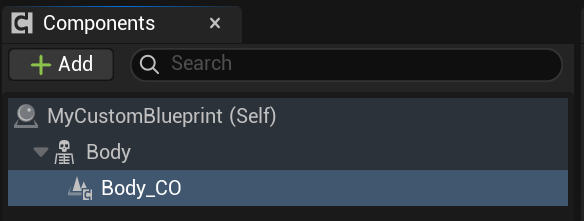
-
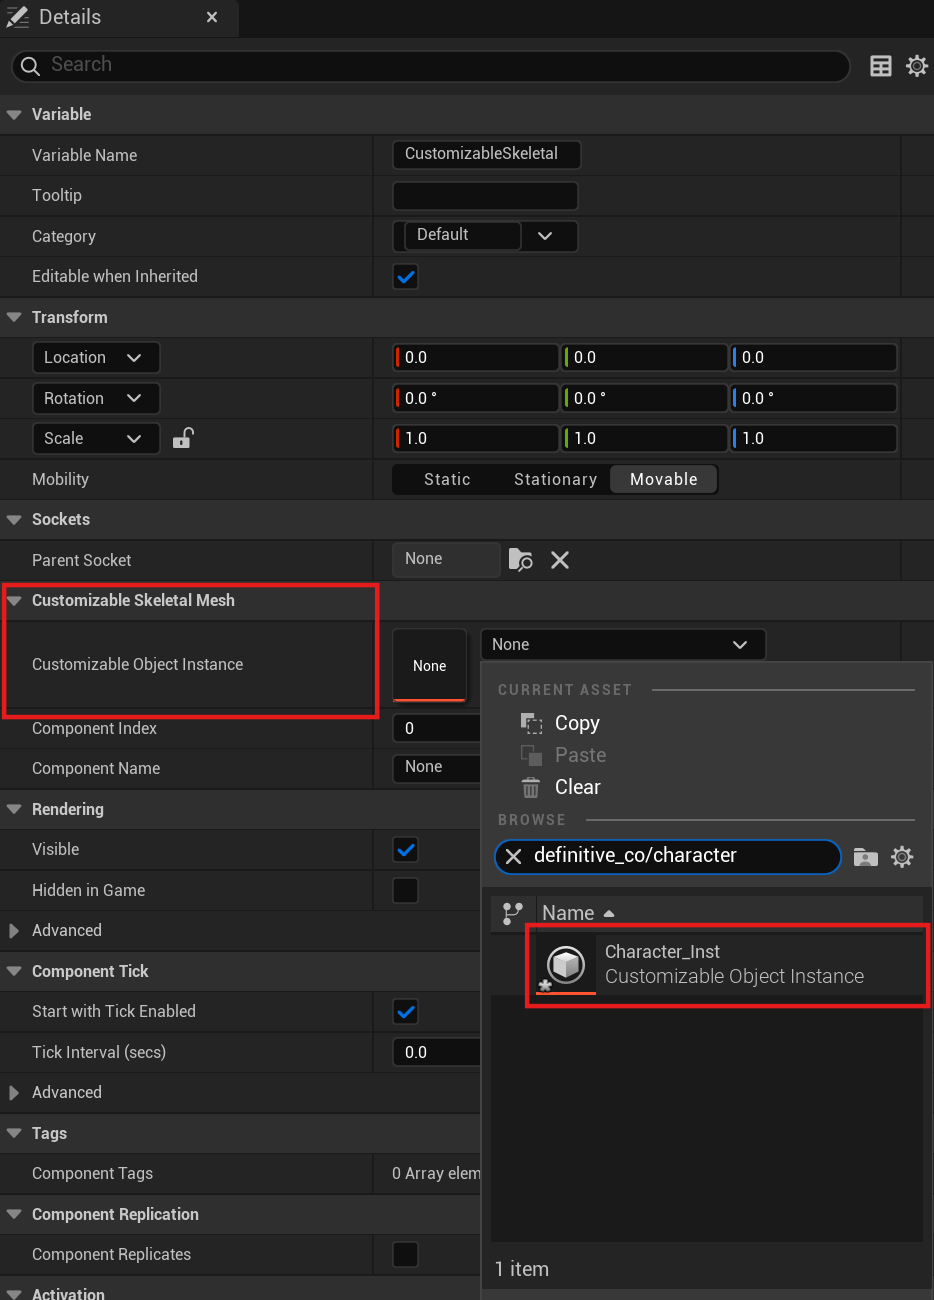
Select the Skeletal Mesh component, then navigate in the Details panel to the Customizable Skeletal Mesh section and set the instance to be used in the Customizable Object Instance property using the asset selection drop-down menu.
-
Then set the Component Name property of the Skeletal Mesh component to
Body. By doing this you will already see the body of the character in the BP's viewport.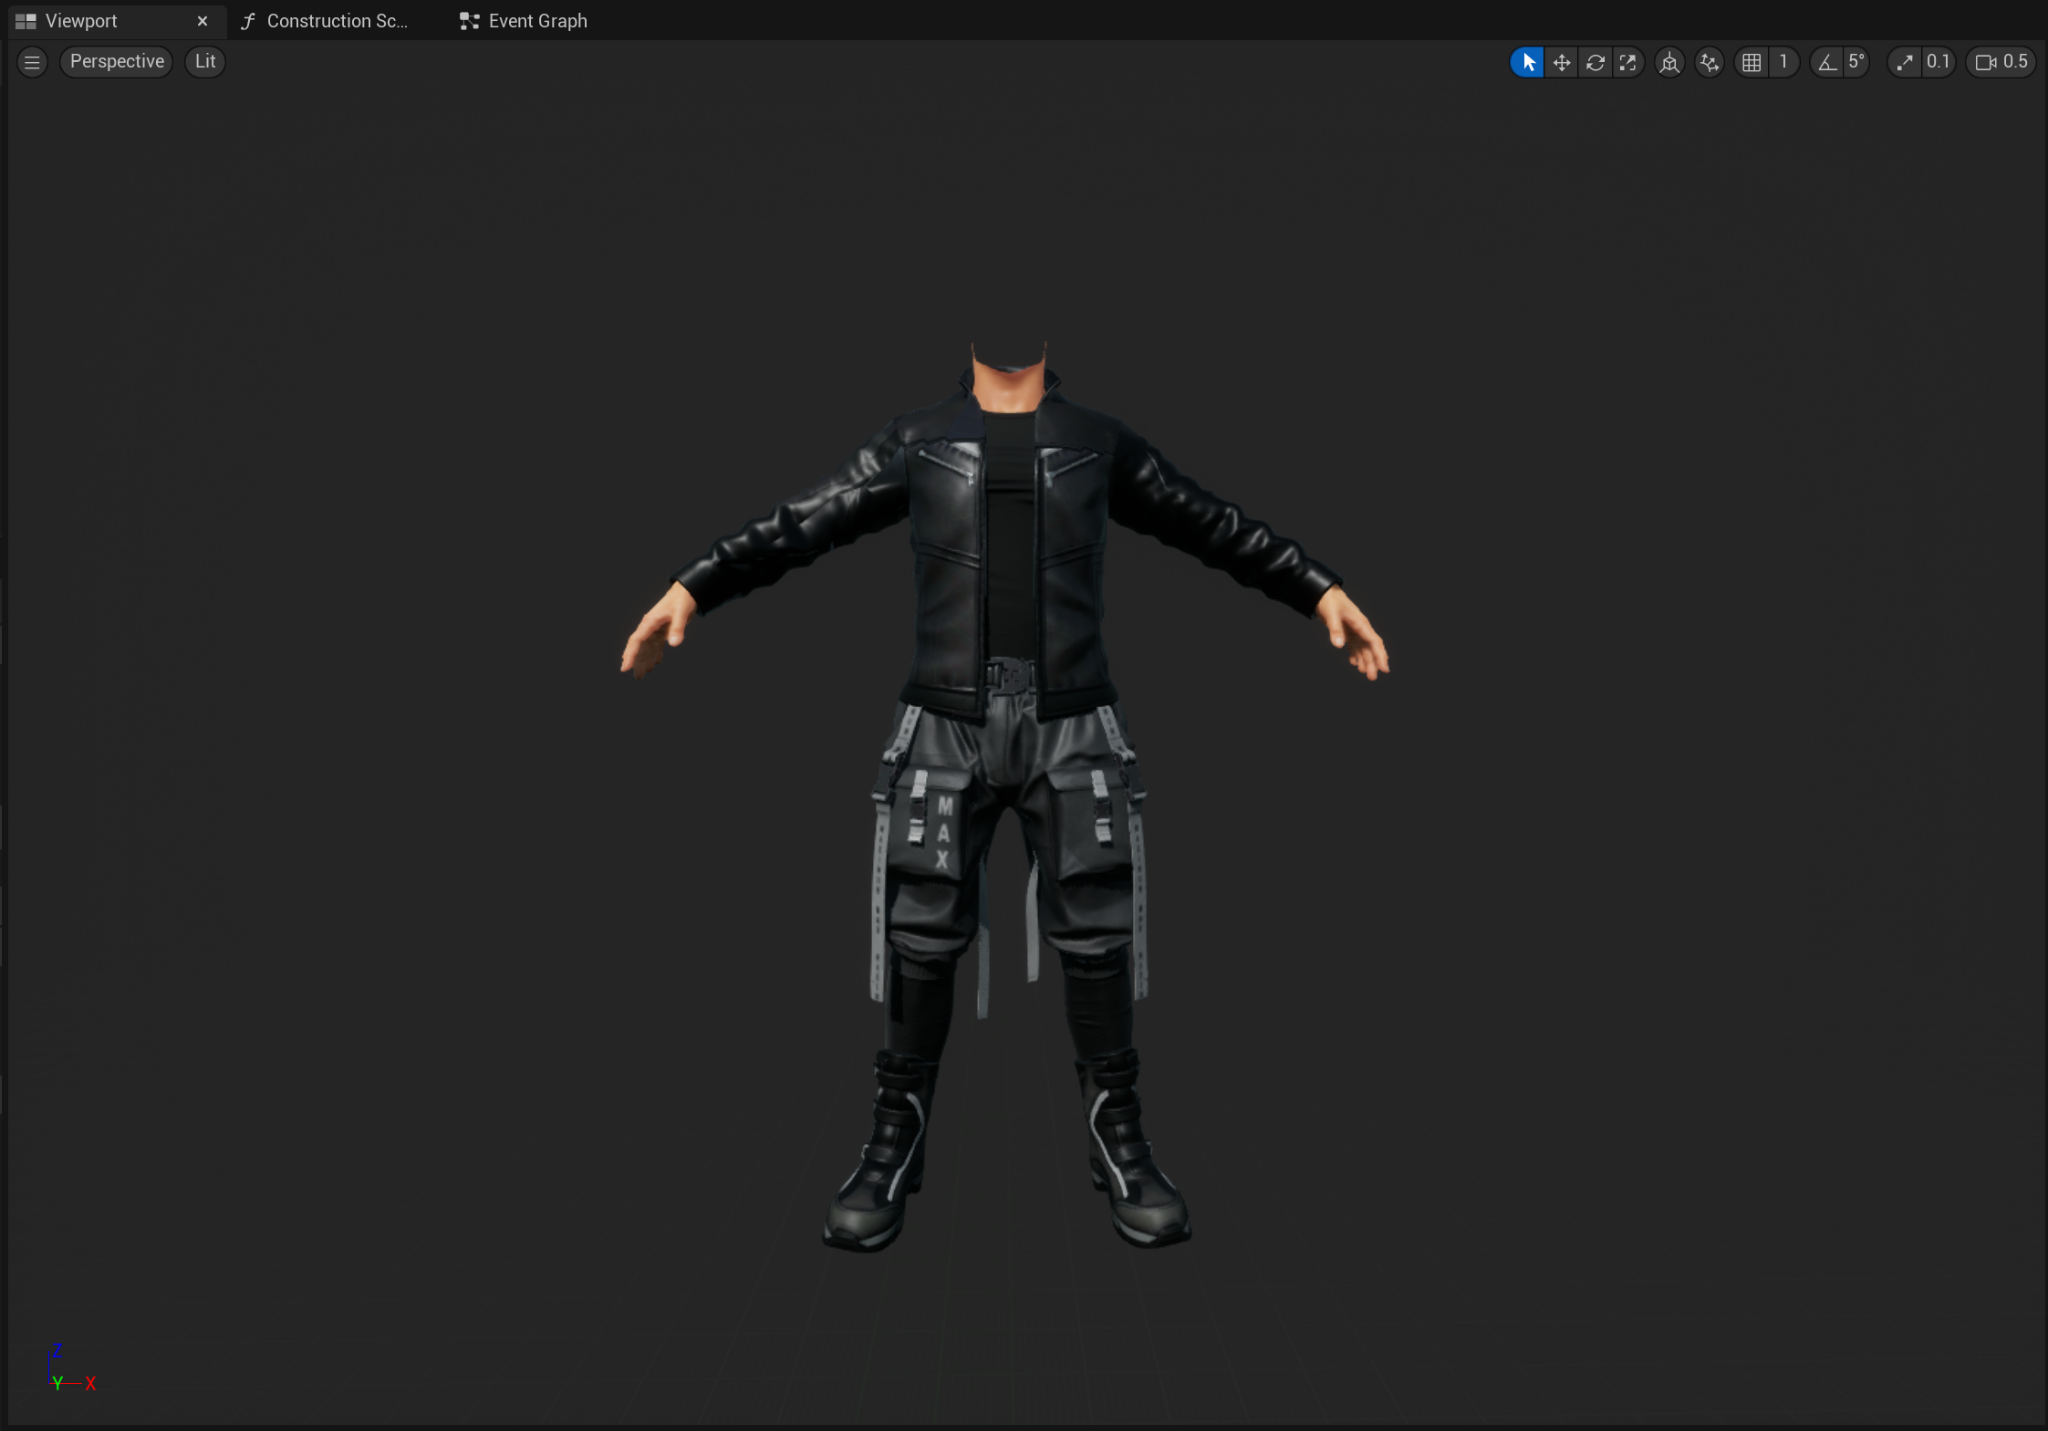
-
Next, add a new Skeletal Mesh component for the character’s head. It should be a child of the
BodySkeletal Mesh component. Then name the new Skeletal Mesh componentHead.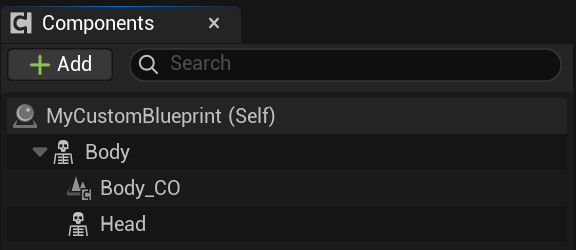
-
Create a new Customizable Skeletal component as child of the
HeadSkeletal Mesh component and name itHead_CO.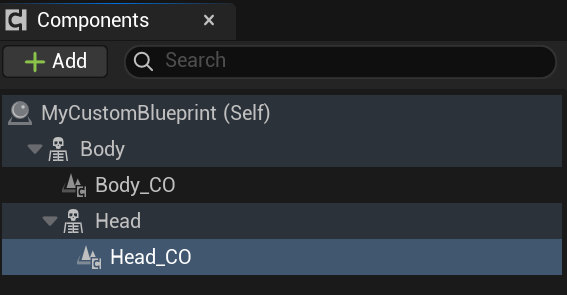
-
Select the
HeadSkeletal Mesh component and add the same instance that we added to the body component, then set the Component Name property toHead.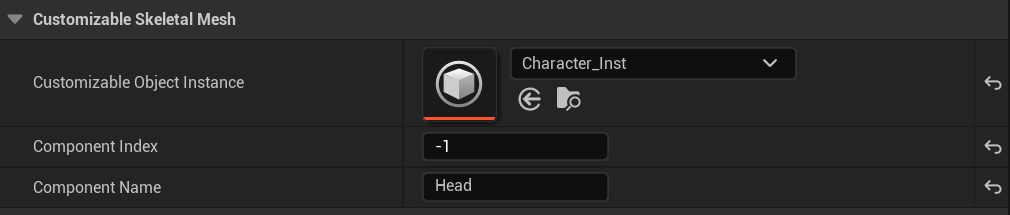
Your mutable character is now set up in the Actor Blueprint and is visible in the blueprint viewport.
Changing Parameters
Parameters are stored by instances and can be accessed or modified using the API nodes. You can reference the following examples to learn how to set parameter values based on their type.
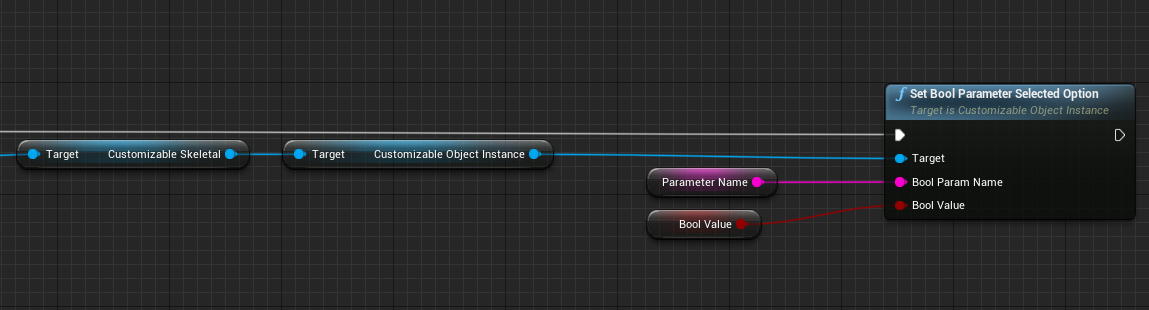
Boolean Parameter
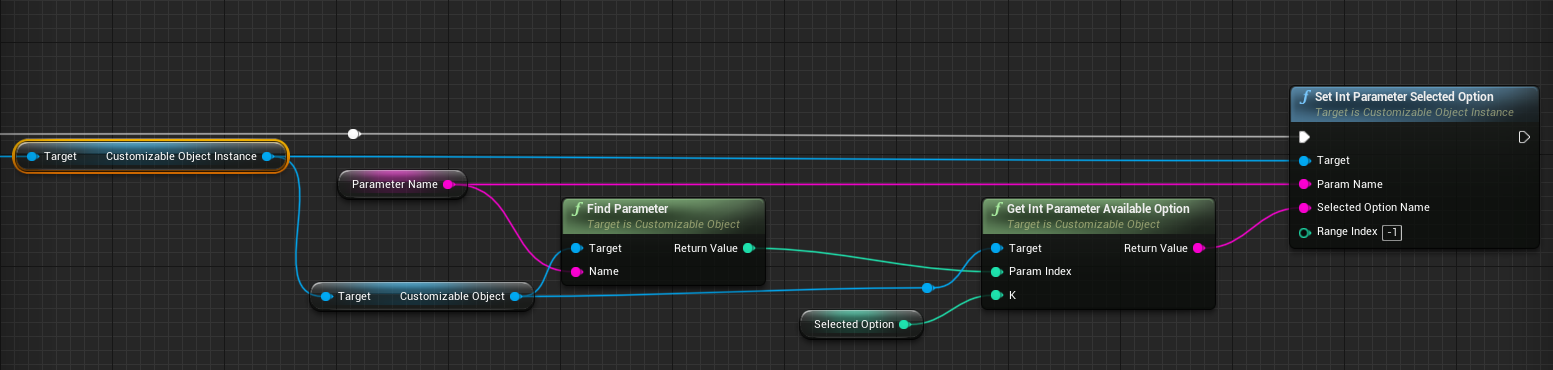
Int Parameter
It's important to make sure that the desired option actually exists within the instance. Search existing parameters using the FindParameter node and then get the available option with GetIntParameterAvailableOption node. Both nodes must use the CustomizableObject reference variable as a target, which can be accessed through the CustomizableObjectInstance reference variable.

Float Parameter
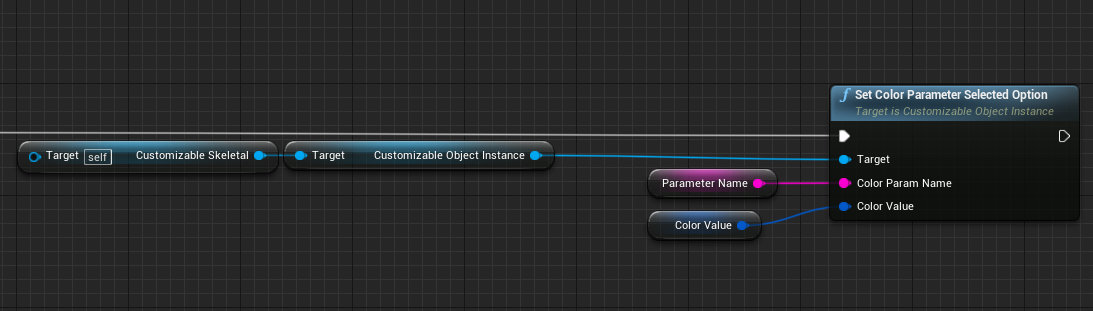
Color Parameter
Projector Parameter

Update Instances
To apply recent changes in parameters, the instance needs to be updated. This can be achieved by adding an UpdateSkeletalMeshAsync node after one or more changes.

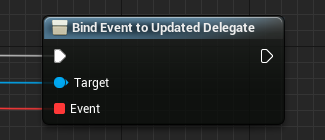
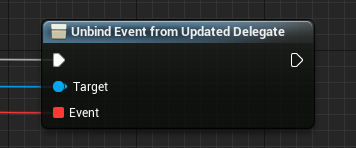
Updated Delegate
Events can be registered to this delegate. The broadcasting will take place after the completion of the skeletal mesh update.
| Bind Event to Updated Delegate | Unbind Event from Updated Delegate |
|---|---|
 |
 |
Parameter Information
Sometimes, additional information like the amount of parameters within an instance, their type or the name of an int parameter's option might be useful. This information is kept in the source CustomizableObject reference variable, which is accessible through the instance, and can be retrieved using the following nodes:
| Node | Image |
|---|---|
| Get Parameter Count | 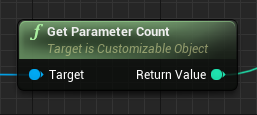 |
| Get Parameter Name | 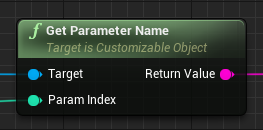 |
| Get Parameter Type by Name | 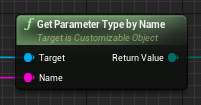 |
| Find Parameter | 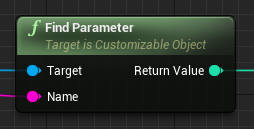 |
| Get Int Parameter Num Options | 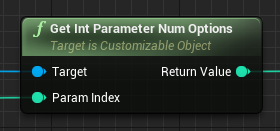 |
| Get Int Parameter Available Option | 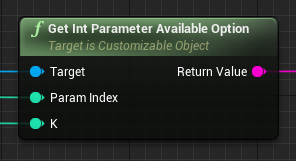 |
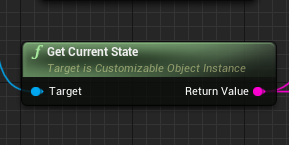
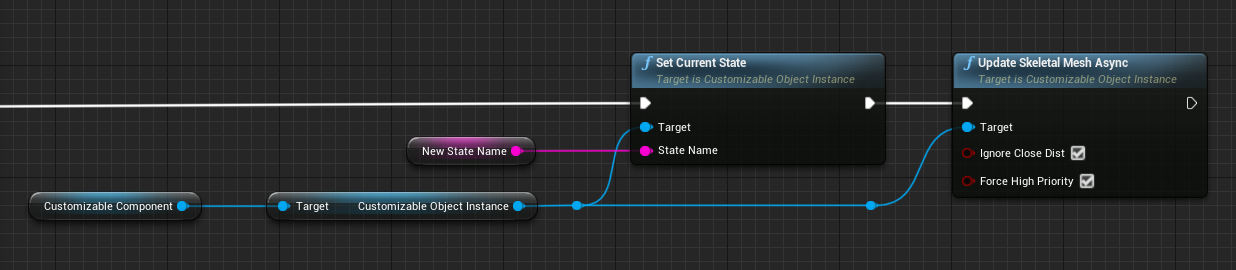
Changing States
States can also be queried and changed using the node API:
As when changing parameters, the instance needs to be updated with a UpdateSkeletalMeshAsync node after a State change.
State Information
Information about the number and name of States a CustomizableObject has, as well as the number and names of parameters in a State can be useful. This information is stored per CustomizableObject, and is accessible through a CustomizableObjectInstance and can be retrieved using the following nodes:
| Node | Image |
|---|---|
| Get State Count | 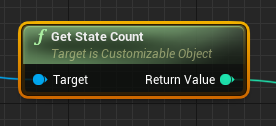 |
| Get State Name | 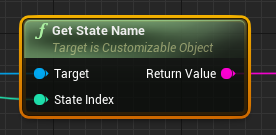 |
| Get State Parameter Count | 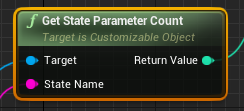 |
| Get State Parameter Name | 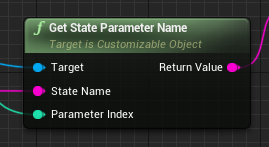 |