
Before taking steps to use cooked data snapshots, make sure you have enabled Zen Storage Server (Zenserver) as a cooked output store as described in Zen Server as Cooked Output Store.
The purpose of using cooked data snapshots is to:
-
Avoid recooking data that was already built elsewhere by automated systems.
-
Allow for future incremental cooking on top of a base build produced elsewhere by automated systems.
-
Allow for efficient delta downloads of the pieces you don’t already have of cooked data.
Overall, this can be accomplished by giving users a convenient means for getting cooked data for their build that was produced elsewhere, and allowing them to cook any local modifications on top of it.
Fundamentally, the concept of cooked data snapshots is simple. When using Zenserver as a cooked output store, it should be possible to export the cooked output for a project and target platform from within Zenserver at a source location and import it to a destination location.
That export/import should be:
-
Complete: Any operation you take at the destination should be identical in outcome to having taken that operation at the source location that did the cooking, including:
-
Staging to container files (
.pak/.utoc/.ucas). -
Running the game using Zenserver Streaming.
-
Incrementally cooking additional changes that were not part of the dataset at the time it was cooked at the source location.
-
-
Efficient: You only copy data not already present at the destination.
-
Flexible: You can store the data in any of the following storage mechanisms:
-
Unreal Cloud DDC
-
Unreal Zenserver
-
File archive
-
Snapshot Descriptors
Cooked data in a snapshot can be referenced using a descriptor structure that contains data about how and where the cooked data is stored and what it contains. The snapshot descriptor can commonly be represented as JSON, as a file on the filesystem or in another storage medium. An example of a descriptor represented as JSON is:
Descriptor JSON
{
"snapshots": [
{
"name": "lyra.lyra-package-and-test.lyra-cl-35690018.e0ebea.ece6.windows",
"type": "cloud",
"targetplatform": "Windows",
"host": "https://cloud-ddc.example.com",
"namespace": "myproject.oplog",
"bucket": "ue5-main.windows",
"key": "4302aee18444cb9e9cff59fc079319cc9ac27c0e"
}
]
}
Exporting Cooked Data from Automated Builds to a Snapshot
Using the Engine-Supplied BuildAndTestProject.xml Build Graph
The sample build graph that ships with the engine is located at Engine\Build\Graph\Tasks\BuildAndTestProject.xml. It contains the infrastructure for exporting snapshots. If you already make use of this build graph to produce automated builds, you can have it export snapshots for storage to the storage mechanisms described in the sections below.
Regardless of which storage mechanism is used for the cooked output data, the snapshot will have a small snapshot descriptor file created and written out to a subdirectory under the specified NetworkSnapshotDescFileRoot location. This snapshot descriptor file contains all the information users need to get the snapshot later.
Unreal Cloud DDC-Stored Snapshots
-
Select a namespace to store the snapshots in (such as
myproject.oplog). You must ensure that the namespace has been created by your Unreal Cloud DDC administrator. -
Set the
NetworkSnapshotDescFileRootproperty in your build graph to the path of a network file server location that will be used to store snapshot descriptor files. For example,\\myfileshare\Builds\Snapshots. -
Set the
PublishCloudSnapshotoption to True when running your build graph. -
Set the
UE-CloudPublishHostenvironment variable (orUE_CloudPublishHoston Mac or Linux) to the host name and scheme of the Unreal Cloud DDC Server that you want to export the snapshot to. For example,https://cloud-ddc.example.com -
Set the
UE-CloudPublishNamespaceenvironment variable (orUE_CloudPublishNamespaceon Mac or Linux) to the namespace you selected in step 1. For example,myproject.oplog.
When using Unreal Cloud DDC stored snapshots, it is valuable to be able to determine a last/base version of the snapshot to use as a reference when composing and storing a new snapshot. This helps to maximize the storage de-duplication between successive snapshots. The BuildAndTestProject.xml build graph accomplishes this using environment variables supplied by the Unreal Horde build system named:
-
UE_HORDE_JOBID -
UE_HORDE_STEPID -
UE_HORDE_TEMPLATEID -
UE_HORDE_LAST_WARNING_CL
In the absence of these environment variables, BuildAndTestProject.xml as invoked from UAT will still produce snapshots and store them in Unreal Cloud DDC, but there will be more data duplicated between successive snapshots, which can cause the data storage requirements to become larger over time.
Unreal Zenserver-Stored Snapshots
-
Set the
NetworkSnapshotDescFileRootproperty in your build graph to the path of a network file server location that will be used to store snapshot descriptor files. For example,\\myfileshare\Builds\Snapshots. -
Set the
PublishZenSnapshotoption to True when running your build graph. -
Set the
UE-ZenPublishHostenvironment variable (orUE_ZenPublishHoston Mac or Linux) to the host name and scheme of your Unreal Zen Server that you want to export the snapshot to. For example,https://shared-zen.example.com:8558
Using Custom Build Graphs
If you use your own build graph instead of the BuildAndTestProject.xml graph supplied in the engine, you can use the ZenExportSnapshot task from your own build graphs to export cooked output stored in a build machine’s local Zenserver to either:
-
An Unreal Cloud DDC server
-
Another Zenserver
-
A file archive
Example usage taken from BuildAndTestProject.xml:
BuildAndTestProject.xml
<ZenExportSnapshot
Project="$(TargetProject)" Platform="$(CookPlatform)"
DestinationStorageType="Cloud"
DestinationCloudHost="$(UE-CloudPublishHost)"
DestinationCloudHttpVersion="$(UE-CloudPublishHttpVersion)"
SnapshotDescriptorCloudHost="$(UE-CloudPublishDescriptorHost)"
SnapshotDescriptorCloudHttpVersion="$(UE-CloudPublishDescriptorHttpVersion)"
DestinationCloudNamespace="$(UE-CloudPublishNamespace)"
DestinationCloudBucket="$(EscapedBranch).$(CookPlatform)" DestinationIdentifier="$(SnapshotIdentifier)"
SnapshotDescriptorFile="$(SnapshotLocalDir)/$(StagedPlatformFolder)/$(SnapshotFilenamePrefix)-cloud.json"
SnapshotBaseDescriptorFile="$(SnapshotBaseDescriptorFile)"
/>
Each parameter for this task is documented in the Engine\Source\Programs\AutomationTool\BuildGraph\Tasks\ZenExportSnapshotTask.cs source file.
While not required, it is highly recommended that when storing snapshots to Unreal Cloud DDC, you make use of the SnapshotBaseDescriptorFile parameter so new snapshots can be made with as much overlap and de-duplication as possible with the previous snapshot. This will help reduce disk usage in Unreal Cloud DDC for snapshots.
Importing Cooked Data From a Snapshot
In ushell
Using .zen command
Within ushell, you can make use of the .zen command to import a snapshot as described in a snapshot descriptor file. For example, if you have exported a snapshot of the Android cooked data on changelist/revision 777 of your project, it may have written a snapshot descriptor to the following location:
File location
\\myserver\myshare\CloudSnapshots\mystream\myproject\Android_ETC2\777\name-cloud.json
The contents of this snapshot descriptor contain enough information to import the cooked output data, which can be done by issuing the following command at a ushell command prompt:
ushell Command
.zen importsnapshot \\myserver\myshare\CloudSnapshots\mystream\myproject\Android_ETC2\777\name-cloud.json
When a snapshot is imported, the cooked output directory will contain only a single file named ue.projectstore as seen here:
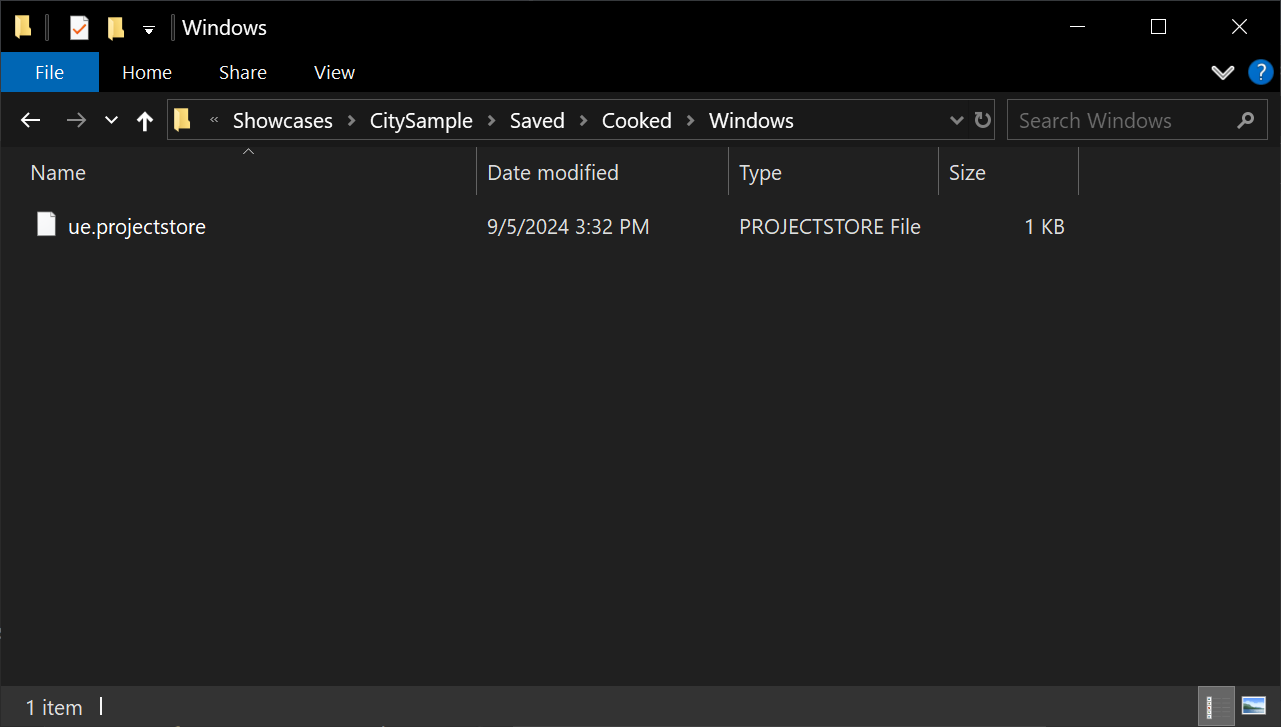
The rest of the data will be stored in Zenserver. From this point, you are in an equivalent state to having cooked the project yourself at changelist 777 for platform Android. You can proceed to:
-
Stage/deploy/run the build either to containers (
.pak/.utoc/.ucas) or using Zen Streaming. -
Future: Cook incrementally to apply additional changes you have locally that weren’t part of changelist 777.
An end-to-end example of the commands needed to import a snapshot then build a game executable and stage/deploy/run the build on Android:
ushell Commands
.zen importsnapshot \\myserver\myshare\CloudSnapshots\mystream\myproject\Android_ETC2\777\name-cloud.json
.build game android
.stage game android
.deploy game android
.run game android
If your title uses a build with a separate client and server runtime executable, this would be changed to run the client runtime instead of the game runtime. This would look like:
ushell Commands
.zen importsnapshot \\myserver\myshare\CloudSnapshots\mystream\myproject\Android_ETC2Client\777\name-cloud.json
.build client android
.stage client android
.deploy client android
.run client android