
Similar to the Blueprint scripting system in Unreal Engine, Dynamo for Revit is a visual programming language that gives access to the Revit API and is used to easily automate many repetitive tasks. In addition to being accessible from the add-ins Ribbon toolbar, the Autodesk Revit Exporter for Datasmith uses Dynamo to automate the process of exporting your Revit 3D views as .udatasmith files for use in Unreal Engine.
Installing the Plugin
Begin by downloading and installing the Autodesk Revit Exporter for Datasmith plugin available from Epic Games. This will update any previous version of the plugin that has been installed, as well as add some additional hooks for the Dynamo visual scripting language.
The plugin requires your Dynamo to be version 2.0 or higher. Check this by clicking the Help menu in the Dynamo UI and selecting the About option.
After installing the plugin, launch the Dynamo interface:
Next, you need to import the DatasmithDynamoNode.dll file. In the Dynamo UI, click the File menu and select the Import Library option. You will find the library in one of the following locations:
| Revit Version | Location |
|---|---|
| 2018.3 | C:\ProgramData\Autodesk\Revit\Addins\2018\DatasmithRevit2018\DatasmithDynamoNode.dll |
| 2019 | C:\ProgramData\Autodesk\Revit\Addins\2019\DatasmithRevit2019\DatasmithDynamoNode.dll |
| 2020 | C:\ProgramData\Autodesk\Revit\Addins\2020\DatasmithRevit2020\DatasmithDynamoNode.dll |
To confirm that the installation of the library is successful, you should see a DatasmithDynamoNode entry in the Add-Ons section of the Dynamo Library.
How It Works
Importing the library installs the Datasmith Dynamo node, which is designed to take in data from your Revit document and export the requested views with a specific level of tessellation:
| Number | Description |
|---|---|
| 1 | Current Revit document |
| 2 | Output path |
| 3 | List of Views as ID's |
| 4 | Level of tessellation (integer value 1-15, default 8) |
Using the current Revit file as the document, the node outputs a .udatasmith file, and a folder of objects in the 3D view as .udsmesh files that are ready for Datasmith.
To demonstrate the use of the Datasmith Dynamo node, the plugin contains a sample Dynamo script file that shows how to use the node to create a batch exporter:
The script goes through the following steps:
- Using the Get 3D Views node, the script finds all the 3D views in the current Revit document and adds them to a list.
- It then filters the list, looking for either a prefix added to the view name (using the format Prefix_ViewName) or views that are given a specific name. In the example, the prefix default is set to Datasmith, while the Instance Parameter Name default is DatasmithExport.
- Next, the script looks at two boolean values to determine whether you want to export all the views or only the views found in the filtered list.
- Finally, the chosen views are exported to the chosen folder with an amount of detail defined by the Mesh Tessellation Amount.
To avoid dependencies on the Dynamo API, this version of the batch exporter requires the use of a python node to fetch information about the current document:
Similarly, getting the 3D Views and extracting the ElementID of a given view relies on python nodes:
Using the Batch Exporter
The supplied Dynamo example can be executed and used as a basic batch exporter:
| Property | Description |
|---|---|
| Export To: | Allows you to browse to a folder and specify where you want your Datasmith files. |
| Mesh Tessellation Amount: | Specify the level of tessellation used during the export as defined by the Revit API. Level 8 is the default. This produces the same mesh resolution as the Revit FBX Exporter. Tesselation Level 8 
Tesselation Level 2 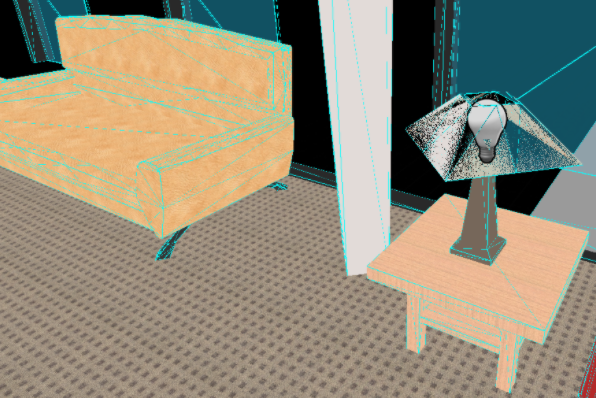
|
| Export All 3D Views: | If ON, this will export every 3D view found in the current Revit document. If OFF, this will find the 3D views in the current Revit document that use a custom name or prefix and export those for Datasmith. |
| By View Name Prefix / By View Instance Parameter: | Exports only the views that match either a prefix name or a project parameter assigned to a view instance.
|
| View Instance Parameter Name: | Defines the view name that will be exported. |
| Export 3D Views Prefixed With: | Defines the view name prefix that will be exported. |