
The Live Link plugin synchronizes animation assets between Unreal Editor and an outside digital content creation (DCC) tool such as Maya or Houdini, providing a fast way to preview assets as they appear in-engine. Unreal Engine can use Universal Scene Description (USD) files as part of Live Link connections and maintain them over the course of a project, improving the expedience and convenience of this workflow. This tutorial provides a walkthrough of setting up Live Link connections in Unreal Engine using USD files, and an overview of the benefits of the USD format when using Live Link.
Overview
When you set up a Live Link connection using the USD Stage, it adds a custom Live Link schema to the USD prim alongside attributes that describe the connection. As long as this information remains in the USD file and both your DCC and Unreal Engine have a Live Link connection, the connection for the assets can be re-established. If either application restarts or the file was closed and reopened in the DCC, the Live Link connection will need to be re-established.
Following This Guide
The examples in this guide use Autodesk Maya and the Unreal Live Link V2 plugin, but any DCC toolset with Live Link integration should be able to establish a connection to Unreal Engine. Review the instructions for your DCC's Live Link integration for any differences from the workflow presented here.
If you are using the Unreal Live Link V2 plugin, the installer will also set up the Maya Live Link plugin for Unreal Engine. Use this instead of the standard Live Link plugin if you are using Maya.
1. Required Setup
To follow this guide, you need to fulfill the following prerequisites:
-
Enable the Live Link plugin for both Unreal Engine and your DCC.
- Use the Maya Live Link plugin instead if you are using Autodesk Maya.
-
Enable the USD Importer plugin in Unreal Engine.
To set up the plugins in Unreal Engine, click Edit > Plugins to open the Plugins menu, then locate the plugins and enable them. Refer to the instructions for your DCC's Live Link integration or its guide on using plugins for information about how to activate it.
This guide also uses a new project created with the Third-Person Template. This includes the Unreal mannequin models and their animations. These are available in the Content/Mannequins folder in the Content Browser. This guide uses these assets to provide an example, but they are not necessary to follow these instructions, and you can follow along with any Skeletal Mesh.
2. Establish a Live Link Connection
-
Open both your DCC and Unreal Editor.
-
Set up your DCC's Live Link integration.
- For Maya, download and install the Unreal Live Link plugin. You can download the installer here, and once you have installed it you can open it by clicking File > Unreal Live Link.
-
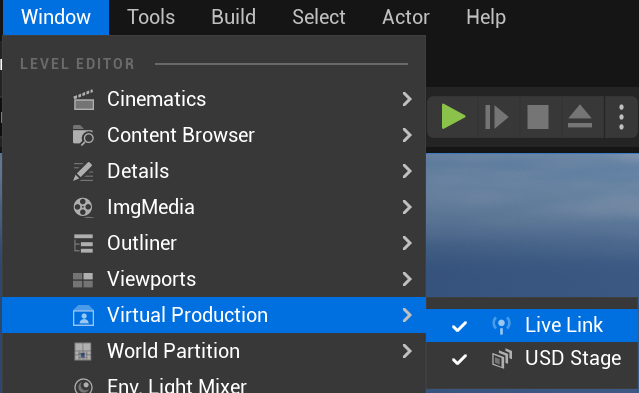
In Unreal Editor, click Window > Virtual Production > Live Link to open the Live Link window.
-
Click the + Source button in the Live Link window. Highlight Message Bus Source and select your DCC's Live Link connection.
Click to enlarge image.
Your DCC and Unreal Engine will connect and synchronize using Live Link. However, because no asset is synchronized, you will not see any change yet.
3. Export a USD File and Use It to Synchronize Assets
Now that you have opened a Live Link connection, export a USD file and use that to synchronize the asset.
-
Locate the
MM_Run_Fwdanimation in the Content Browser. You can find it inContent/Characters/Mannequins/Animations/Manny.Click to enlarge image.
-
Right-click
MM_Run_Fwd. Click Asset Actions > Export.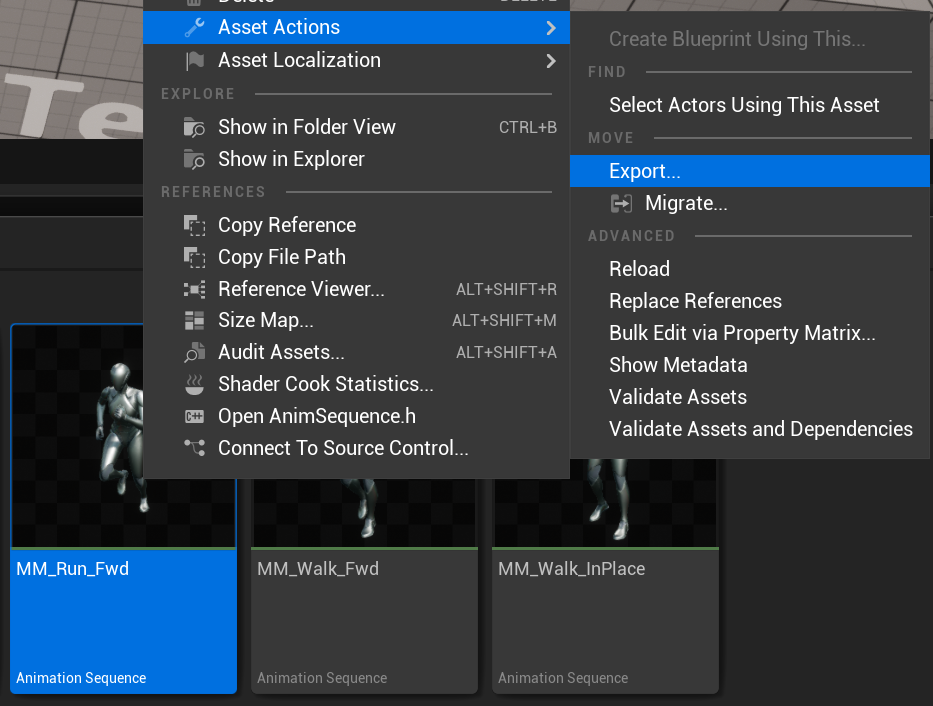
-
Export the asset using the
.usdafile format.Click to enlarge image.
While you need to export your file as a
.usdafile to use the USD stage, you can also export it as a.fbxfile for the purposes of importing it into Maya. -
In the USD Export Options dialog, make sure Export Preview Mesh is checked, then click Export.

-
Open your DCC and import the
.usdafile.- In Maya, click File > Import, then select USD Import and choose the
.usdafile. Rotate it -90 degrees on the X axis to make it face upwards.
- In Maya, click File > Import, then select USD Import and choose the
-
Select the root bone, then add the selection to Live Link.
-
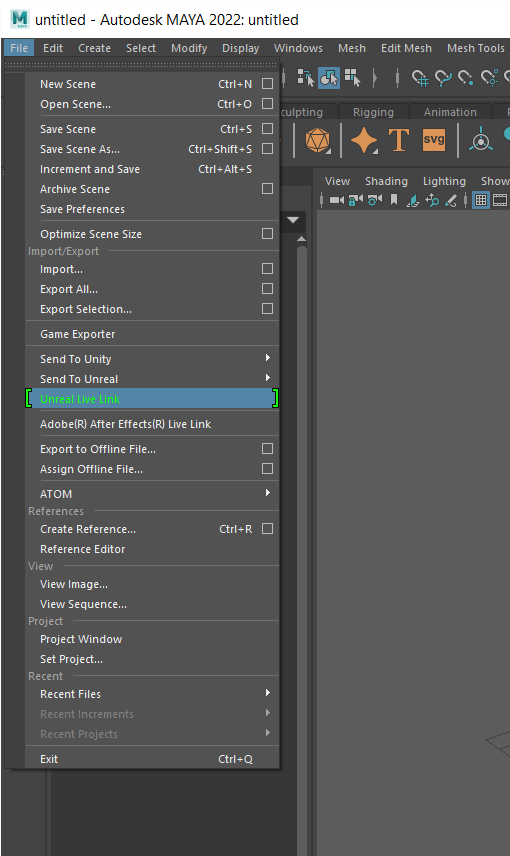
In Maya, click File > Unreal Live Link to open the Unreal Live Link window.
-
Select the root bone of your mesh in the hierarchy and click Add Selection in the Live Link window to add it to your list of Live Link subjects.

-
Click the dropdown for your selection's Type and choose Full Hierarchy.

You will need your Object Name in a later step when you choose your Subject Name in Unreal Editor.
-
-
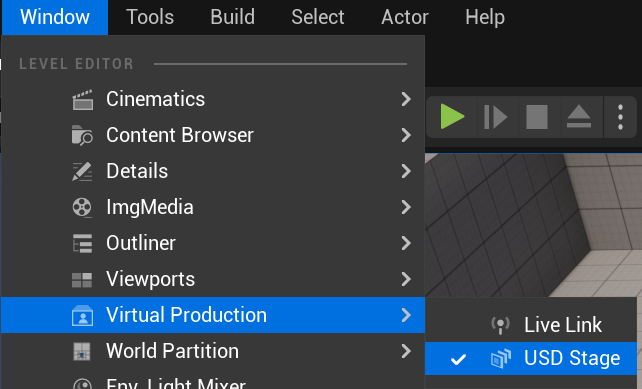
Click Window > Virtual Production > USD Stage to open the USD Stage window.
-
In the USD Stage, click File > Open, then select the
MM_Run_Fwd.usdafile.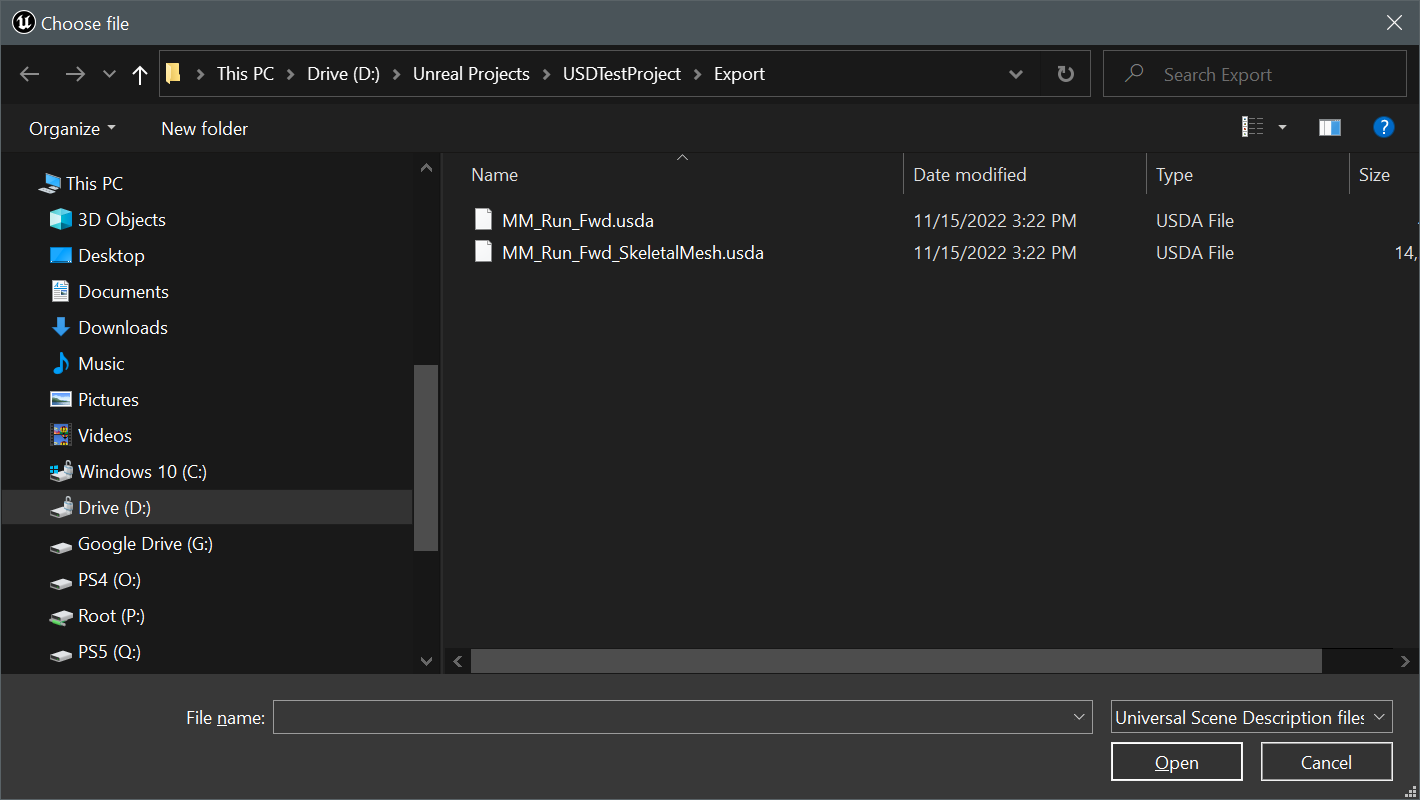
-
In the USD Stage, right click the SkelRoot for your model, then click Set Up Live Link.
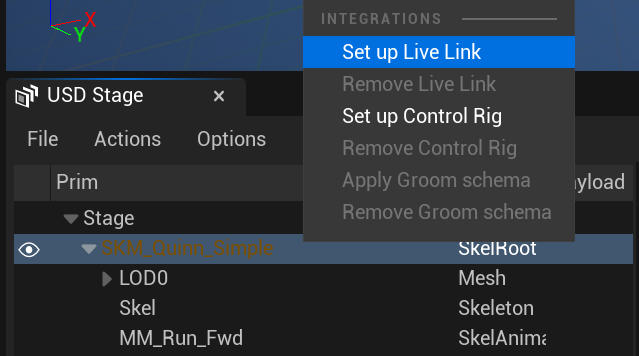
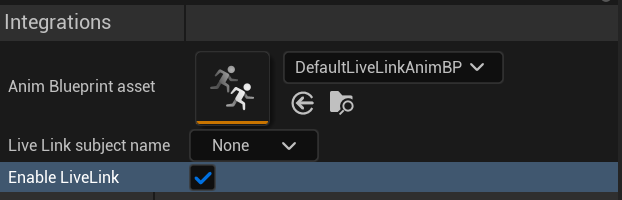
The Live Link integrations panel appears, and shows DefaultLiveLinkAnimBP as your Animation Blueprint.
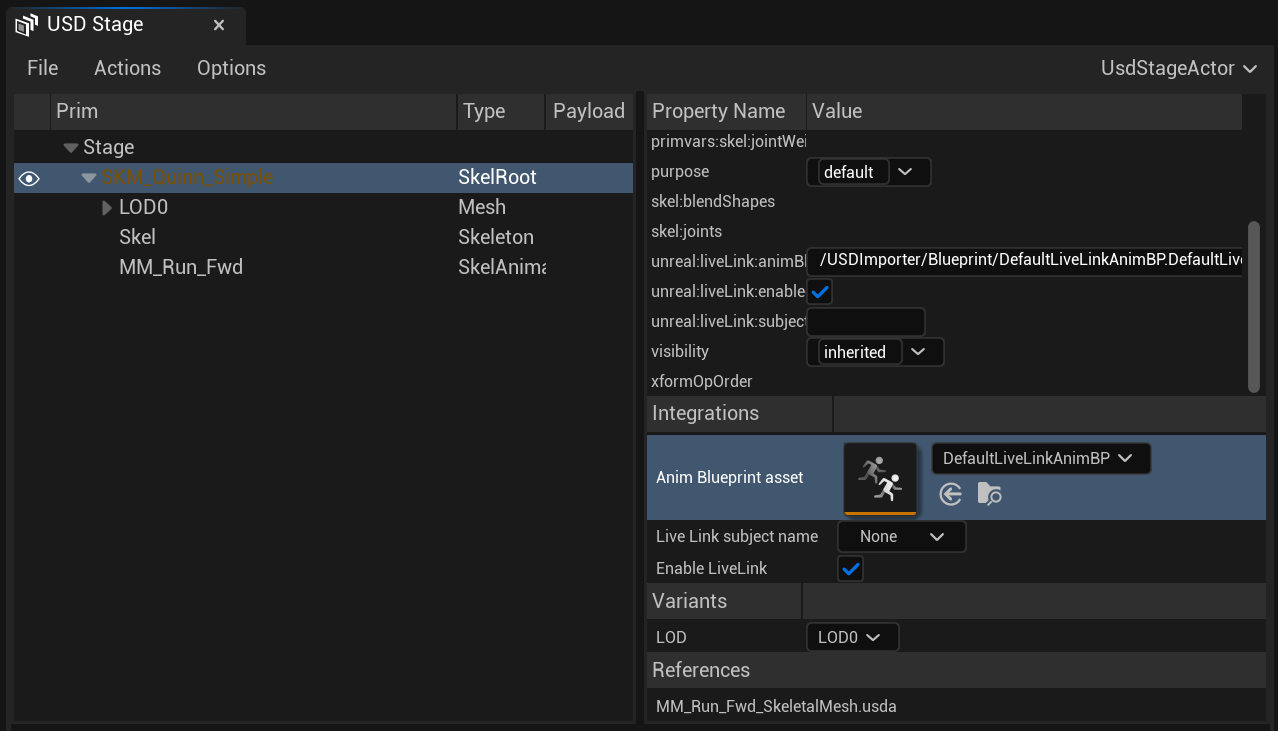
-
Click the Live Link Subject Name dropdown and select the value that corresponds to the Object Name you selected in your DCC. These need to match for the Live Link connection to work.
Result
If you scrub the animation for your asset in your DCC, the animation is synchronized in Unreal Engine.
Configuration
The following options are available in the USD Stage for configuring your Live Link setup.
Enable and Disable the Live Link Connection
You can enable and disable the Live Link connection in the USD stage with the Enable Live Link Connection setting in the USD Stage.
This allows you to quickly alternate between viewing the animation provided using Live Link and viewing the original animation present on the USD Stage.
Custom Animation Blueprints
By default, when you set up Live Link with your USD Stage, the skeletal mesh uses the DefaultLiveLinkAnimBP asset. This Animation Blueprint uses the Live Link Pose node to listen to the pose provided by your DCC.
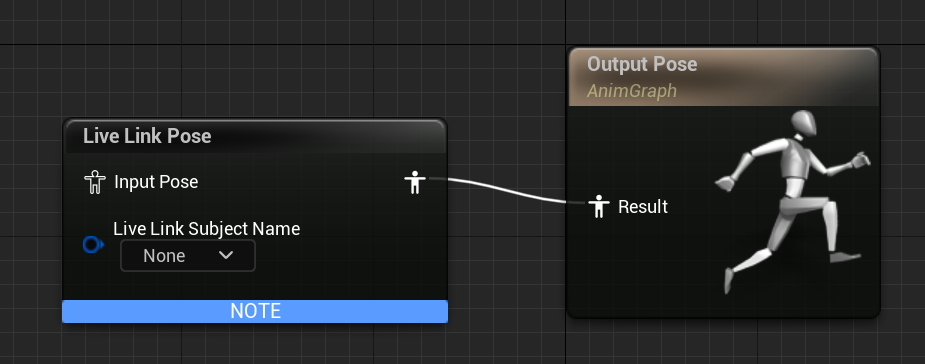
You can use a custom Animation Blueprint instead by changing the Anim Blueprint Asset field in the Integrations panel. Use the Live Link Pose node in your custom Animation Blueprint to provide compatibility with Live Link.
Choose Live Link Subjects
The Live Link Subject Name selects the particular Live Link subject to synchronize with this specific prim. This has to match the Object Name value of one of the objects added to your DCC's Live Link manager.