
Use Unreal Editor for packaging a release version of you project for distribution. This page shows you how to package a release-versioned project on the example of packaging project for Windows Platform. Follow the steps below to package your project via the Project Launcher. Packaging process details depend on the platform for which you make a project: a Windows game, shipping a mobile project, or targeting another platform. The steps you take with the finished packaged content will be different.
This is an example of packaging a 1.0 release of ThirdPersonGame, aimed at Windows 64-bit, localized in English.
Open Project Launcher
-
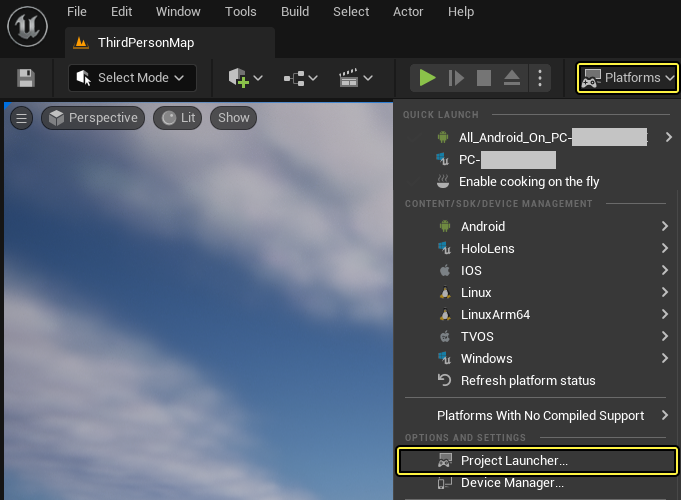
Click Platforms button of the Unreal Editor Toolbar and select Project Launcher.
-
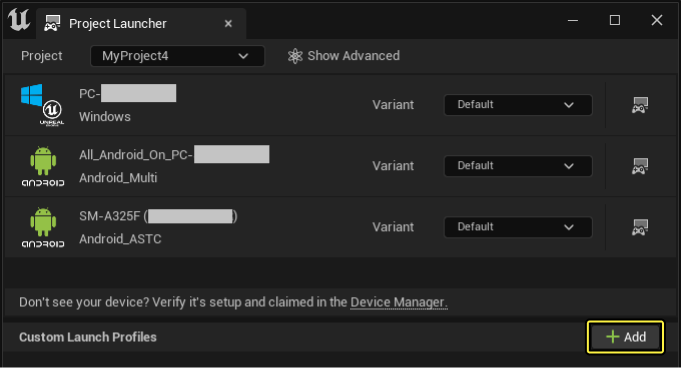
Create a new Custom Launch Profile by clicking the Add button.
-
Set a name and description for your profile.
Adjustment of Custom Project
There are a number of settings for the release process.
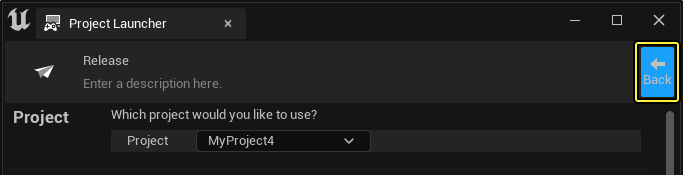
Project
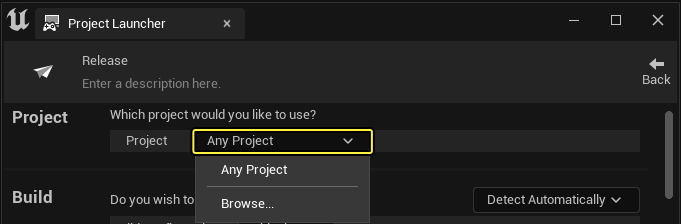
Under Project section you can set the specific project, or use Any Project.
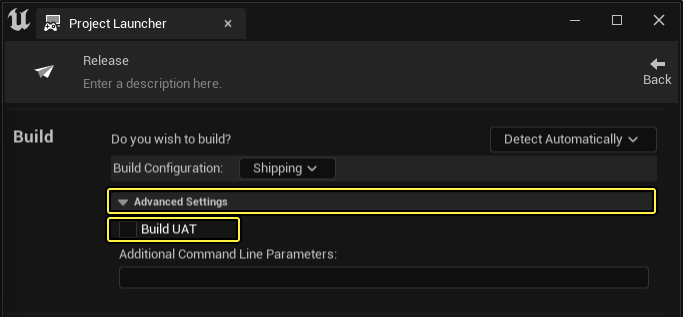
Build
-
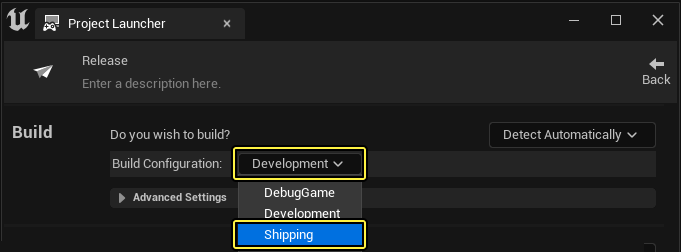
Set the Build configuration to Shipping.
-
Optionally, expand Advanced Settings if you need to build Unreal Automation Tool (UAT) as a part of the release.
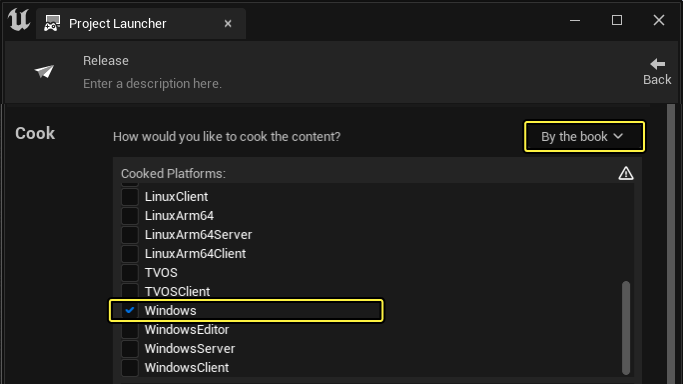
Cook
-
Select By the Book as the cooking method in the dropdown menu.

-
Check the boxes for all platforms you would like to cook content for. In this example for Windows testing, WindowsNoEditor is selected.
-
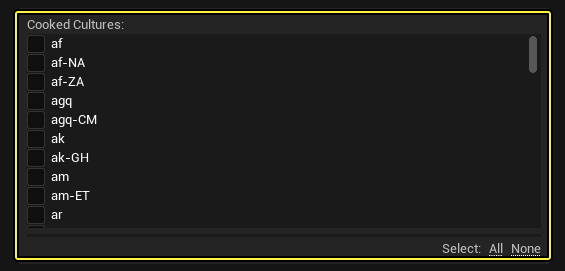
Check the boxes for all cultures to cook localizations for.
-
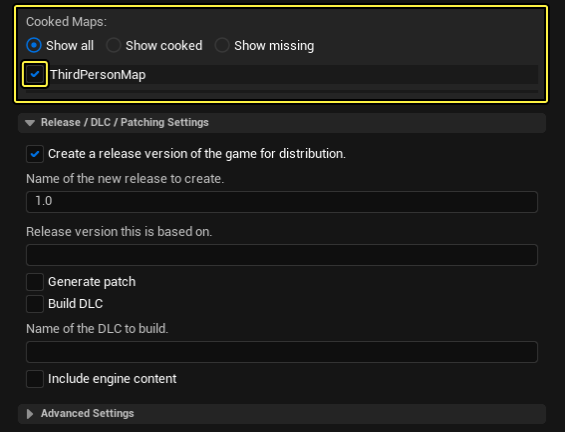
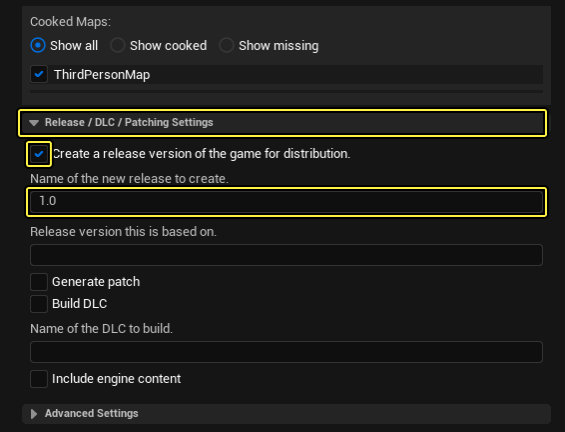
Check the boxes for which maps to cook.
-
In Release/DLC/Patching Settings:
- Check the Create a release version of the game for distribution. checkbox.
- Enter a version number for this release.
-
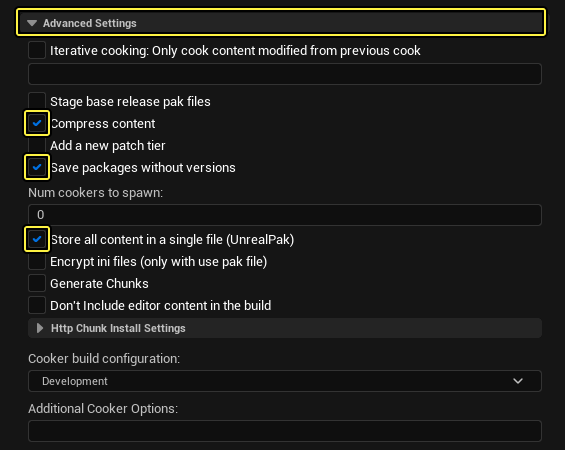
Expand Advanced Settings and make sure the following options are enabled, as well as any others you need for your specific project's distribution method:
- Compress content.
- Save packages without versions.
- Store all content in a single file (UnrealPak).
-
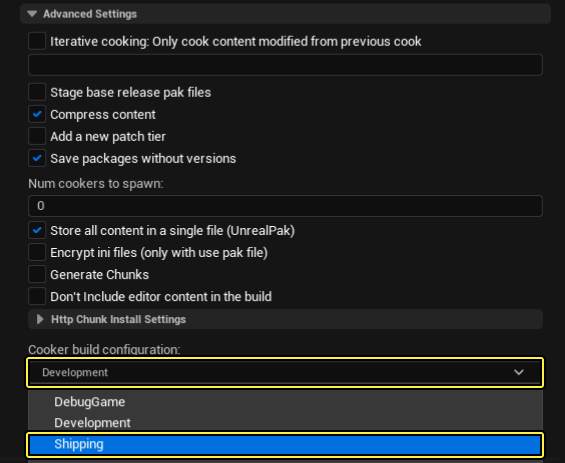
Also under Advanced Settings, set the Cooker build configuration to Shipping.
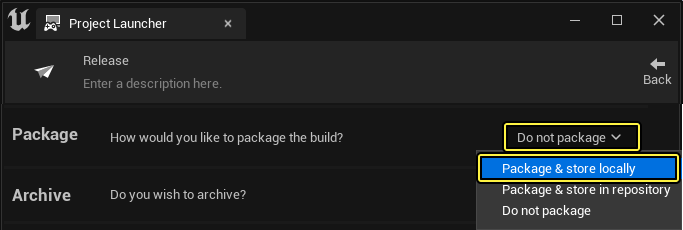
Package
Set the build to Package & store locally.
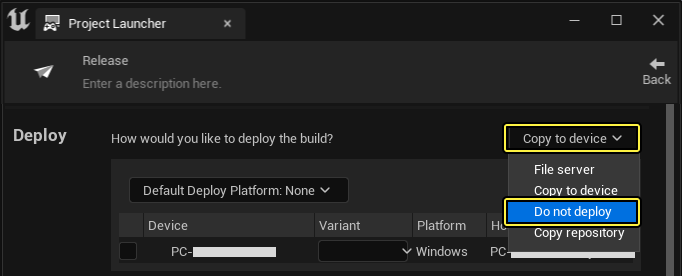
Deploy
-
Set the Deploy to Do not Deploy.
-
Once you have set all the above settings, navigate back to the main profile window using the Back button in the top right corner.
-
Click on the launch icon next to your Release profile.

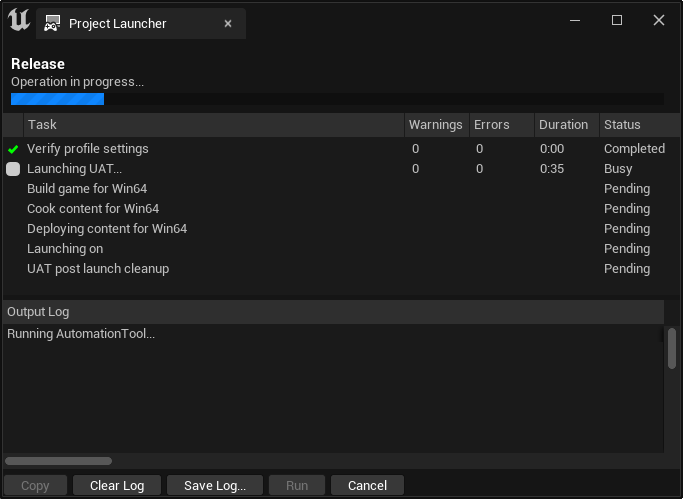
-
The project launcher will go through the building, cooking, and packaging process. This may take some time depending on the complexity of your project.
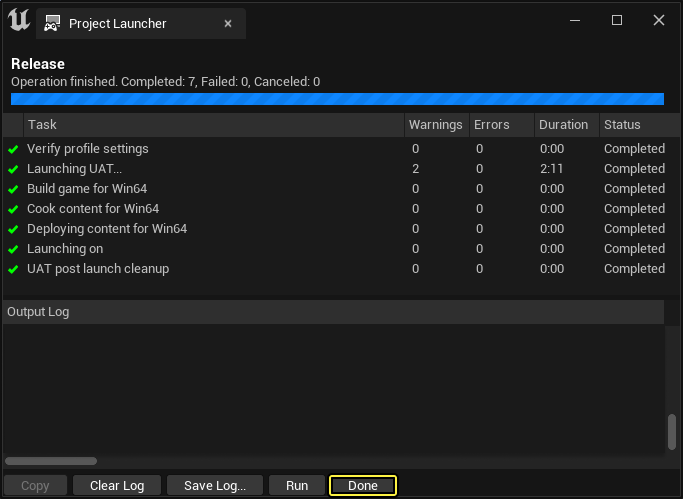
-
Once the operation is complete, close the window or click on Done. You can test the patch now with the steps below.
-
Save the asset registry and pak file from
[ProjectName]\Releases[ReleaseVersion][Platform]. In this example, this isThirdPersonGame\Releases\1.0\WindowsNoEditor.The asset registry and pak file will be needed for any future patches or DLC to check against.
-
On Windows, you can test running the project from
[ProjectName]\Saved\StagedBuilds\WindowsNoEditor.
While Steam will allow you to upload full packages of your game and do the updating process for you, using release versions as outlined here is still the recommended practice when distributing through Steam. This will make the process smoother if you decide to add additional supported platforms or distribution methods later on.