When working on Unreal Engine 4 legacy projects or non-game projects such as architectural visualization, you can use the Levels window for level management. For game development in Unreal Engine 5.0 and beyond, the Levels window has been made obsolete by World Partition. This page covers managing multiple levels through the Levels window.
The steps uses the Architecture template as a reference.
You can access the Levels window from the Windows menu.

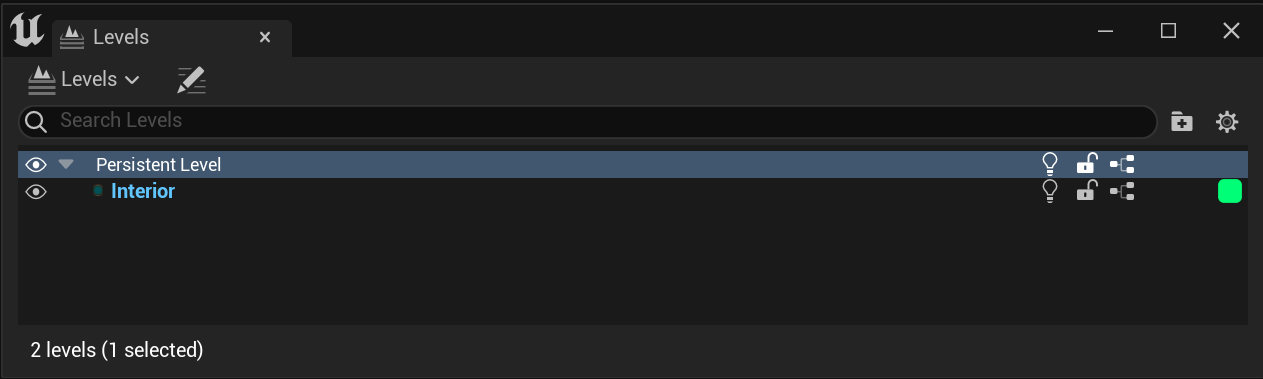
You will always have a Persistent Level, and you can have one or more sublevels that are always loaded or are streamed in with Level Streaming Volumes, Blueprints, or C++ code. The Levels window shows all of these levels, enabling you to change which level is current (indicated in bold blue text), save one or more levels, and access Level Blueprints. If changes are made in the Level Editor's Viewport, you will modify the current Level. You can use this window to work on multiple maps, as long as they are all writeable.
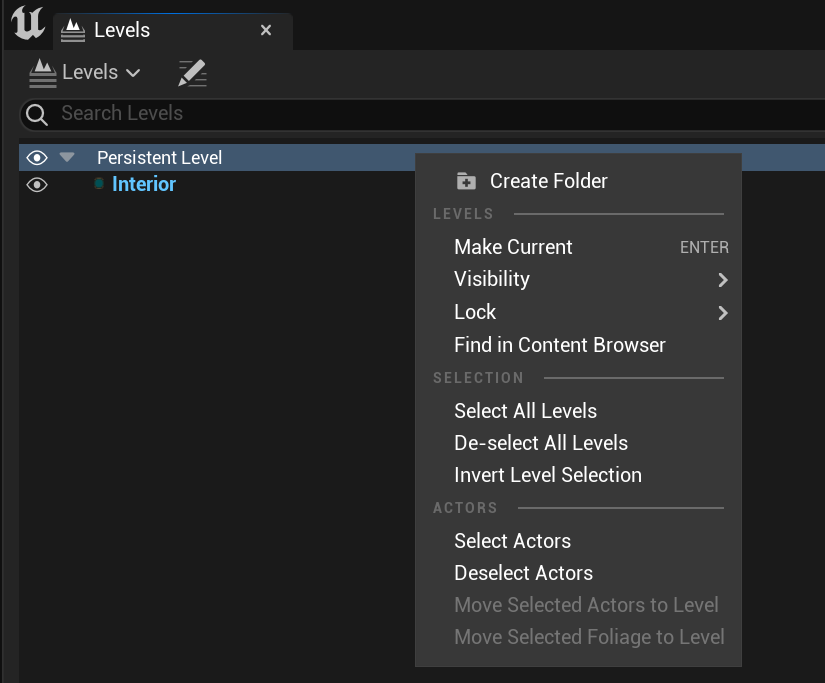
By right-clicking on the Persistent Level, you can perform operations like making it the current level, changing its visibility and lock status, and selecting all the Actors in that level.
Right-clicking on any sublevel provides similar options, with additional entries for removing the sublevel and changing its streaming method.

Changing a Level's visibility is for visualization purposes only and does not effect whether or not a level will stream into the game when it is run. However, a Level that is not visible here will not be affected if you rebuild the Level, which can be a great timesaver if you have complicated levels.
Adding New Sublevels
You can create sublevels by splitting off part of an existing Persistent Level or sublevel, by creating a new Level, or by adding an existing Level. Adding a new sublevel makes it the current Level, so if you want to continue working in the level you were using before the addition, make sure to right-click on it and select Make Current from the context menu.
Adding an Existing Level
-
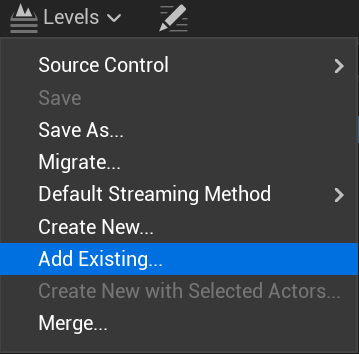
Click on the Levels dropdown menu, then select Add Existing to add a new sublevel.
-
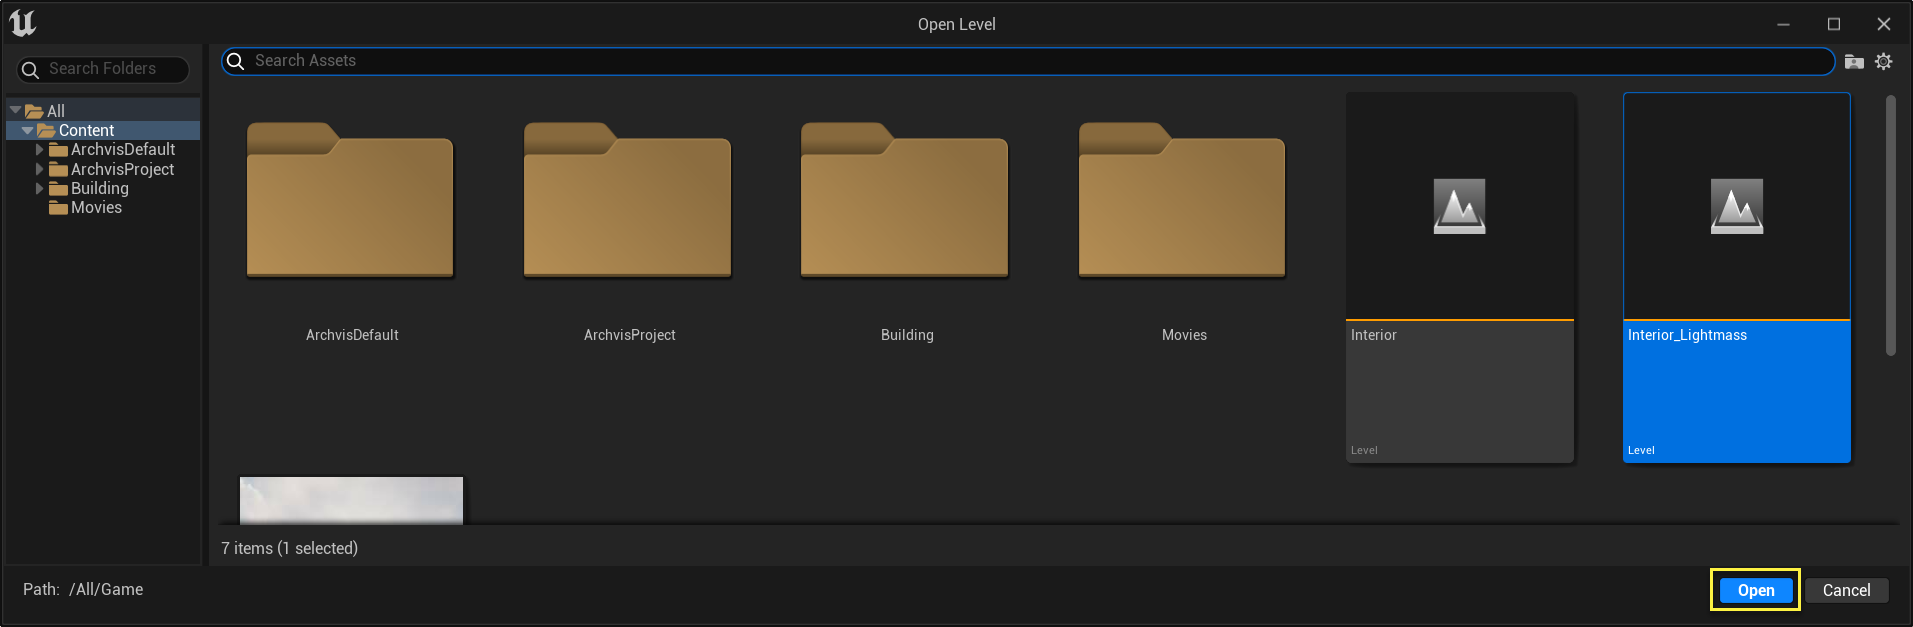
Select your Level to add in the Open Level dialog, then click on Open.
Creating an Empty Sublevel
-
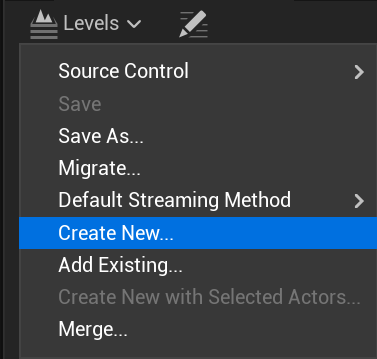
Click on the Levels drop-down menu, then select Create New to create a new blank Level.
-
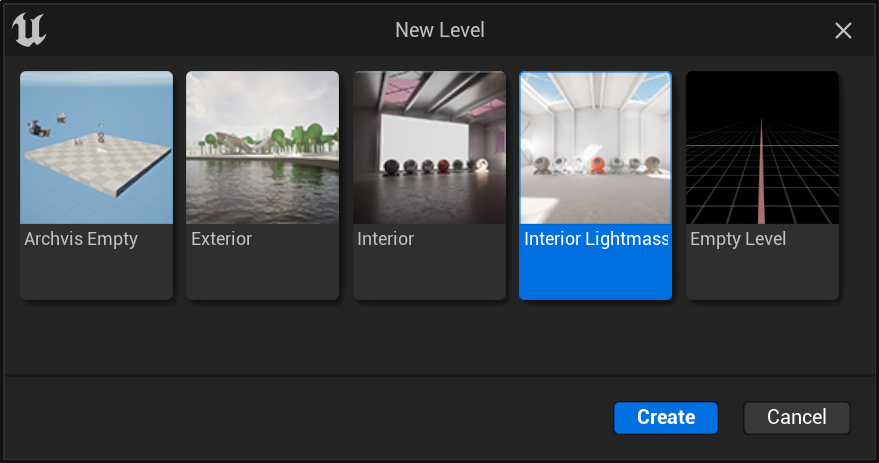
Choose to create a blank level or template
-
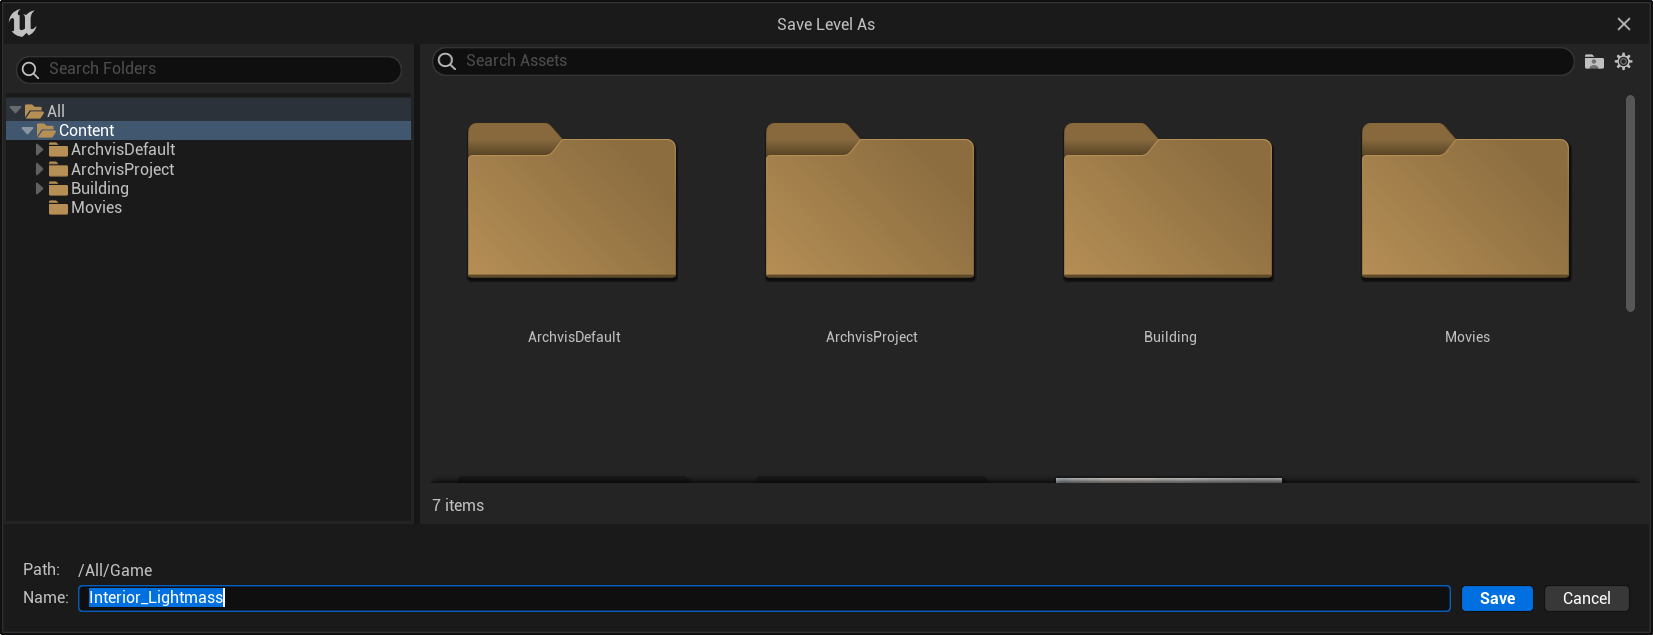
Select a save location and a name for your Level, then click on Save.
The new Level is added as a sublevel of your current Persistent Level, and it will also be the current Level for working in the Viewport.
Splitting Off Sublevels
If you've already created a Level, and later decide you want to split part of that Level off for streaming or for collaboration with a team, you can use it to create a new Level with Actor.
-
Select the Actors you want to move to the new Level in the Scene Outliner or in the Viewport.
-
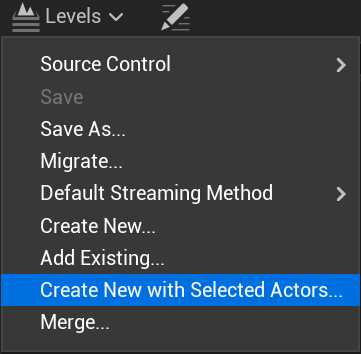
In the Levels window, click on the Levels drop-down menu, then select Create New with Selected Actors to create a new Level.
-
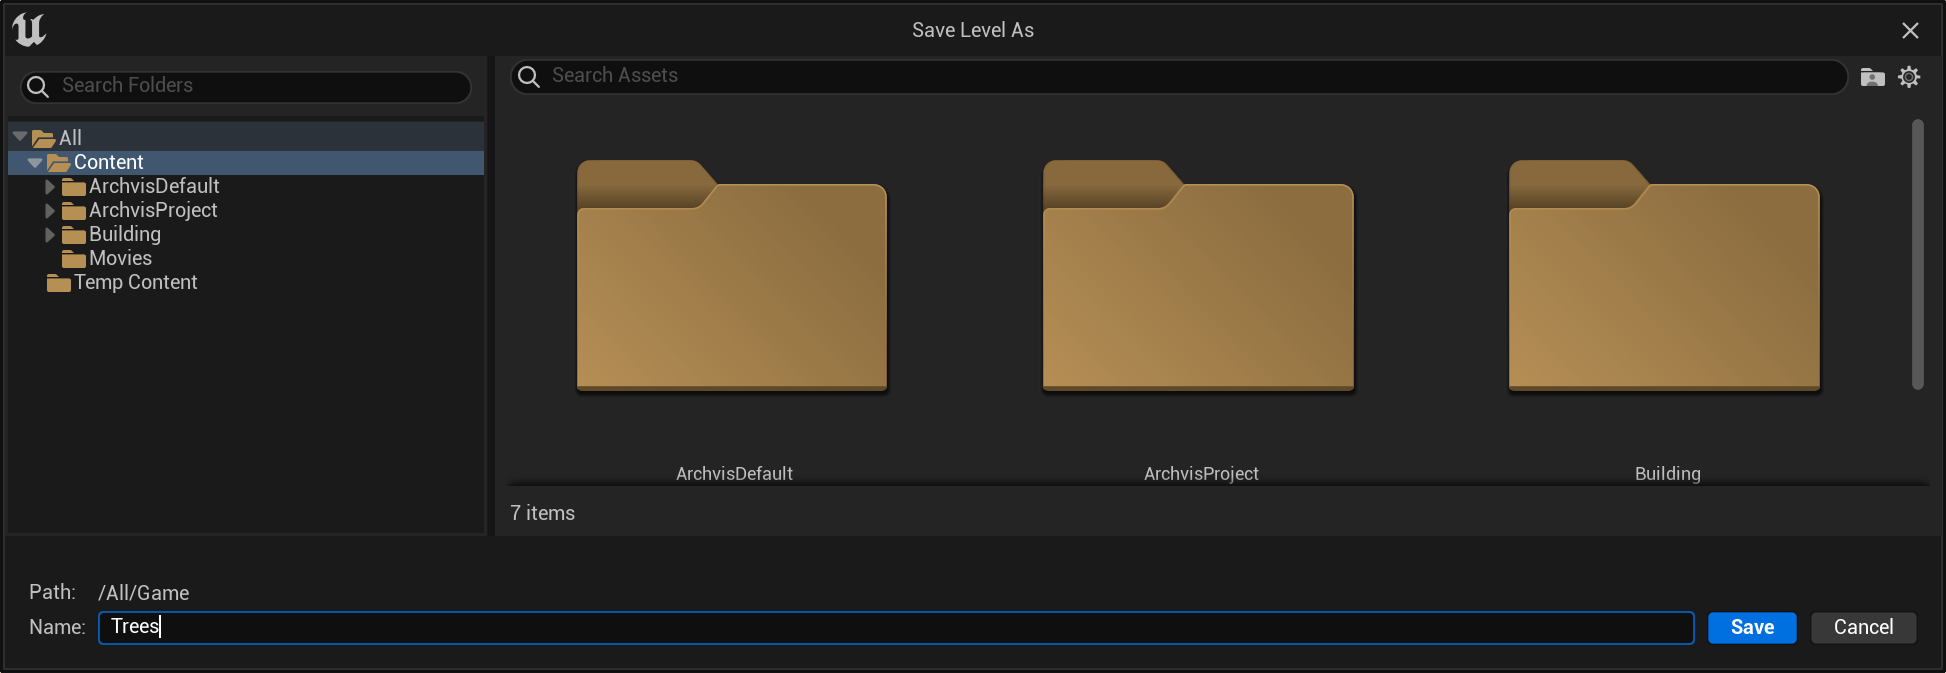
Select a save location and a name for your Level, then click on Save.
All your selected Actors will be removed from their original Level and added to the new one, which will be added as a sublevel of your current persistent Level and made the current Level for working in the Viewport.
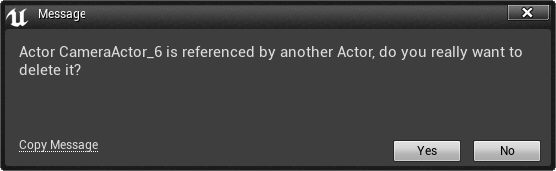
If you are moving an Actor that another Actor that remains in the persistent Level references, you will get a pop-up message asking if you really want to delete it from the persistent Level.
Moving Actors Between Levels
While you can copy Actors from your active Level, then switch active Levels to paste Actors, there is a simpler way to move Actors between Levels.
-
Select the Actors you want to move to the new level in the Scene Outliner or in the Viewport.
-
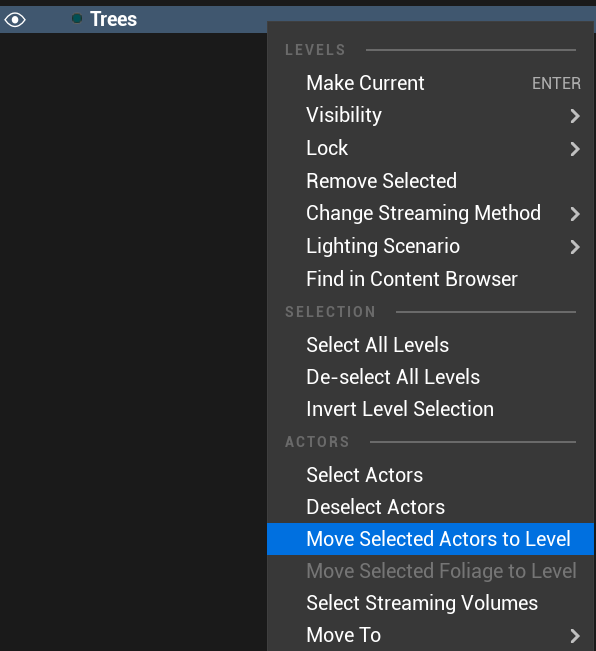
Right-click on a Level in the Levels window, then select Move Selected Actors to Level from the context menu.
-
Press Ctrl+S to save all Levels.
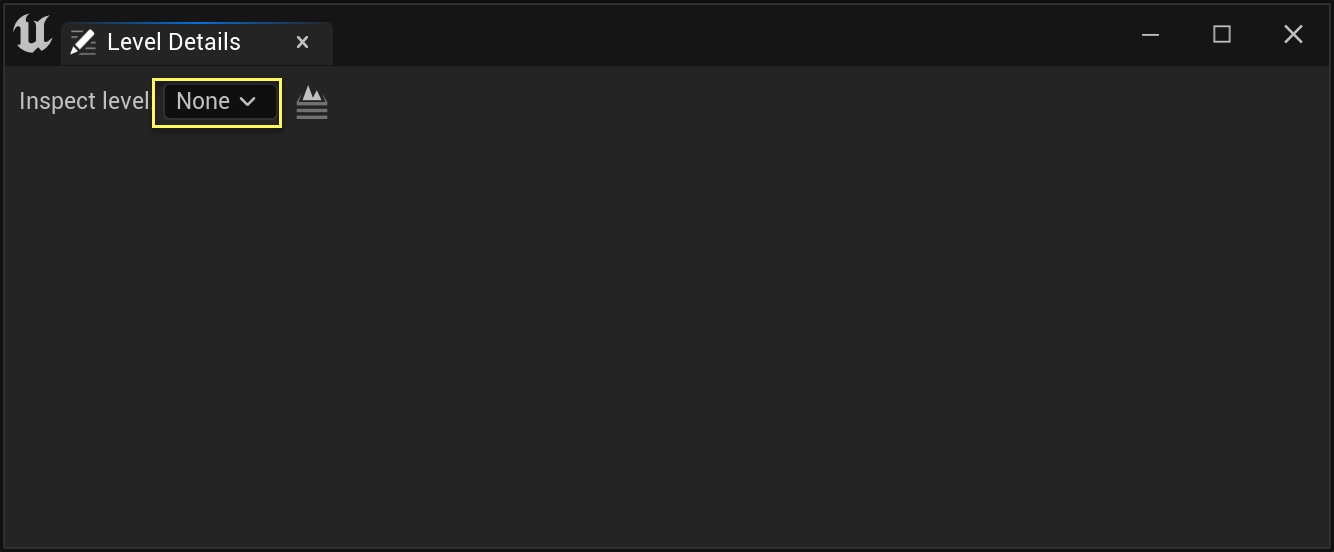
Level Details
The Level Details button is indicated with a magnifying glass in the Levels Window, and provides you access to additional information about your current Levels. To set Level Streaming Volumes, you need to open the Level Details for your streaming Levels; for more on this process, see Level Streaming Volumes Reference.

No additional details are visible for persistent Levels, although there is a drop-down menu you can use to change to another Level.
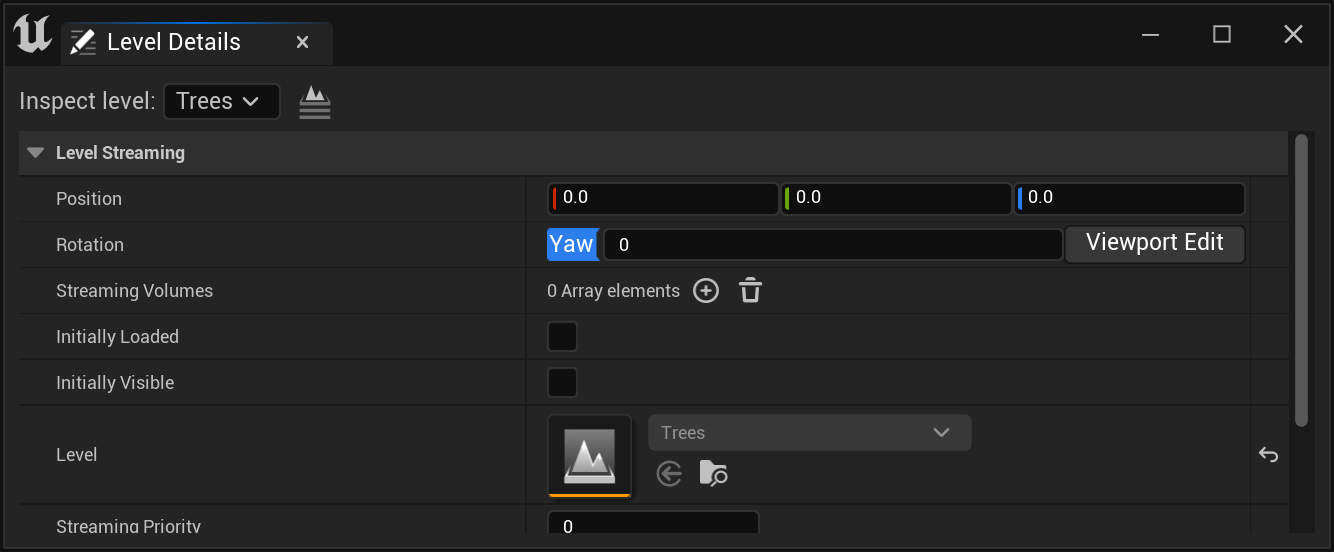
For sublevels, you can set the Level's offset Position and Rotation, the Streaming Volumes to use, and the debug Level Color. Advanced settings like the minimum time between unload requests to improve performance are also accessible here.
Visualizing Sublevels
You can set the color of sublevels either in the main Levels window or in the Level Details window.
To toggle showing the level color, use the Show button on the viewport, then select Advanced > Level Coloration.
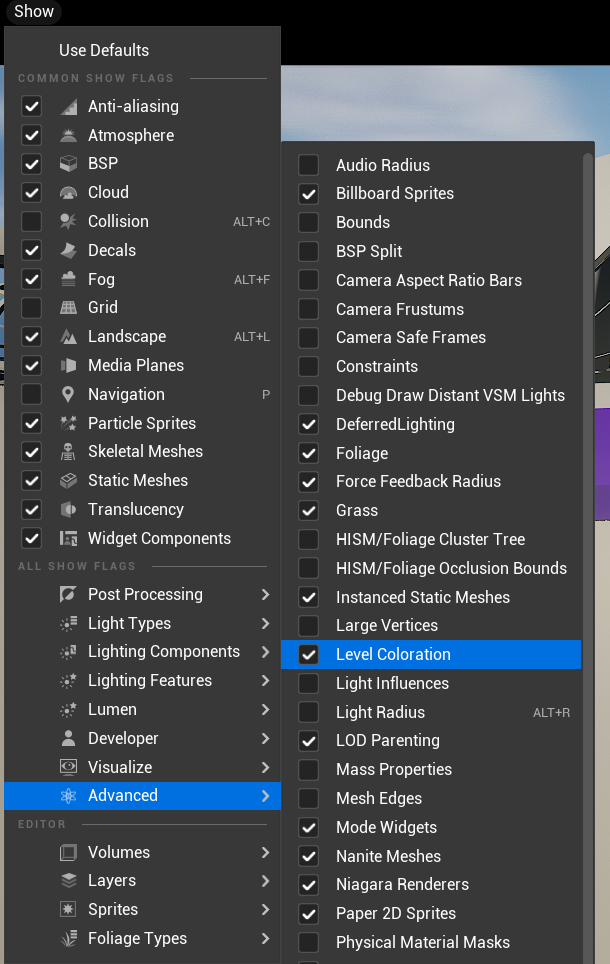
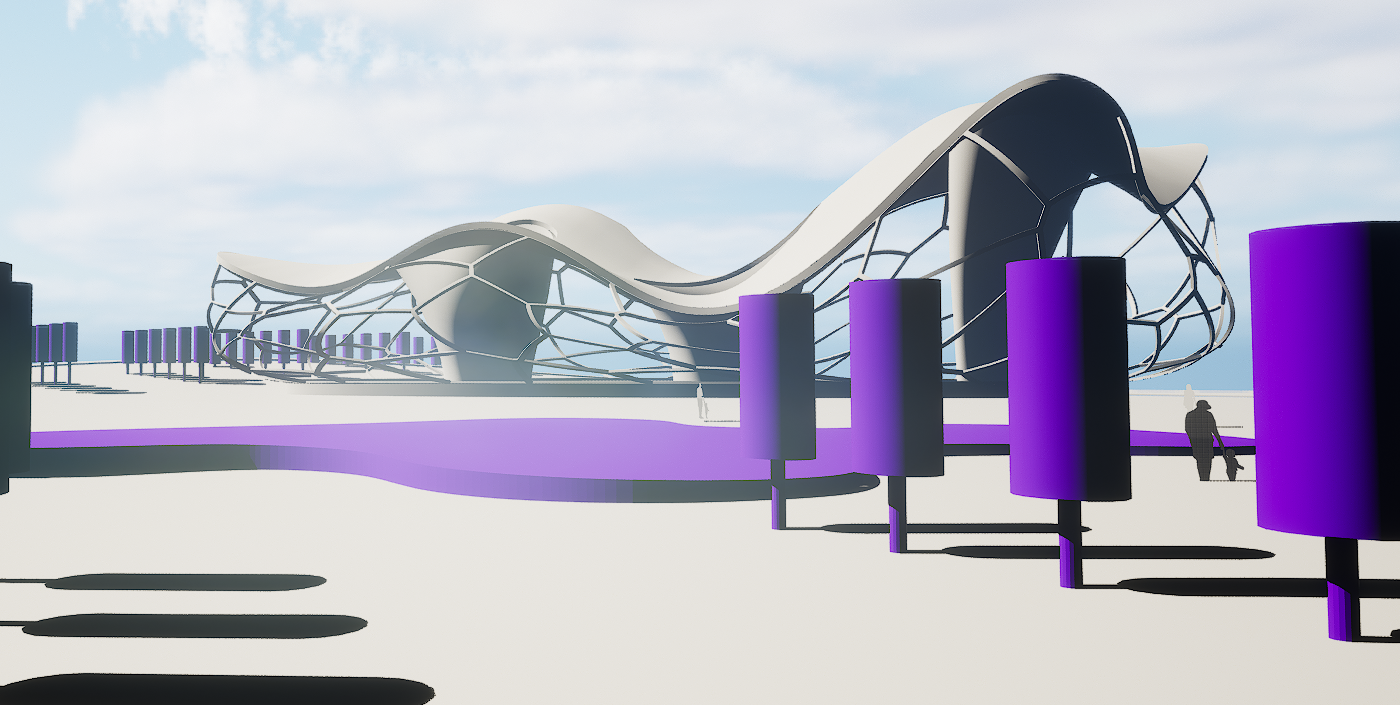
The persistent level will be shown in white, while all sublevels will be indicated in their selected colors. Level Coloration works in perspective and orthographic viewports, and will be toggled off with Game Mode.