

Lightmass creates lightmaps with complex light interactions like area shadowing and diffuse interreflection. It is used to precompute portions of the lighting contribution of lights with stationary and static mobility.
Lightmass Importance Volume
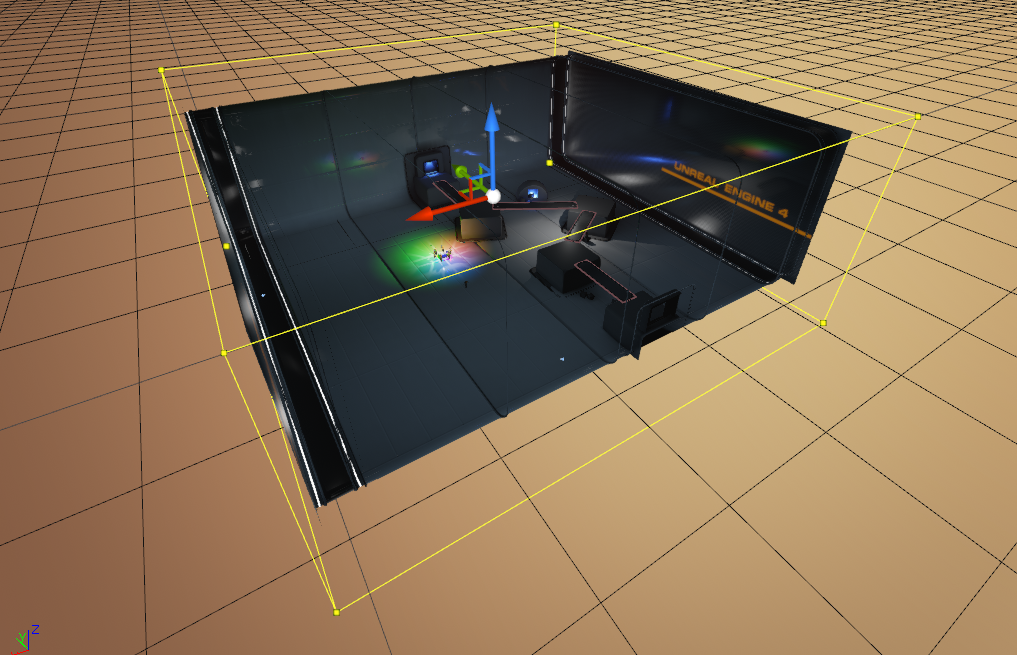
Many maps have meshes out to the edge of the grid in the editor, but the actual playable area that needs high quality lighting is much smaller. Lightmass emits photons based on the size of the level, so those background meshes will greatly increase the number of photons that need to be emitted, and lighting build times will increase. The Lightmass Importance Volume controls the area that Lightmass emits photons in, allowing you to concentrate it only on the area that needs detailed indirect lighting. Areas outside the importance volume get only one bounce of indirect lighting at a lower quality.
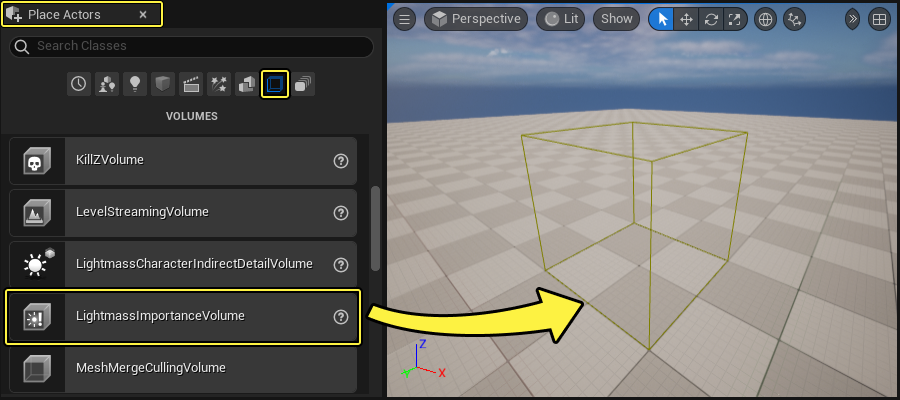
You can add a Lightmass Importance Volume to a level by dragging a Lightmass Importance Volume object from the Volumes tab of the Place Actors panel into the level then scaling it to the needed size.
You can also convert a Brush into a Lightmass Importance Volume by clicking the Convert Actor drop down box inside the Details panel under Actor.
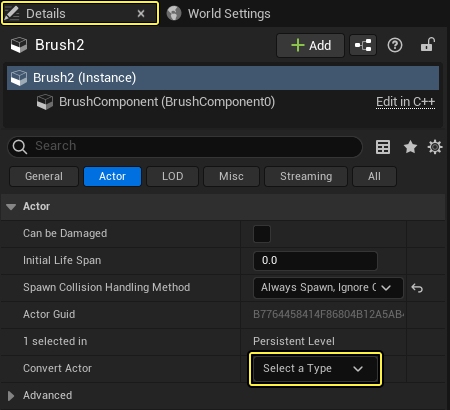
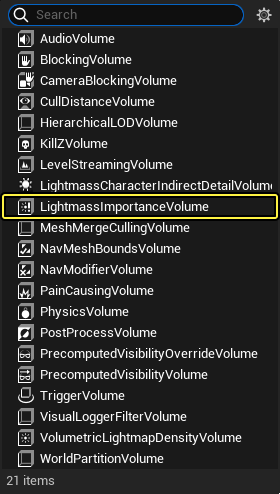
After clicking the drop down box, a menu will appear where you can select the type of Actor to replace the Brush with.
If you place multiple Lightmass Importance Volumes, most of the lighting work will be done with a bounding box that contains all of them. However, Volume Lighting Samples are only placed inside the smaller volumes.
Building
-
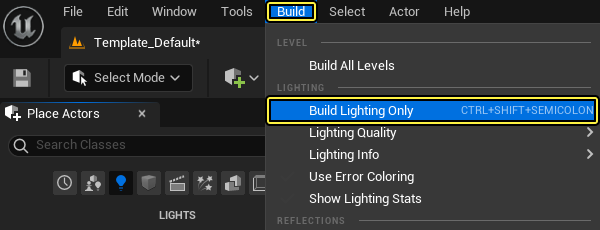
Click the Build in the Main menu panel and select Build Lighting Only, also you can choose Build All Levels.
-
A dialog like this will appear at the bottom right of the screen.

-
Click Keep when it finishes.

And that is it. Depending on the number of lights, quality mode, the size of the level, what portions are contained within a Lightmass Importance Volume, and if other computers are available for the Swarm client to use, this process could take a few minutes or possibly substantially longer.
Quality Modes
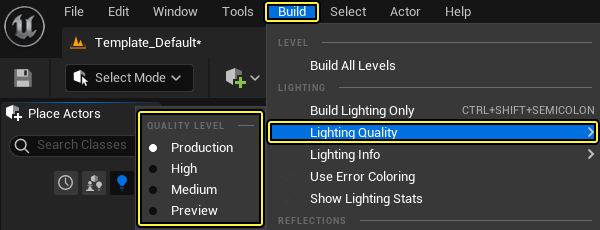
These presets are about time versus quality. The Preview setting will render quickly and will give an ok representation of most baked direct lighting, while the Production setting renders more slowly, but gives a more realistic look while also correcting for various light bleed errors.
- Production - Looks awesome, takes a while.
- High - Looks good, takes some time.
- Medium - Looks better, takes a bit longer to calculate.
- Preview - Gets the point across, but at least it is fast.
These are just the presets, there are a vast number of settings that can be tweaked to get the desired lighting for your game. See the Lightmass documentation for more info on how to fine tune Lightmass settings.