
This page covers the various methods in which you can connect nodes together on your graphs in Blueprints.
Pin to Pin Connection
The most common method of connecting nodes together is through Pin to Pin connection.
Using the Left Mouse Button, drag from one pin onto another compatible pin.
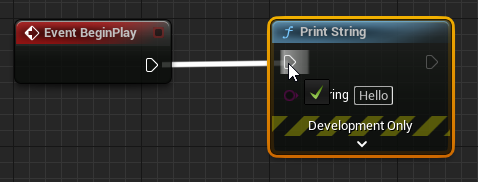
A green check mark will appear when hovering over a compatible pin.
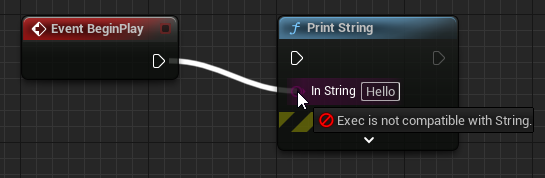
When attempting to connect two non-compatible pins, an icon will appear along with the reason why you cannot connect the nodes.
Typically pins are color coded to reflect the type of connection they take in.

There are instances where you can connect two different pin types together, in which case a Conversion Node is created.
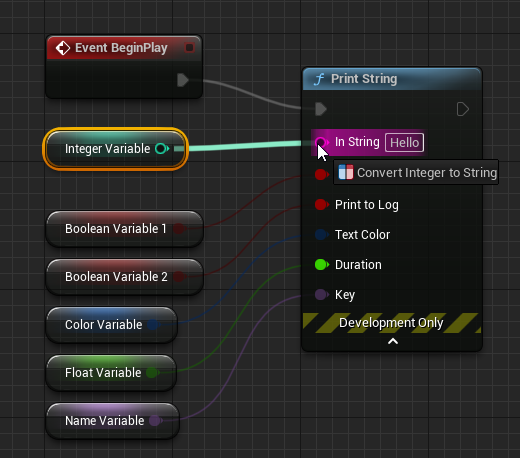
Above we have taken a Integer output and connected it to a String input. You can see it will convert via the tooltip.
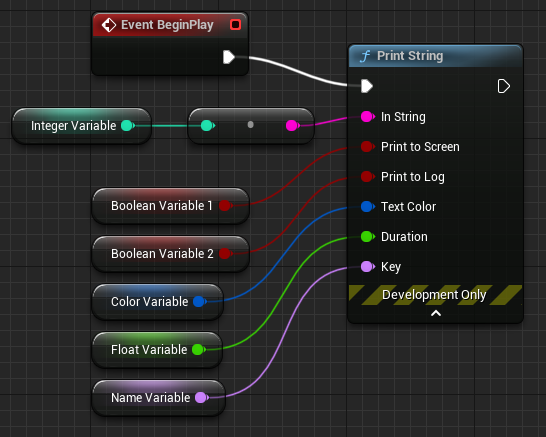
After connecting, a new conversion node is added between the two pins.
If you drag off a pin into an empty space in the graph, you can place a new node.
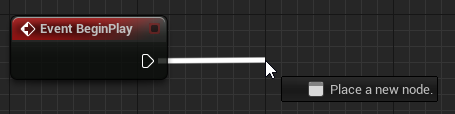
When releasing the Left Mouse Button, the context menu will appear.
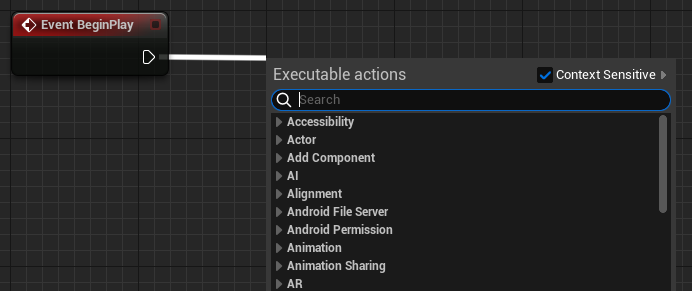
- See Placing Nodes for more information on the Context Menu.
After selecting a node to place, the nodes will automatically become connected.
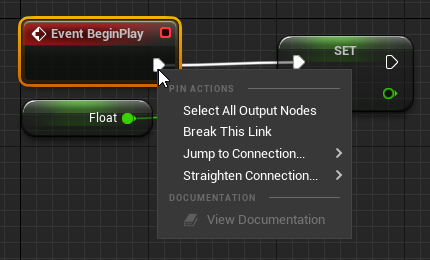
You can also take an existing connection and connect it to another compatible pin.
In the example image above, holding Control and clicking on a pin and dragging to another input...
This will allow you to move the connection from one pin to another without having to re-wire it.
Pin Actions
There are some additional pin related actions that can be taken for nodes as outlined in the table below.
| Action | Command |
|---|---|
| Pin-specific Context Menu | Right-Click on Pin |
| Emphasize Connected Wires | Mouse Hover over Pin |
| Connect to Another Pin | Left-Click + Drag to Pin |
| Filtered Action Menu for Pin | Left-Click + Drag to graph |
| Break All Connections | Alt + Left-Click on Pin |
| Move All Connections | Ctrl + LMB Drag to Pin |
Node to Node Connection
There are some Node to Node connections that are available when working with variables, which can save you a bit of time.
Say for example you have a Set variable node (in which you are setting the value of the variable to something) which is connected in your script somewhere and you want to swap it out for another variable without rewiring your script. You can drag another variable on top of the variable you wish to change and it will automatically swap it out and keep everything connected.
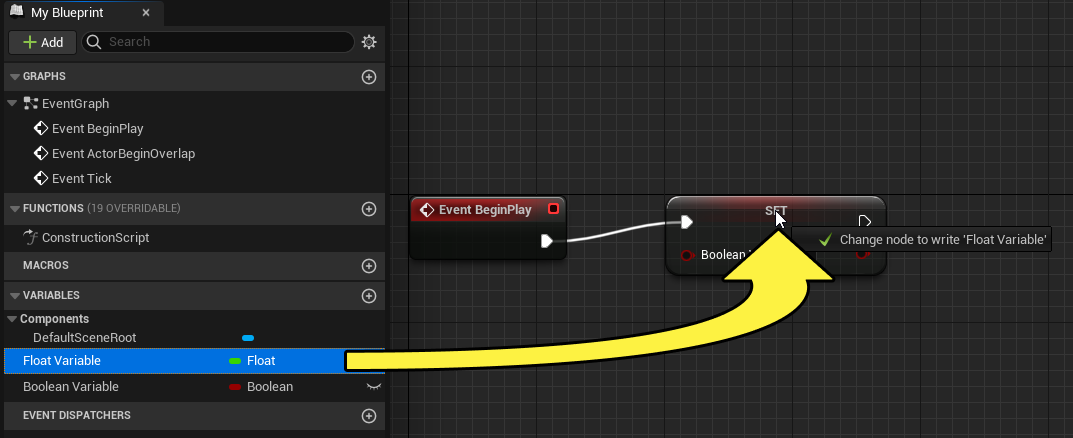
Above, we have an Event Begin Play which then sets the Boolean Variable to false and we want to change it out to set a Float Variable we have created instead. We can drag the Float variable onto the Set variable and you can see that the tooltip will inform you of the action you are taking which is to change the node to write Float Variable or Set it.
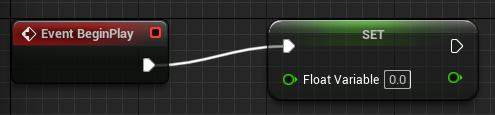
After confirming as indicated above, your node will be swapped with the new node and the connections will remain.
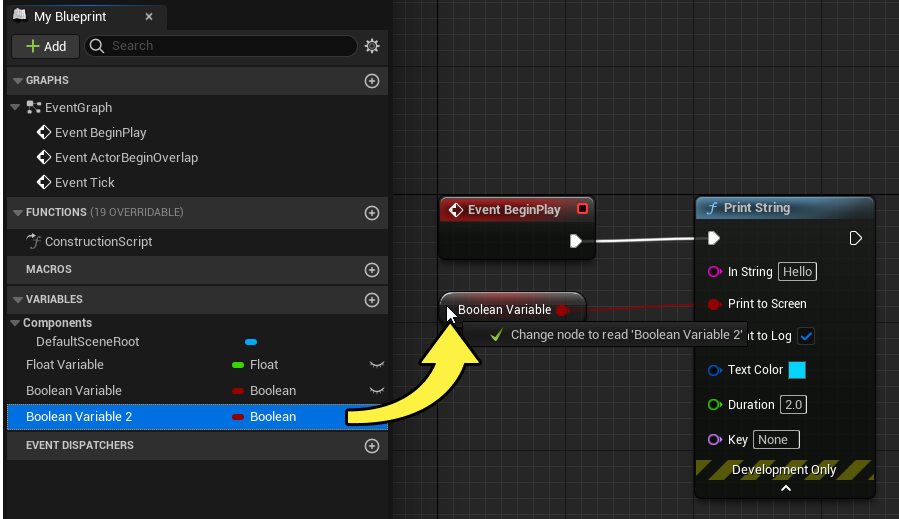
You can do the same for Get nodes which are connected already (below we are swapping one Bool variable out for another).
Drag-and-Drop Connection
Another shortcut you can take when working with variables is performing Drag-and-Drop (or Node to Pin) connections.
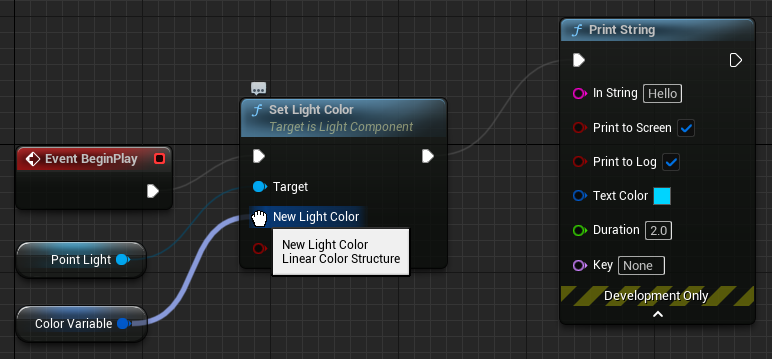
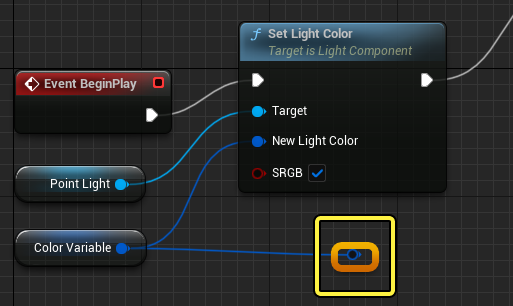
In the example below, upon Event Begin Play we want to set the light color of a Point Light. The Set Light Color node itself asks for the New Light Color which we have created a Linear Color Variable for. In the MyBlueprint window, we can drag-and-drop that variable directly onto the pin in the graph.
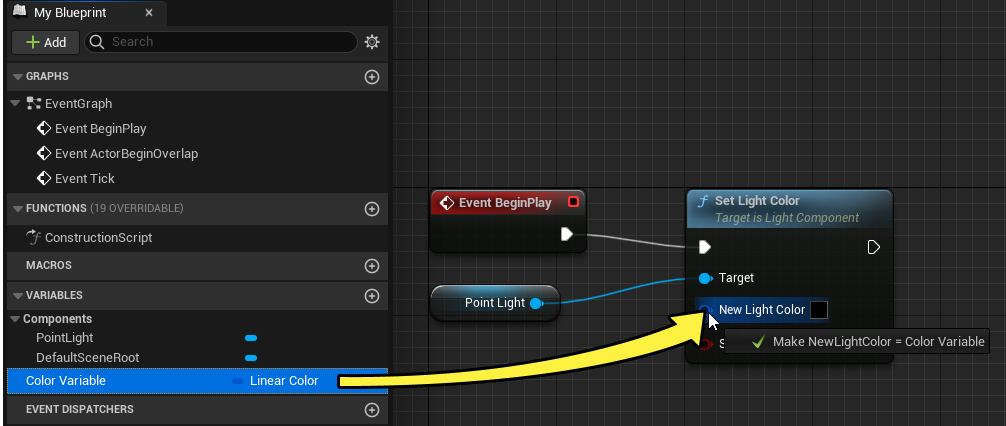
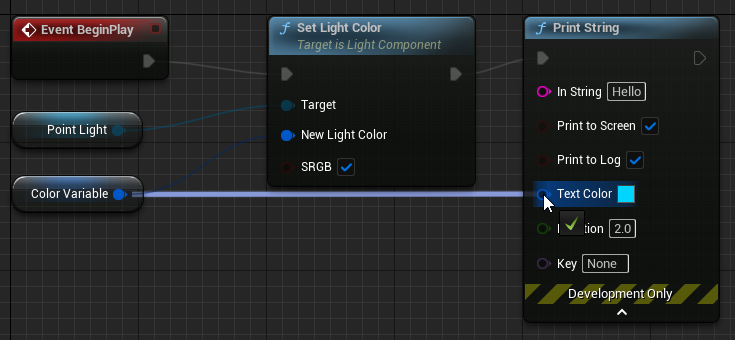
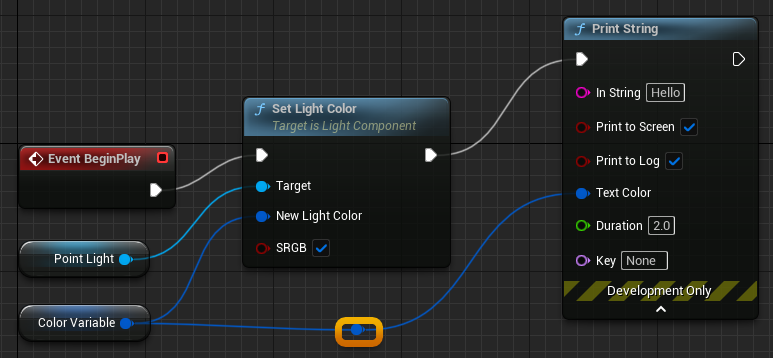
When doing so, the variable is automatically connected to the node.
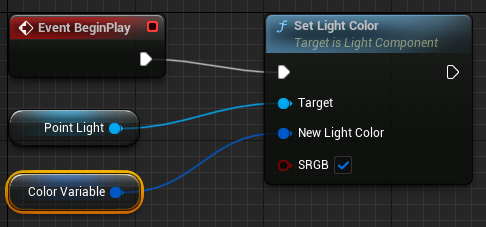
Doing so this way eliminates the process of adding the node to the graph, then performing a pin to pin connection.
Reroute Connections
When working with complex or large Blueprints, you may run into situations where your wires are all over the place and you want to change the way they appear in the graph for visual clarity. There is an option to add a Reroute node, which will allow you to move the wires around by adding an "extension cord" of sorts to your out pin.
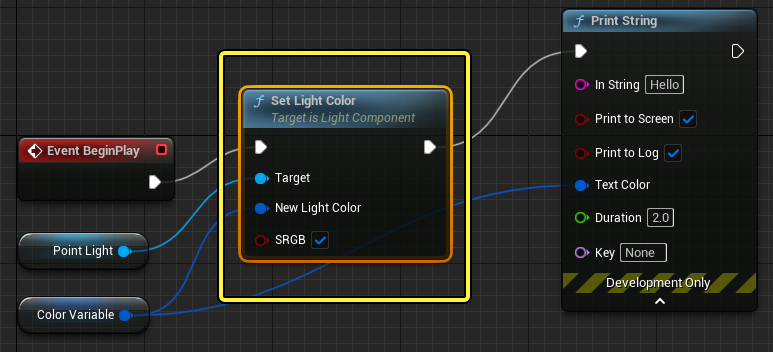
Here we have an out pin's wire that is hidden behind another node which is outlined in the box.
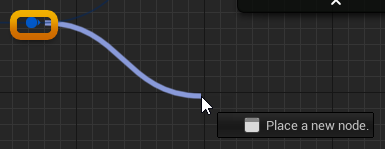
By dragging off the out pin that we want to reroute, we can select the Add Reroute Node option.
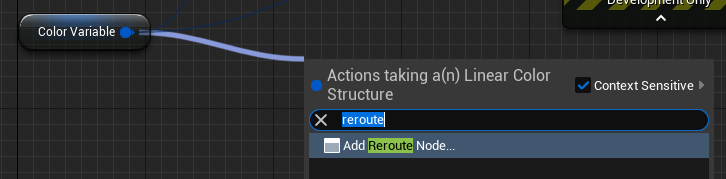
This will create a new pin in your graph that your original pin is connected to.
You can then drag off the new pin and connect it to your target as shown below.
The Reroute node acts as the original pin and can be dragged off of and new nodes can be connected to it.
Using Reroute nodes will help keep your Blueprints clean, allowing anyone who accesses them the ability to see the connections clearly.