
The Animation Sequence Editor provides access to the various animation-centric assets available for Skeletal Meshes in Unreal Engine. In the Animation Sequence Editor, you can edit and preview animation Sequences, Montages, Curves, and more.
Here is an highlighted overview of the Animation Sequence Editor, showing the following tools and windows:

Toolbar

Here is a list of unique buttons found in the Animation Sequence Editor Toolbar and a description of their functionalities.
| Name | Icon | Description |
|---|---|---|
| Reimport Animation |  |
With this button you can reimport Animations from their original file's location on your computer. If the location is not known or cannot be located, Unreal will prompt you to browse for the file you wish to Reimport. |
| Apply Compression |  |
You can use this button to apply Animation Compression to your animation to reduce the animations resource demand. |
| Export Asset |  |
With this button you can export the current animation asset for the current Skeleton either as Animation Data or a Preview Mesh. For more information see, Exporting and Importing FBX Files. |
| Key |  |
Add a Keyframe of the current pose to the Asset Editor as an additive layer. |
| Make Static Mesh |  |
Create a new Static Mesh Asset from the current pose displayed by the Mesh. |
| Edit In Sequencer |  |
Open the current animation in Sequencer. From this drop down you can also toggle the button to open the Animation in Control Rig or Bake the animation to Control Rig. |
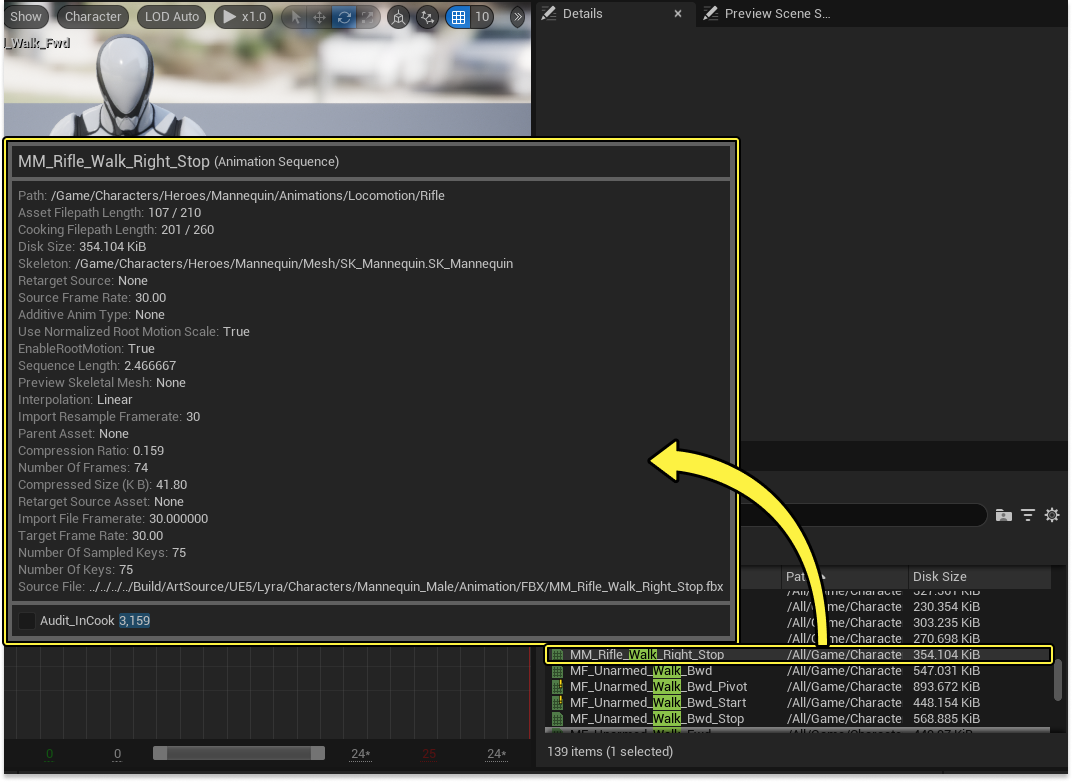
Asset Details / Skeleton Tree
This window contains two panels by default, the Asset Details panel and the Skeleton Tree panel.
Animation Asset Details
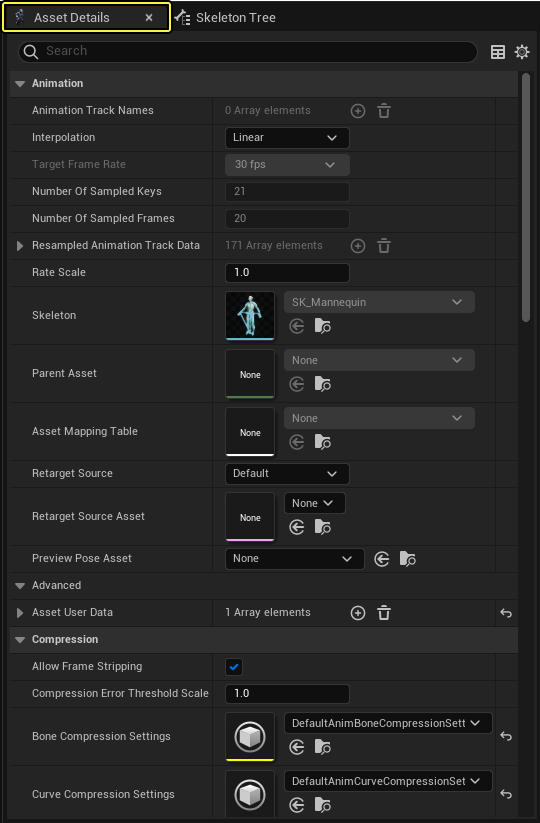
The Animation Asset Details panel is a context-sensitive property editor where you can edit and modify settings pertaining to the selected Animation Sequence and its assets such as, Blend Spaces, Animation Montages and Animation Notifies.
| Name | Description |
|---|---|
| Animation Track Names | Displays the currently selected Animation Track's name. |
| Interpolation | This property controls the interpolation between key frames of animation.
|
| Target Frame Rate | Listed here is the read only target frame rate the animation had been imported or created at. |
| Number of Sampled Keys | Here you will find a numerical read out of the number of sampled keys the current animation has been imported or created with. |
| Number of Sampled Frames | Listed is the number of sampled frames the animation has been imported or created with. |
| Resampled Animation Track Data | A list of bones being manipulated in your animation. Depending on how you export your animation, not all bones will always be animated. |
| Rate Scale | The speed of the animation playback. 1 is default, lower values are slower, higher values are faster. |
| Skeleton | Reference to the in use Skeleton Asset. This can be double-clicked to open the Skeleton Editor. |
| Parent Asset | Lists associated Parent Asset, only when working with Animation Montages and the currently selected AnimMontage is a Child. However, modifications to the current montage will be disabled, apart from assigning unique child behaviors through the Asset Mapping Table. This data will be used to bake out to a normal asset during cooking. Useful for mapping animations to exact timing and displacement of other animations. |
| Asset Mapping Table | Displays Asset Mapping Table, for use when working with Parent and Child Animation Montages. When a Mapping Table is present double-click to reference the associated Source Asset and Target Asset. |
| Retargeting Source | Base pose to use when Retargeting an Animation. |
| Retarget Source Asset | If the Retarget Source property is set to Default (None), then the selected skeletal mesh here, will serve as the base pose for use when retargeting. Transform data will be saved in RetargetSouceAssetReferencePose. |
| Preview Pose Asset | The default Skeletal Mesh Pose Asset to use when previewing this Skeletal Mesh - this only applies when you open one of the Animation Editor modes using the associated asset. |
| Asset User Data | Asset User Data is a general array of applied functions that can be attached to animations in order to derive data or perform uniform behaviors. In addition to Animation Sequences this data is shared across multiple asset types such as, Skeletal Meshes and Skeleton Assets, and attach arbitrary user data to these targets. |
| Allow Frame Stripping | If enabled, this will allow low priority frames of animation to be removed if the export platform requests it. Can be disabled if animation has high frequency movements that are being lost. |
| Compression Error Threshold Scale | Set a scale for error threshold on compression. This is useful if the animation will be played back at a different applied scale. For example, if the animation will be played on an actor or component that is scaled up by a factor of 10, then set this value to 10. |
| Bone Compression Settings | The bone compression settings used to compress animation data on bones in this sequence. |
| Curve Compression Settings | The curve compression settings used to compress Anim Curve data in this sequence. |
| Do Not Override Compression | For use to prevent an override of the compression scheme when running a CompressAnimations commandlet. Some high frequency animations are too sensitive and shouldn't be changed. |
| Additive Anim Type | Overview Animations can be used as absolute or additive. When absolute animations are set to control the same bones, each will compete and influence one another. Additive animations can circumvent this issue by having priority of their respective region so as not to conflict with other animations. Additive Animation The Additive Animation calculates the delta, or the displacement value, from their starting position of the base animation and the current animation. You can then apply the difference of delta to any base animation with an Additive Animation. With Additive Animations you can create different permutations of animations by applying this delta to different base animations. Two necessary components are needed to create an additive animation.
Additive Animation Type This decides what kind of additive animation you want to use.
There are many different ways to obtain the base animation pose to which the additive animation can be derived. After selecting which additive animation type, the options are as follows:
|
| EnableRootMotion | If enabled, this will allow for extraction of root motion data and transfer it to in-place animation. For more information, see Root Motion. |
| Root Motion Root Lock | Root Bone will be locked to the following selected position when extracting root motion.
|
| Force Root Lock | Enable to force Root Bone Lock even if Root Motion is not Enabled. |
| Use Normalized Root Motion Scale | If enabled, a normalized scale value for the root motion extracted: FVector(1.0, 1.0, 1.0) will be used. |
| Animation length | Select the desired animation range, or length to import.
|
| Import Meshes in Bone Hierarchy | If checked, meshes nested in bone hierarchies will be imported instead of being converted to bones. |
| Frame Import Range | If under the Animation Length property above, Set Range is selected, then you can manually set the frame range used during an importation or reimportation of the current animation. |
| Use Default Sampler Rate | If enabled, samples all animation curves to 30 FPS. |
| Custom Sample Rate | Sample FBX animation data at the specified sample rate. If set to 0, Unreal will automatically find the best sample rate. |
| Import Custom Attribute | If one is present, Unreal will import a custom attribute as a curve within the animation. |
| Delete Existing Custom Attribute Curves | If enabled, all previous custom attribute curves will be deleted when doing a re-import. |
| Delete Existing Non Curve Custom Attributes | If enabled, all previous non-curve custom attributes will be deleted when doing a re-import. |
| Import Bone Tracks | By default, Unreal is set to Import bone transform tracks. If disabled, this will discard any bon transform tracks. Useful for curves only animation. |
| Set Material Curve Type | Set Material Curve Type for all custom attributes that exist. |
| Material Curve Suffixes | Set Material Curve Type for a custom attribute with the following suffixes. This property is disregarded if Set Material Curve Type is true. |
| Remove Redundant Keys | If enabled, this will remove redundant keys when importing custom attributes as curves. |
| Delete Existing Morph Target Curves | If enabled, this will delete existing Morph Targets from the FBX. |
| Do not import curves with only 0 values | When enabled, Unreal will disregard any curves with a value of zero during Importation. Useful when importing custom attributes or Morph Targets as curves, to avoid adding extra curves to evaluate. |
| Preserves Local Transform | If enabled, this will import a curve within the animation. |
| Import Transform | Controllable offset for importation Transform placement. More relevant when working with Skeleton and Skeletal Mesh assets. |
| Import Rotation | Controllable offset for importation Rotation placement. More relevant when working with Skeleton and Skeletal Mesh assets. |
| Import Uniform Scale | Controllable Uniform Scale for importation. More relevant when working with Skeleton and Skeletal Mesh assets. |
| Convert Scene | Convert the scene from FBX coordinate system to UE coordinate system. |
| Force Front XAxis | Convert the scene from FBX coordinate system to UE coordinate system with front X axis instead of -Y. |
| Convert Scene Unit | Convert the scene from FBX unit to UE unit (centimeters), |
| Source File | Viewable file path for currently selected asset. |
| Per Bone Custom Attribute Data | Custom Attribute Data array for each bone in current Skeleton Asset. |
| Data Model | Here you can locate a viewable Data Asset containing important animation data for the current animation such as, Bone Animation Tracks and Curve Data, in addition to foundational values like the animations frame rate, sampled frames and keys. |
| Controller | Here you can locate an instance of the current animation's Data Controller. This asset handles the operation of the Data Model asset found above. |
| Meta Data | Meta data that can be saved with the asset. You can query available data with the 'GetMetaData' debug command. |
You can also double-click an animation from the Asset Browser panel to open its Asset Details.
Skeletal Tree
Skeleton Tree panel displays the Skeletal Hierarchy of the current Skeleton Asset where you can create and edit skeleton Sockets and define settings related to Animation Retargeting.
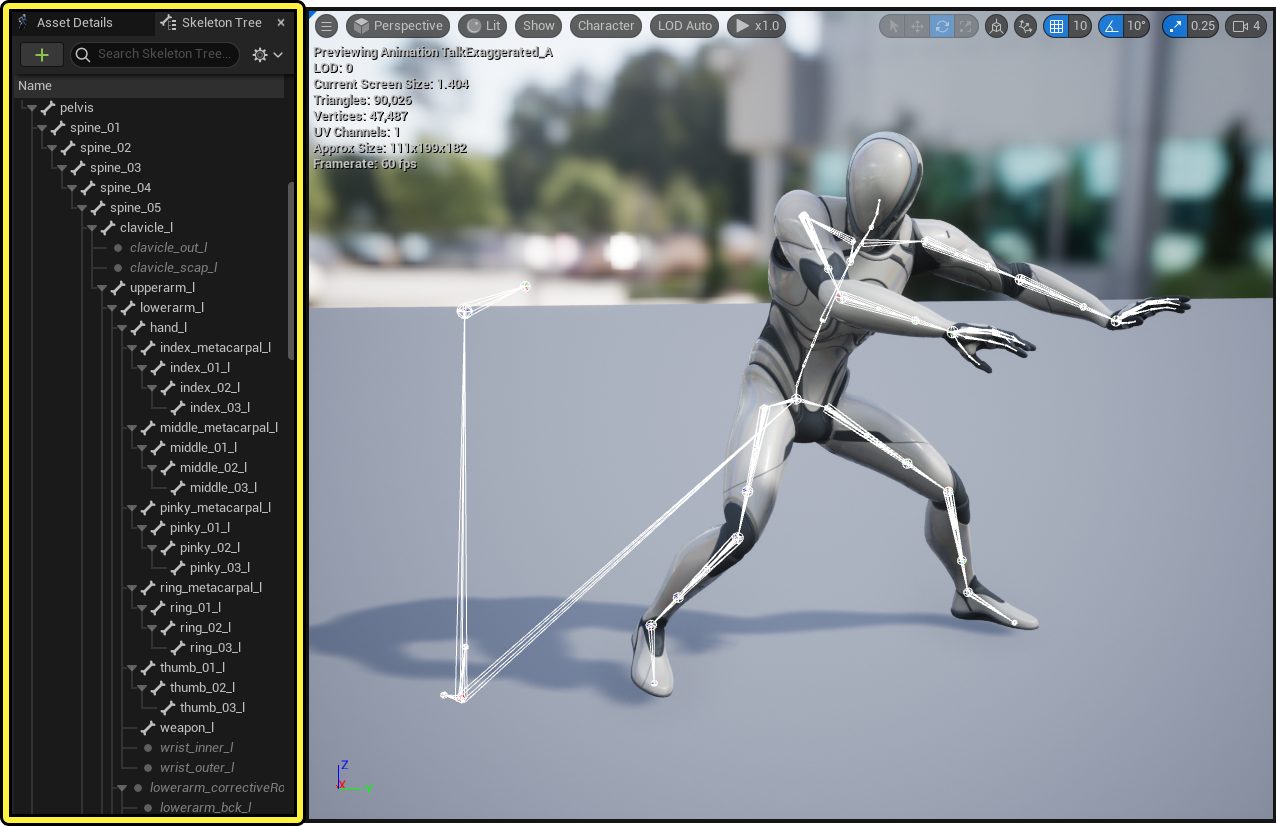
Although the Skeleton Tree is accessible in the Animation Sequence Editor, the panel and its contents are more relevant to the Skeleton Editor which you can find by following the link below.
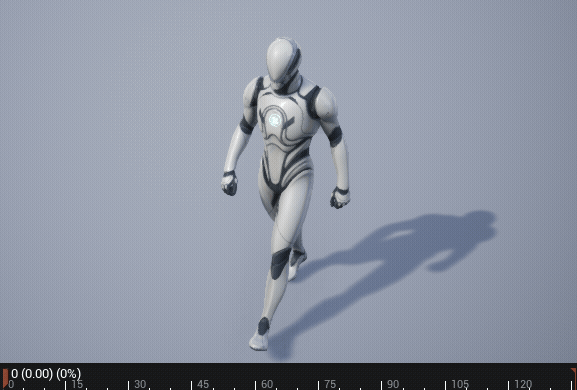
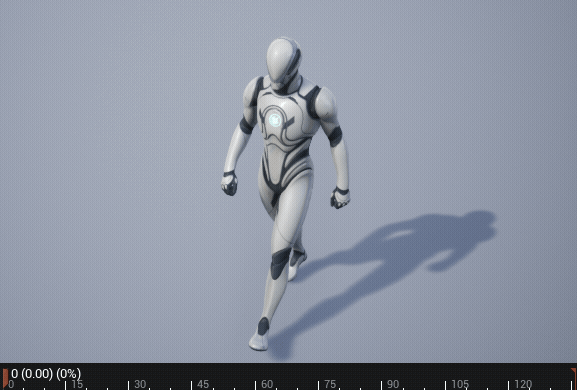
Viewport
The Viewport window is where you can preview playback of animation assets on your selected Skeletal Mesh and provides information about your assets.
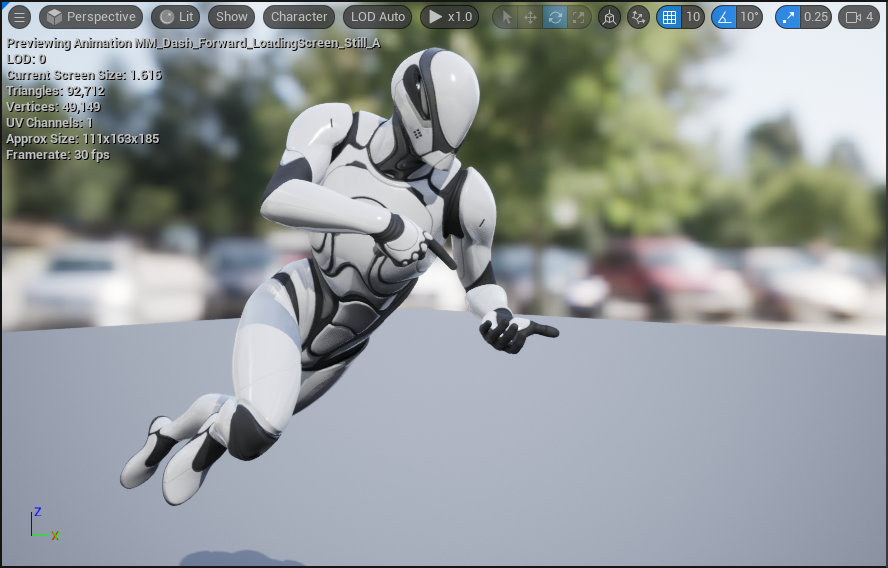
To see more information about the Viewport features unique to the Animation Editors, please see the Animation Viewport window.
Details / Preview Scene Settings
The Editor Details panel, similar other Details Panels found in Unreal Engine, is primarily used for modifying options that have been added while working in the Asset Editor. For example, when you select a bone from the Skeleton Tree window, the Details panel will populate with options related to the selected bone.
For more information about The Editor Details Panel, see the Skeleton Editor documentation.
Also located in this section is a tab for the Preview Scene Settings panel which enable the ability to control the preview settings such as selected animation, applied Skeletal Meshes, as well as viewport lighting and Post Process settings.
Asset Editor
The Asset Editor is a contextual window that will change its interface and features based on the type of animation asset opened. You can playback and modify Blend Spaces, Animation Montages, and more.

Here you will find links to the various animation assets in Unreal Engine. Each page contain descriptions of the asset type as well as an explanation of the unique Asset Editor layout and its properties.
- Animation Sequence
- Pose Asset
- Anim Blueprint
- Anim Composite
- Anim Montage
- Blend Space
- Blend Space 1D
- Aim Offset
- Aim Offset 1D
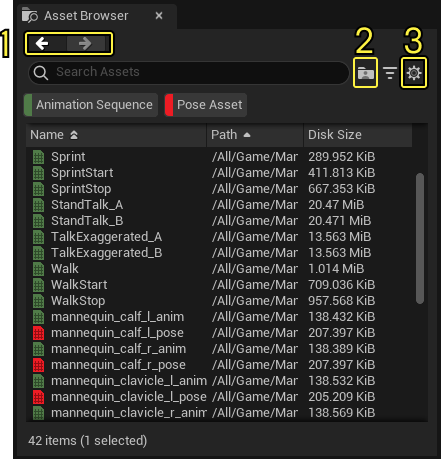
Asset Browser
Similar to Content Browser the Asset Browser is where you can view and filter animation assets associated with the current Skeleton Asset.
-
With the forward and backward buttons, you can navigate between previously selected animations.
-
Here you can toggle the Other Developers filter to view assets located in other developers folders. For use on shared server team based projects.
-
With the settings button you can access the Asset Browser's many settings, such as to toggle View Options such as the Advanced Details column, to view more advanced information about the listed assets.
Consistent color coding between the Asset Browser and the Content Browser is applied to each type of animation asset for easier distinction between asset types.
Animation assets can be opened in the Animation Sequence Editor, or the Content Browser from the Asset Browser by double-clicking the desired asset. Depending on the asset opened, the Asset Editor will populate with tools and properties relevant to the asset type automatically.
Before opening an asset you can hover your cursor over the asset to view advanced details.
Right-clicking an asset will open a context menu, with options to Save the asset, Open the asset in a new window, or Browse for the File Path in a File Explorer window on your computer.